
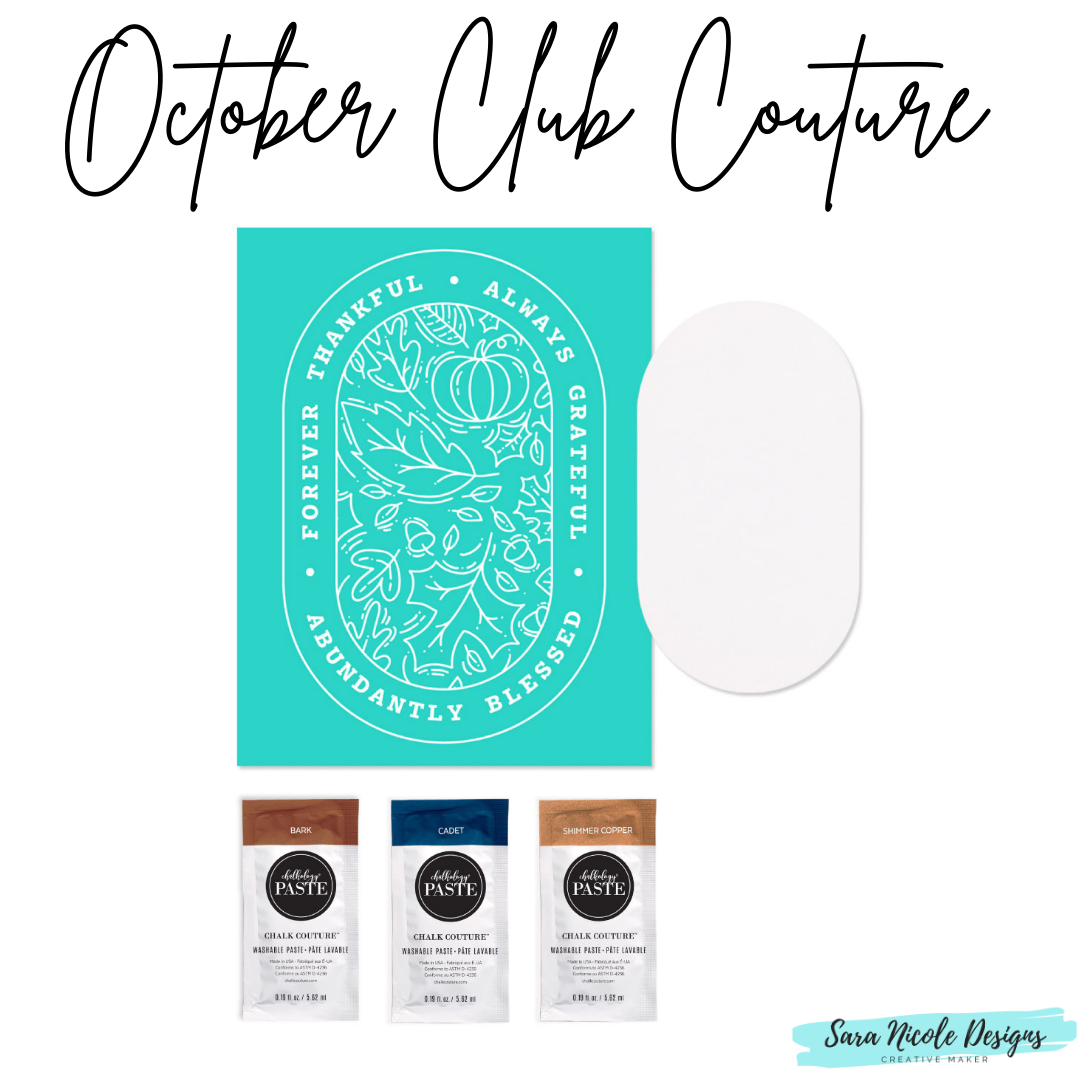
Forever thankful and always grateful for an amazing monthly Club Couture™ project! With Bark, Cadet, and Shimmer Copper Chalkology® Paste Singles, you’ll fall in love with the Abundantly Blessed Chalk Transfer® design and its coordinating Couture Boutique® Chalkable Shape.

Did you see what's new with Club Couture?! Now with each month's transfer, you now get a chalkable shape that coordinates with the transfer. How cool is that!
Ready to make this month's Club Couture transfer? Follow along!
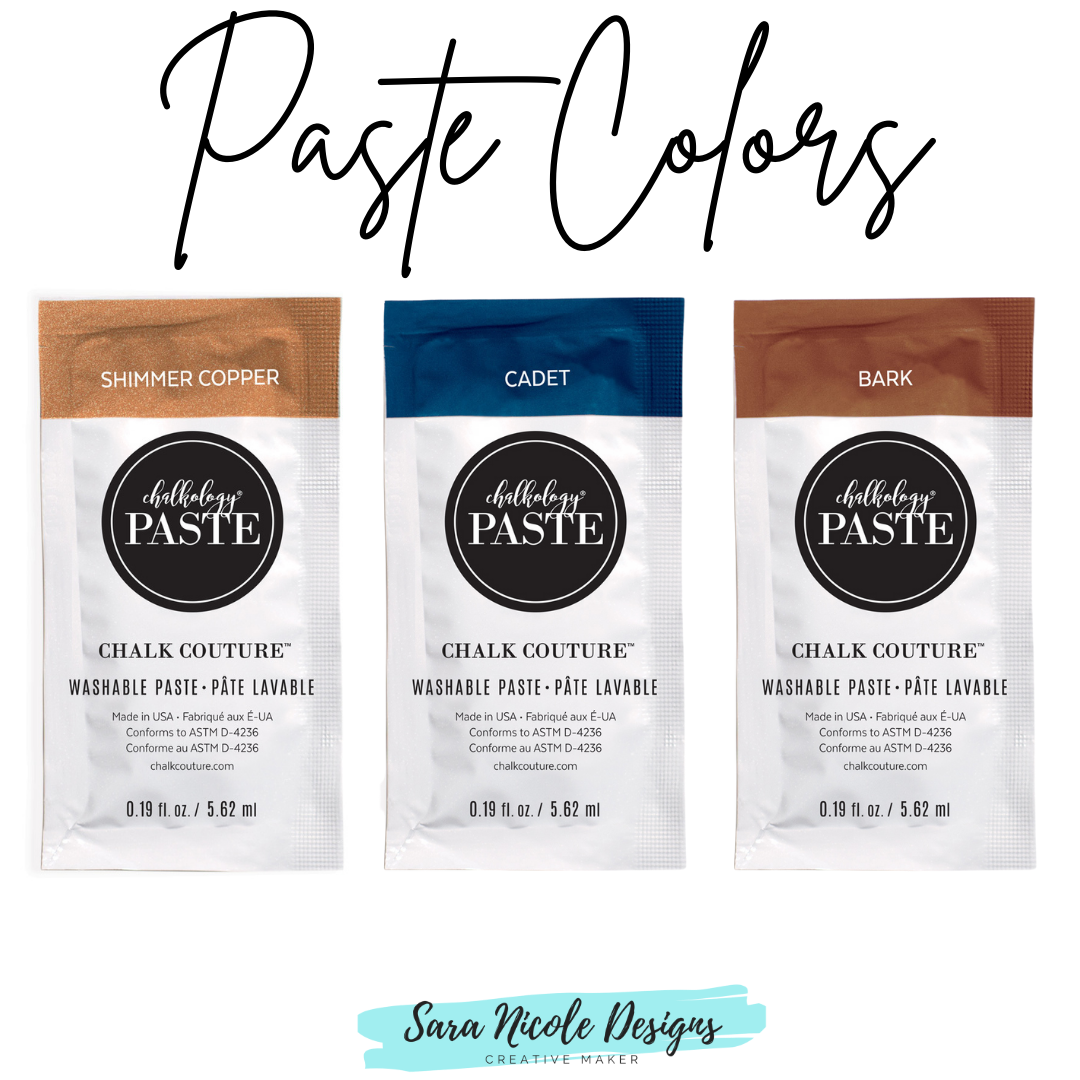
The October Shipment comes with Bark, Cadet, and Shimmer Copper Chalkology® Paste Singles.
.jpeg)
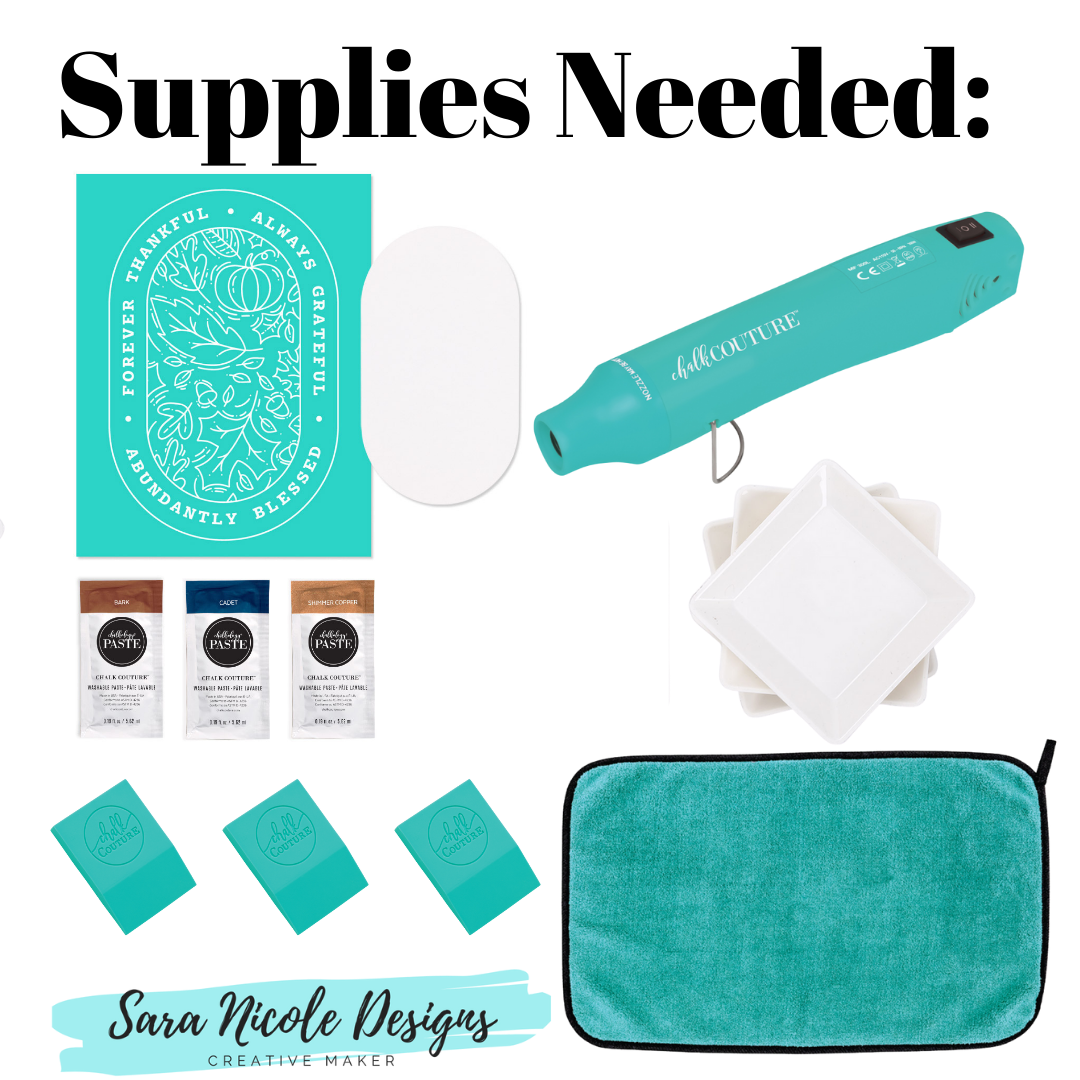
Supplies Included:
-Club Couture Chalk Transfer® design: Abundantly Blessed Chalkology®
-Paste Singles: Bark, Cadet, Shimmer Copper*
-Coordinating accessory: Couture Boutique® Chalkable Shapes Abundantly Blessed
-Coordinating accessory: Couture Boutique® Chalkable Shapes Abundantly Blessed
Additional supplies needed:
-Pallet Sign (9" × 12")
-Color Trays
-Mini Squeegee
-Multi-Tool
-Fuzzing Cloth
-Quick Dry Tool
-Hot glue gun
Bark: dots
Cadet: sentiment
Shimmer Copper: leaves and seasonal icons, borders
Color and Placement Suggestions:
Cadet: sentiment
Shimmer Copper: leaves and seasonal icons, borders
Follow these instructions to complete this project:
1. Knead your Chalkology Paste Singles. Cut the paste singles open and squeeze the desired amount of paste onto a Color Tray, using a new tray for each color.2. Remove the Transfer Backer Sheet and “fuzz” the Transfer on a Fuzzing Cloth. Center the Transfer on the Pallet Sign; smooth out the Transfer to ensure that it has properly adhered and there are no bubbles or wrinkles.
3. For best results when applying paste, divide your project into sections and use the chalk-and-pull method. To perform this method, apply paste one section at a time (see “Color and Placement Suggestions”) using a squeegee or Multi-Tool. Once you have chalked a section, and before the paste dries, peel back the Transfer (without removing it from the surface completely) and let the paste dry before continuing. You can use a Quick Dry Tool to expedite the drying process. Lay the Transfer back down over the chalked section.
4. Repeat steps as necessary until the design has been completely chalked. Remove your Transfer from the surface and immediately clean the Transfer with cool water (do not let it soak). Dry the Transfer flat with the sticky side up.
5. Allow the Transfer to dry completely before using it again to apply paste to your Chalkable Shape (chalk-and-pull method is not needed).
6. Clean and care for the Transfer again, according to the instructions given in step 4. Once dry, reapply the Transfer Backer Sheet and store flat.
7. Use hot glue to adhere the Chalkable Shape to the Pallet Sign, directly over top of where you chalked its corresponding element on the surface.
Add this beautiful piece to your seasonal décor!

Not a Club Member yet?

Love your Club Couture membership, but want more to use them on? Get a Best Basics Chalk It Up Kit!
Our basic instructions go like this: choose a surface and Transfer, add some paste or ink, and start creating. With the Best Basics Chalk It Up Kit, you’ll have what you need to carry out those instructions and you’ll be well on your way to artistry!
This kit includes two of our favorite surfaces: Board & Base (perfect for A-sized Transfers) and a Sylvie White Frame (perfect for B-sized Transfers). Both surfaces are reusable with Chalkology Paste, and can be used in either landscape or portrait orientation. Plus, that Board & Base is reversible so you can have two projects to display all at once!
Are you a pumpkin lover? I sure am! I buy as many pumpkins that I can fit on my porch!
Do you make stuff for your home? Let me know! I would love to hear all about it!

LET'S BE FRIENDS ON SOCIAL MEDIA:
Find me on Instagram: https://bit.ly/2QTKYg4
Find me on Pinterest: https://bit.ly/3iaX94p
Find me on Facebook: https://bit.ly/3hYyoZ0
Join my VIP Group: https://bit.ly/2QPLgEV
What Is Chalk Couture?: https://youtu.be/nyosBF7gSxo
See how to create with Chalk Couture: https://youtu.be/jHLd2P2zqWo
SHOP MY CHALK COUTURE SITE:
What Is Chalk Couture: https://youtu.be/nyosBF7gSxo
SAVE 40% OFF EVERYTHING & JOIN MY TEAM AS A DESIGNER:
Why Join: https://youtu.be/eCxxbvCWCUg
What Is In The Kit: https://youtu.be/qiVdqk2RDdw
JOIN MY CLUB COUTURE & GET EXCLUSIVE PERKS:
What Is Club: https://www.youtube.com/watch?v=ZCvBz-ApN8s
EXCLUSIVE DISCOUNT: 25% OFF, Happy Mail, Exclusive Lives, Art Giveaways, and other benefits
CHALK COUTURE PRODUCTS
Transfers:
Chalkology Paste:
Chalkology Ink:
Surfaces:
Accessories:
Like these but not sure what Chalk Couture is- Click here to read all about it!
Wanna shop for some Chalk Couture stuff? Click here to check out all the amazing items!
And as always, help a sister out by sharing this post, like it and leave me a comment!
Until then...


