☀️ Chalk x Tiffani Thiessen: A Summer 2025 Collaboration Full of Charm and Creativity
Summer just got a whole lot more stylish — and delicious — thanks to the brand-new Chalk Couture x Tiffani Thiessen Summer 2025 Collaboration! Known for her iconic roles on-screen and her modern take on family, food, and fun, Tiffani brings her signature warmth and creativity to this exclusive Chalk Couture collection that’s perfect for the season.

🎨 A Match Made in Maker Heaven
Tiffani Thiessen isn’t just a TV star — she’s a passionate DIYer, cookbook author, and lifestyle guru. Her love of gathering, decorating, and creating made her the perfect partner for Chalk Couture’s latest summer launch. This collection is full of hand-drawn charm, nostalgic summer vibes, and playful touches that reflect her authentic, approachable style.
From backyard barbecues to beach house chic, the Chalk x Tiffani pieces are designed to make summer memories even more special.

✨ What’s in the Collection?
The Chalk x Tiffani Thiessen Summer 2025 Collection features:
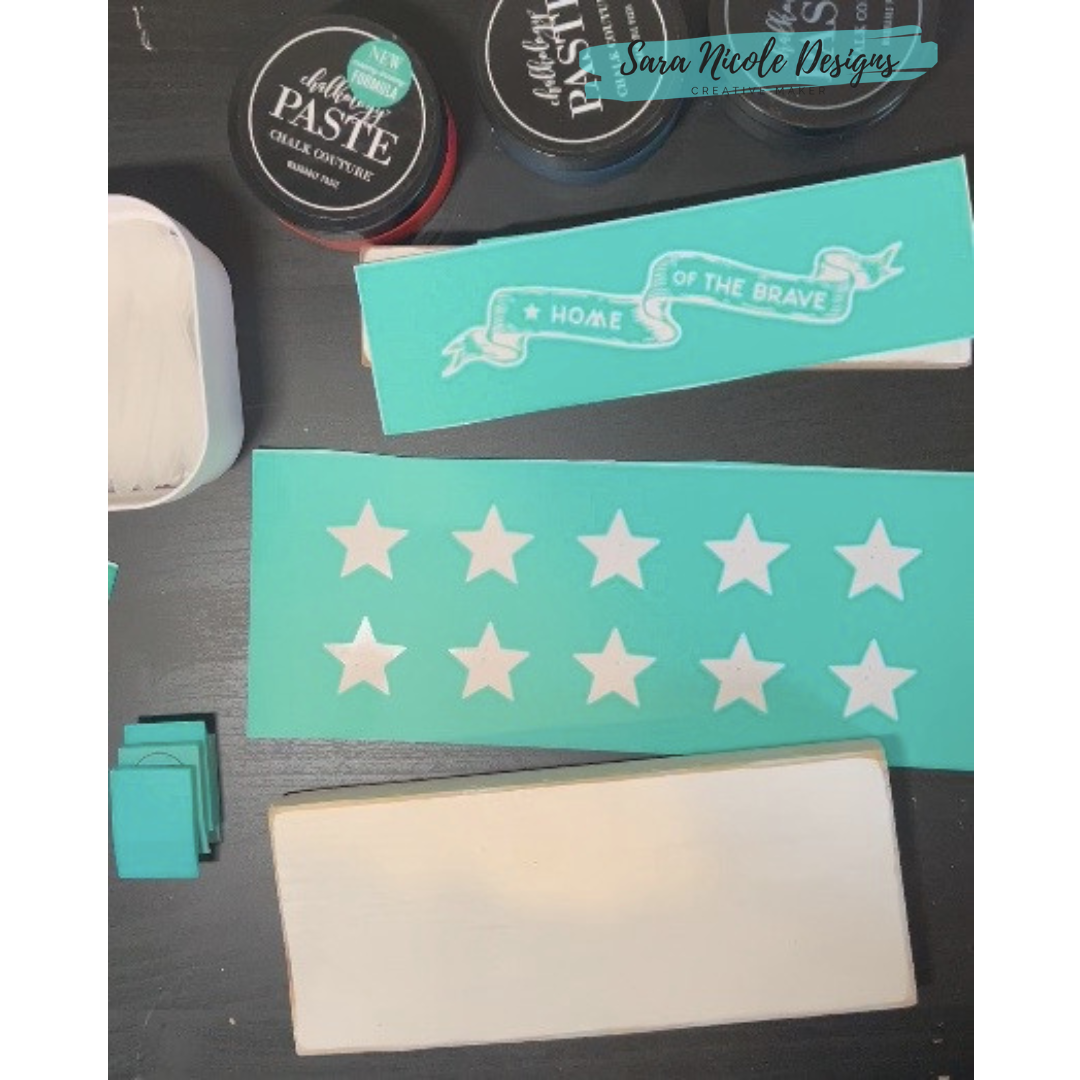
Exclusive Chalk Transfer® designs inspired by Tiffani’s favorite summer traditions — think lemonade stands, backyard hangs, and vintage picnic vibes.
Fresh typography and illustrations that blend farmhouse charm with California cool.
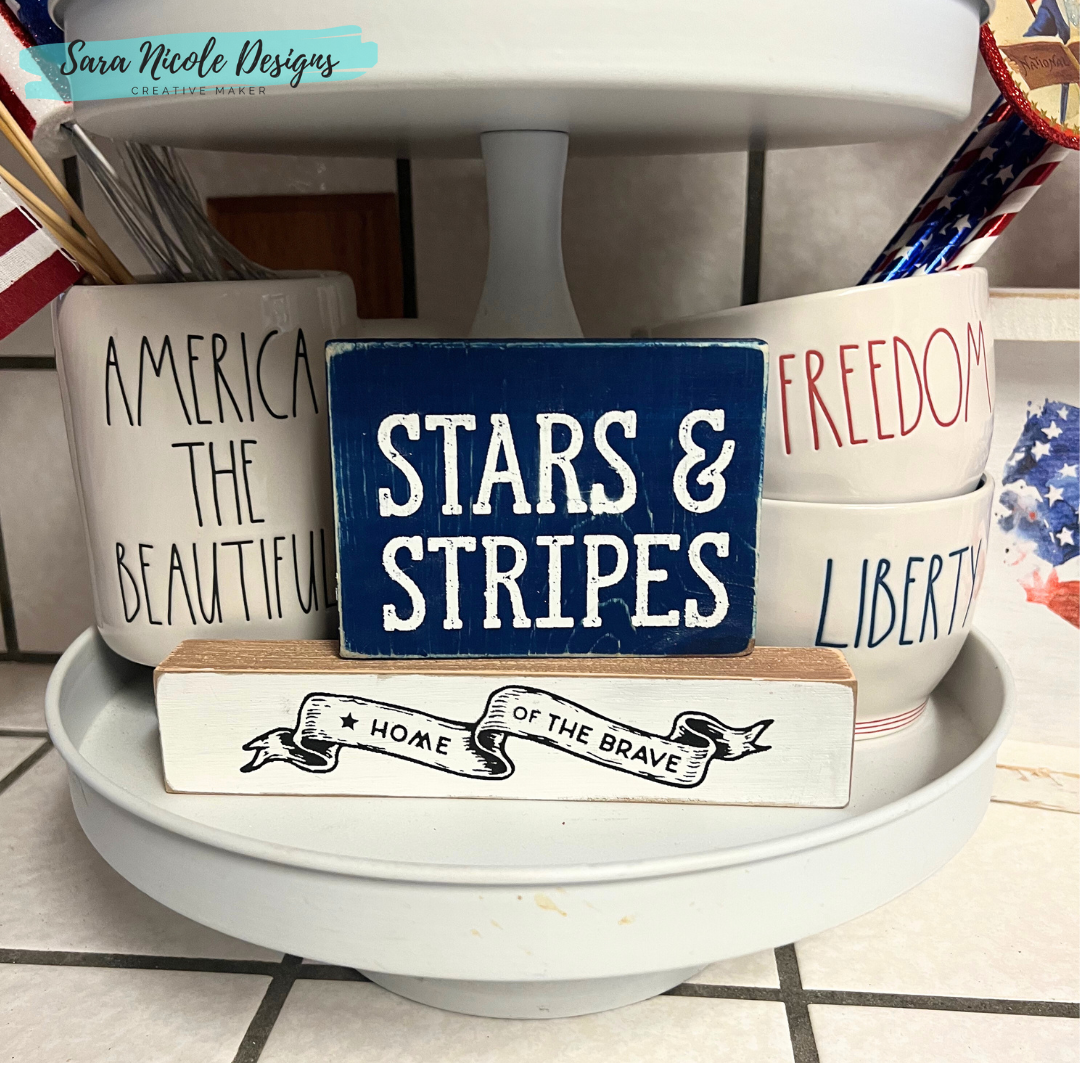
Whether you're jazzing up a picnic table sign, crafting a summer hostess gift, or adding charm to your entryway, these pieces are made to mix, match, and love all season long.

🍋 Why You'll Love It
This collaboration is more than just pretty transfers and trendy décor — it’s about capturing that easygoing, joyful feeling of summer. It’s a celebration of:
Time together with friends and family
Slowing down to make something with your hands
Bringing beauty into your everyday spaces
Tiffani’s designs remind us that home is wherever we gather — and Chalk Couture gives you the tools to make it memorable.
🛍️ Where to Find It
You can explore the full Tiffani Thiessen x Chalk Couture collection on the official Chalk Couture website or through your favorite Chalk Couture Independent Designer.
Hurry — this collection is limited edition and will go fast once word gets out!
Get Inspired
Be sure to follow @ChalkCouture and @TiffaniThiessen on social media for project ideas, styling tips, and behind-the-scenes peeks at this fun summer partnership.
Sunshine, style, and a splash of creativity — this is one summer launch you don’t want to miss. Grab your favorite surface, pick up some paste, and chalk it up with Tiffani!


I'd love to see what you create! Share your Chalk Couture projects in the comments below!
Happy Chalking!