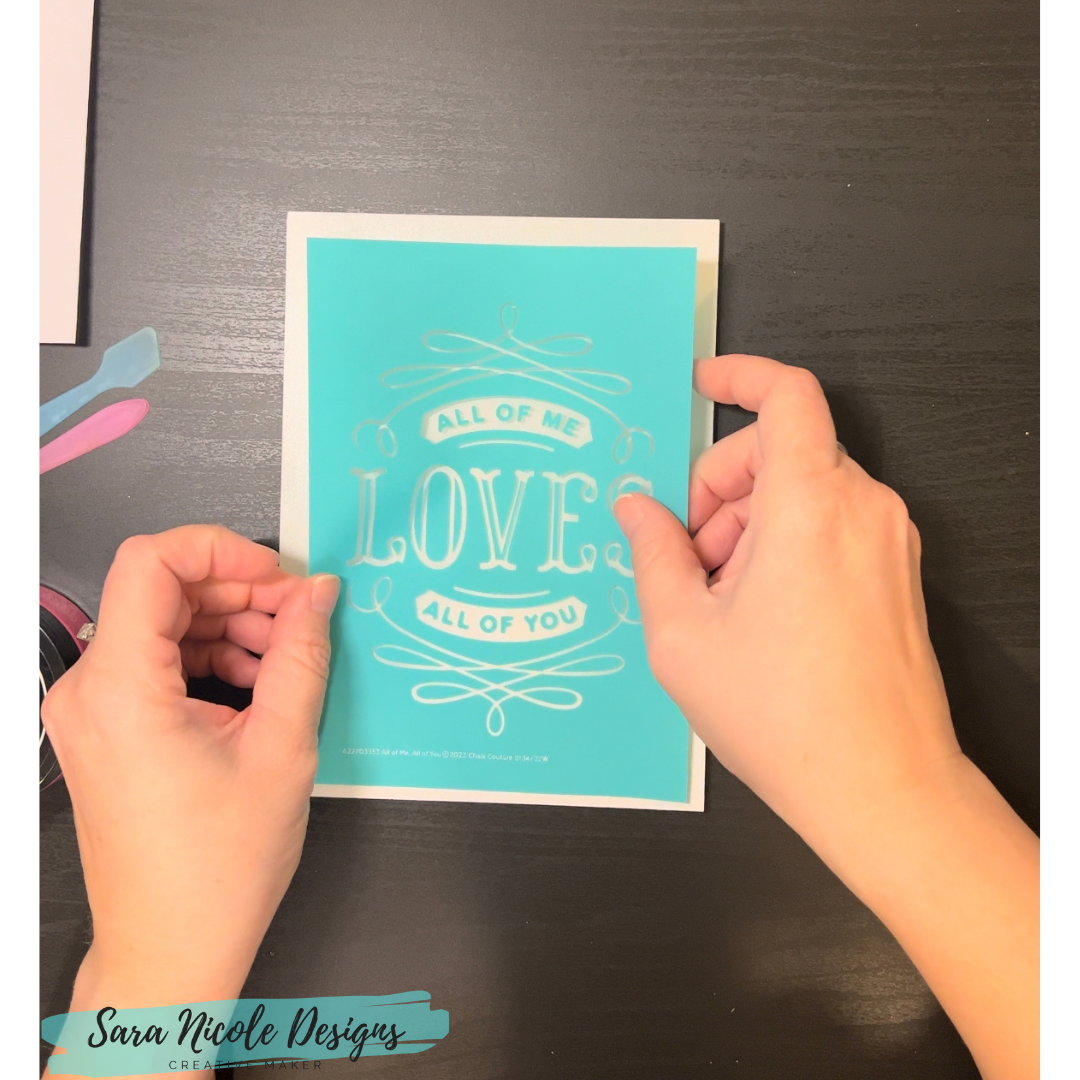
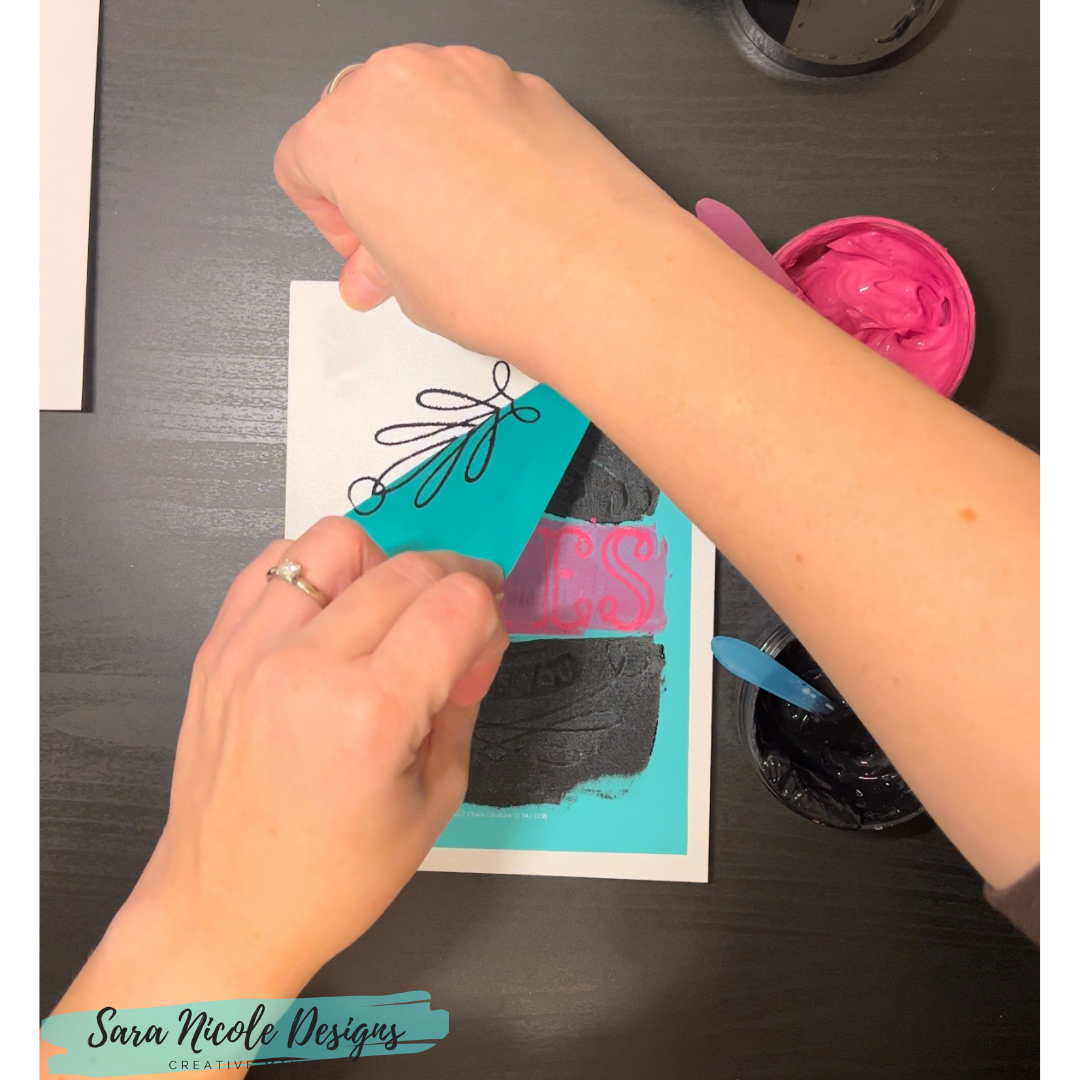
Celebrate Your Way
Whether you’re a fan of rustic neutrals or a pop of pastels in your Easter décor, create what makes your heart hippity-hop for joy with our line of Chalkology® Paste and Ink, unique surfaces, and seasonal Transfer styles!

Here comes Peter Cottaintail, hopping down the bunny trail toward a beautiful, farmhouse inspired piece. This Easter Transfer is made to be the focal piece of your seasonal décor! Just look at it! With so much detail and delicate, rustic flair, it's a can't miss.

Four great egg-shaped designs are perfect on just about any surface. Use them individually or layered together, and accent with a beautiful Easter lilly. This is a whole basket-full of egg-cellent projects, just waiting to be found!

Add dimension to any project with reusable Couture Boutique® Chalkable Shapes! This set includes 4 pieces to coordinate with our Easter Eggs Transfer to make your décor pop.

Etched carrot designs and timeless farm-inspired sentiments? We say yes! Bring spring home with the Carrot Farms Transfer.

Did you "ear" how cute this sweet A-sized Transfer is? Add your own ear-resistable touch to any Easter-themed project with this fun design.

You'll be hopping for joy when you put this Transfer to work! The pattern can be repeated top to bottom or side to side for larger surfaces or used in sections for smaller surfaces. Great for classes and workshops, this is a Transfer every bunny will be springing to use.

Whether it's a hot chocolate or something a little stronger, nothing beats setting your beverage on a cute, customized coaster! Forget coffee table books, these Couture Boutique® surfaces are the best conversation starters for a crafter. Coasters measure 4" in diameter and can be sealed for one-time use or washed and re-chalked as a reusable surface.

Build your own Easter hill scene with the layerable elements in this stencil. Design pieces are ready to work together to help you create your own spiritually-inspired piece of work.

Vintage Easter has arrived at the Spring Cottontail Market and we're not hesitating to say every bunny is welcome! This hand-drawn image yields a high-end project every single time!

Chicks, bunnies, hand-drawn images, and more; capture the full essence of Easter all in one cut-apart Transfer. Create a full vignette, work the pieces together, create gifts and gift packaging, and do it all with Chalk Couture!

Duck, duck—oh wait, it's a lamb—GOOSE! This adorable duo surely has a story, perhaps a fairytale of sorts about two unlikely friends and their grand adventures. With playful accessories to dress them up a bit, have fun with the whimsy of this Transfer!

Add dimension to any project with reusable Couture Boutique® Chalkable Shapes! This set includes 2 pieces to coordinate with our Lamb And Goose Transfer to make your décor pop.

Your search is over for the Egg Hunt Chalkology® Paste Singles Palette Pack! Each Palette Pack includes 6 singles (.19 fl. oz. each): Sunny Side, Peony, Peach Cobbler, Wisteria, Shimmer Olive, and Eggshell Blue.
Do you make stuff for your home? Let me know! I would love to hear all about it!
LET'S BE FRIENDS ON SOCIAL MEDIA:
Find me on Instagram: https://bit.ly/2QTKYg4
Find me on Pinterest: https://bit.ly/3iaX94p
Find me on Facebook: https://bit.ly/3hYyoZ0
Join my VIP Group: https://bit.ly/2QPLgEV
What Is Chalk Couture?: https://youtu.be/nyosBF7gSxo
See how to create with Chalk Couture: https://youtu.be/jHLd2P2zqWo
SHOP MY CHALK COUTURE SITE:
What Is Chalk Couture: https://youtu.be/nyosBF7gSxo
SAVE 40% OFF EVERYTHING & JOIN MY TEAM AS A DESIGNER:
Why Join: https://youtu.be/eCxxbvCWCUg
What Is In The Kit: https://youtu.be/qiVdqk2RDdw
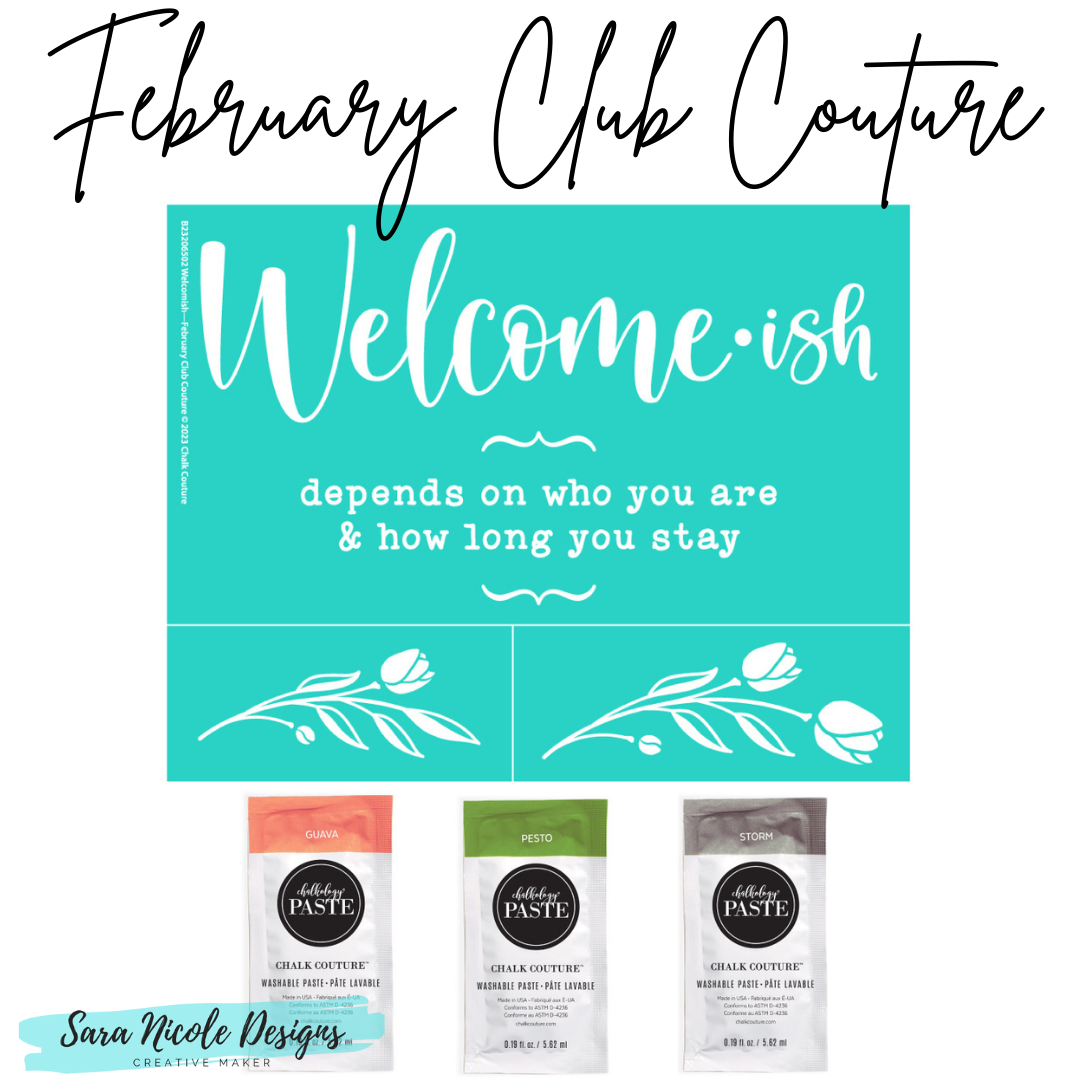
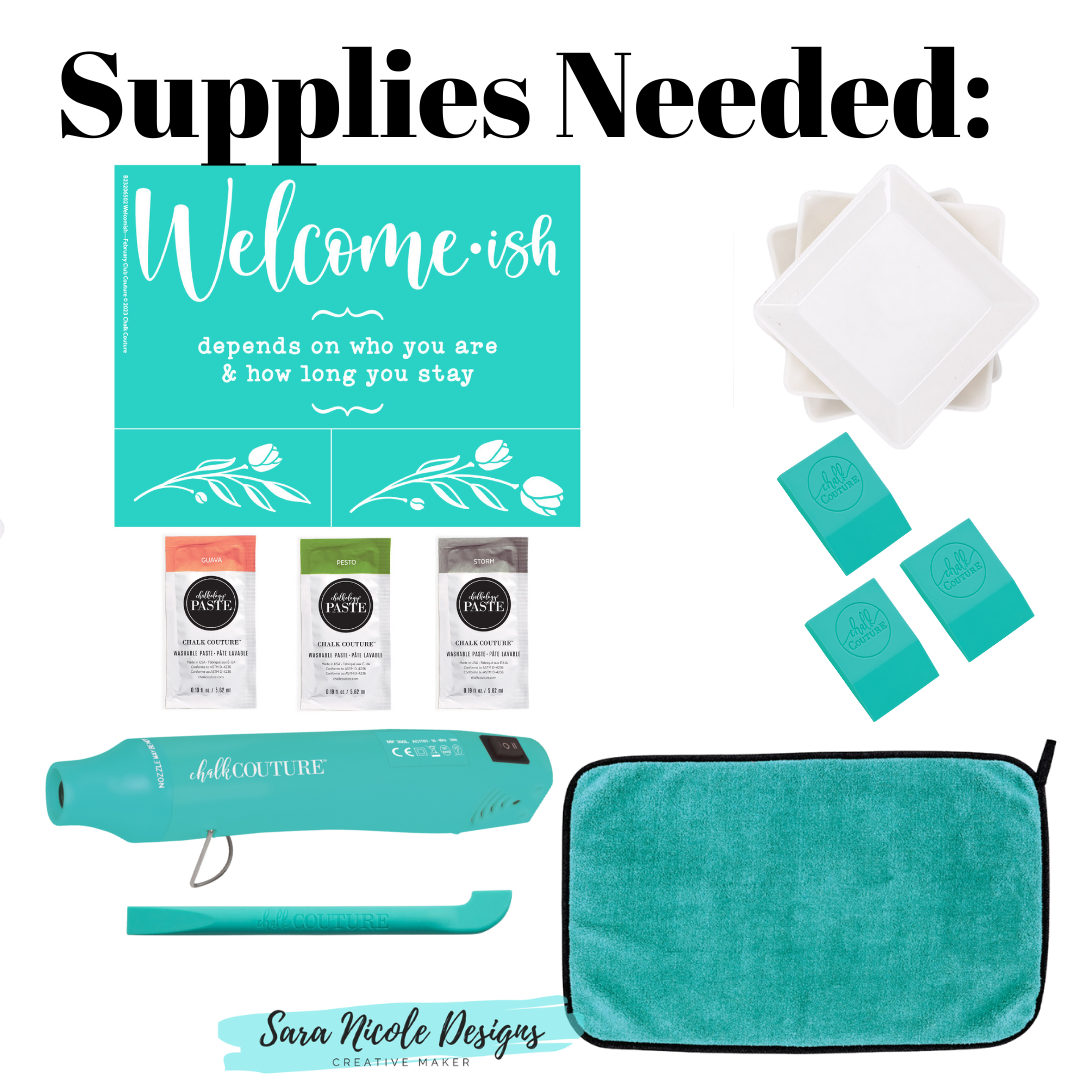
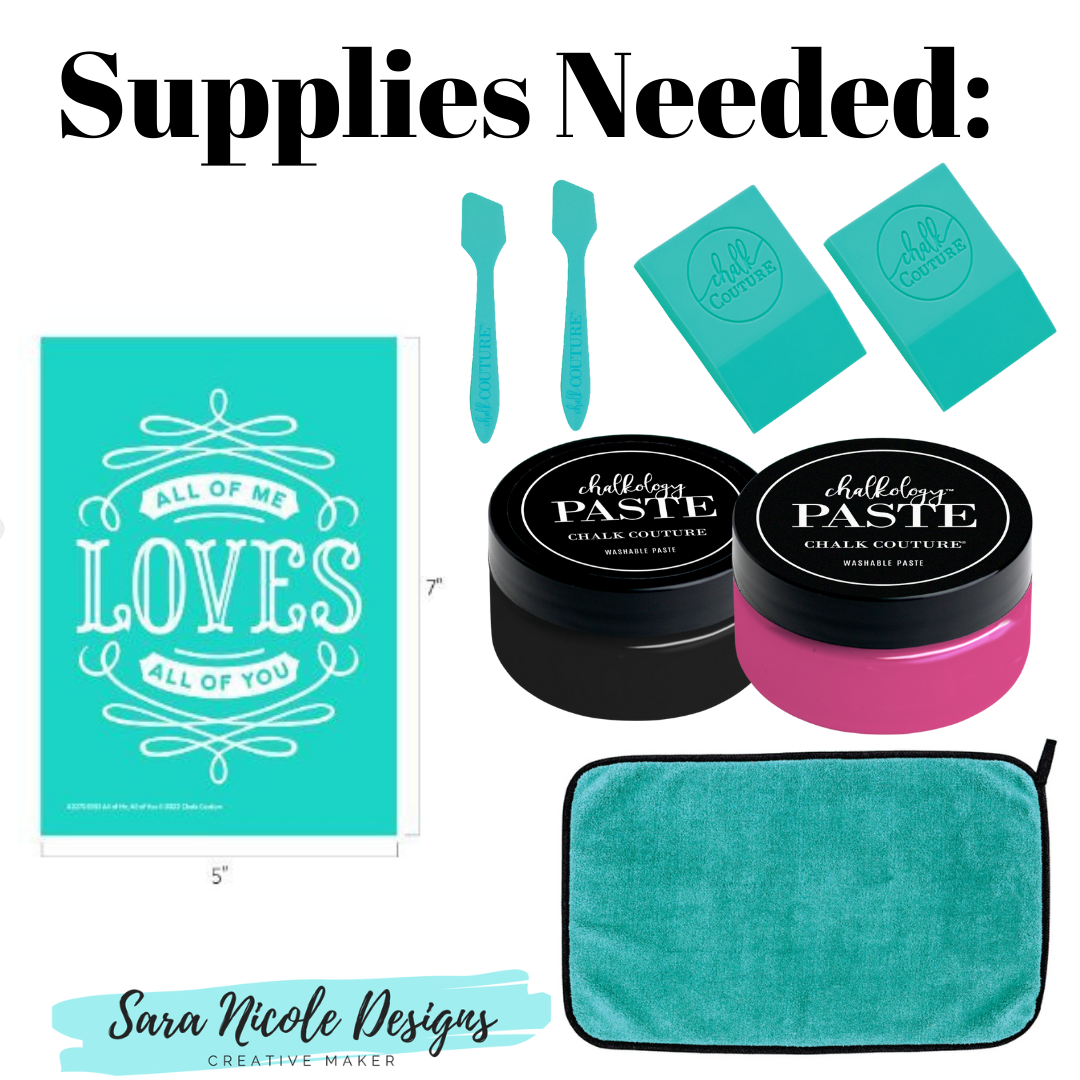
JOIN MY CLUB COUTURE & GET EXCLUSIVE PERKS:
What Is Club: https://www.youtube.com/watch?v=ZCvBz-ApN8s
EXCLUSIVE DISCOUNT: 25% OFF, Happy Mail, Exclusive Lives, Art Giveaways, and other benefits
CHALK COUTURE PRODUCTS
Transfers:
Chalkology Paste:
Chalkology Ink:
Surfaces:
Accessories:
Like these but not sure what Chalk Couture is- Click here to read all about it!
Wanna shop for some Chalk Couture stuff? Click here to check out all the amazing items!
And as always, help a sister out by sharing this post, like it and leave me a comment!
Until then...