Monday, September 19, 2022

Easy Pumpkin Oatmeal Muffins // Only 6 ingredients!

Pumpkin Oatmeal Muffins

We finally had a fall-like day yesterday so I knew it was perfect to make some oatmeal pumpkin muffins. I had looked up different recipes on Pinterest and I decided to just make it up as I go. These will definitely be a staple during the fall season since they are a great breakfast or after school snack.  

Here's what you need: 

1. 1 Spice Cake Mix

2. 1- 15oz can of Pumpkin Puree

3. 4 eggs

4. oatmeal

5. water

6. pumpkin pie spice


Step 1: Preheat oven to 350 degrees. Mix eggs, cake mix, and pumpkin puree together and mix well. You could use a Kitchen Aid to mix together, but I just hand mixed it.

Step 2: Time to add in the oatmeal. I didn't measure but just added as much as I thought would be good. If i guessed, I would say I added at least 2 cups of oatmeal. 

Step 3: Now this is going to be thick, so this is where I added a little water. I started off with adding 1/4 of a cup and mixed well. It was still a little thick, so I added another 1/4 of a cup of water.

Step 4: I added baking cups in the muffin tin, then filled those use 3/4 full. 

Step 5: After filling, I sprinkled a little pumpkin pie spice on top. I filled up all 12 muffins spots.

Step 6: Place pan into the pre-heated over. Bake for 25-30 minutes. 

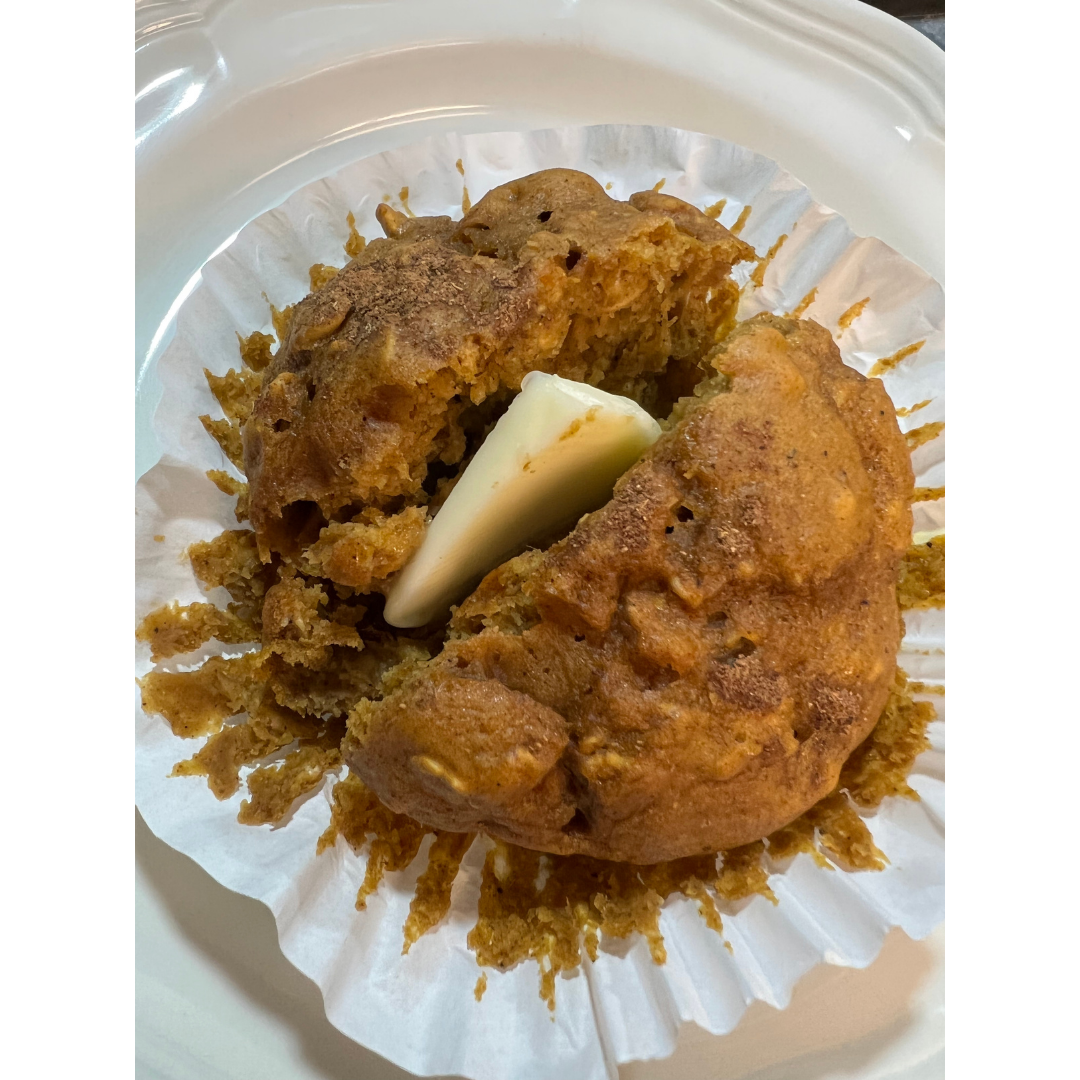
I checked the middle of the muffins with a knife to make sure they were fully cooked. I let them cool a bit, but enjoyed the 1st muffin with a little butter and they were amazing. 


Let me know if you make them and what do you think of them! 

FYI- I don't know the nutrition facts. I am not a certified nutritionist. Please consult a professional nutritionist or doctor for accurate information and any dietary restrictions and concerns you may have.
  

Are you ready for Fall or do you want a little more Summer? I know I'm ready for Fall! 

 Do you make stuff for your home? Let me know! I would love to hear all about it! 


LET'S BE FRIENDS ON SOCIAL MEDIA:  
Find me on Instagram: https://bit.ly/2QTKYg4
Find me on Pinterest: https://bit.ly/3iaX94p
Find me on Facebook: https://bit.ly/3hYyoZ0
Join my VIP Group: https://bit.ly/2QPLgEV

What Is Chalk Couture?: https://youtu.be/nyosBF7gSxo
See how to create with Chalk Couture: https://youtu.be/jHLd2P2zqWo

SAVE 40% OFF EVERYTHING & JOIN MY TEAM AS A DESIGNER: 
What Is In The Kit: https://youtu.be/qiVdqk2RDdw

JOIN MY CLUB COUTURE & GET EXCLUSIVE PERKS: 
EXCLUSIVE DISCOUNT: 25% OFF, Happy Mail, Exclusive Lives, Art Giveaways, and other benefits

CHALK COUTURE PRODUCTS
Transfers: 
Chalkology Paste:
Chalkology Ink: 
Surfaces: 
Accessories: 

Like these but not sure what Chalk Couture is- Click here to read all about it! 

Wanna shop for some Chalk Couture stuff? Click here to check out all the amazing items! 

And as always, help a sister out by sharing this post, like it and leave me a comment! 

Until then...


Sunday, September 11, 2022

September Club Couture - Grateful for this Day - Done my way! // Let's chalk!

September's Club Couture is just perfect for Fall time to make it's entrance.... finally. Here in Lodi, we just had a weeks worth of over 110 degrees, and even a 117 degree day! If you know me, Fall is my jam and I and so ready for it!


I grabbed my go-to surface, the  9" x 12" Aiden Frame that came in my kit. This is one of my all time favorite surfaces. 

 Step 1: Grab all of the supplies needed: Club Couture Transfer, surface, chalk pastes in Rose Gold Shimmer and Bright White, Squeegees, stir sticks and fuzzing cloth

Step 2: Stir up your pastes so they are ready to use.
 

Step 3: Fuzz that transfer! This may take a few times, but you want to get a lot of the stickiness off. This may take 10-15 times. There are 2 different sides to the fuzzing cloth - a softer side and a rougher side- Use which one works best for you!

Step 4: Lay the transfer down in the position that you want. 


Step 5: 1 grabbed the Rose Gold Shimmer Paste and did everything but the words. 

Step 6: I used the Bright White Chalk Paste for the words in the middle. 

Step 7: Time to remove the transfer. Lift up transfer and wash it off. The faster you wash it, the cleaner it will be. Use the Board Eraser to get it really clean, really easy. Its a great tool! After washing, lay it upside down so it can dry and you can put on the backing. These transfers are meant to be used 8-12 times each! But I have heard of people using them way more than that! Now clean your tools. During the chalking, I will wipe them will baby wipes, but when I am done, I just put them in a mason jar filled will water. These are easy to clean too. I've never even needed soap to clean them. 


I love how this turned out! This Gold Rose Shimmer Chalk Paste is so pretty. I can't wait to display this with all my fall decor. 

Are you ready for Fall or do you want a little more Summer? I know I'm ready for Fall! 

 Do you make stuff for your home? Let me know! I would love to hear all about it! 

LET'S BE FRIENDS ON SOCIAL MEDIA:  
Find me on Instagram: https://bit.ly/2QTKYg4
Find me on Pinterest: https://bit.ly/3iaX94p
Find me on Facebook: https://bit.ly/3hYyoZ0
Join my VIP Group: https://bit.ly/2QPLgEV

What Is Chalk Couture?: https://youtu.be/nyosBF7gSxo
See how to create with Chalk Couture: https://youtu.be/jHLd2P2zqWo

SAVE 40% OFF EVERYTHING & JOIN MY TEAM AS A DESIGNER: 
What Is In The Kit: https://youtu.be/qiVdqk2RDdw

JOIN MY CLUB COUTURE & GET EXCLUSIVE PERKS: 
EXCLUSIVE DISCOUNT: 25% OFF, Happy Mail, Exclusive Lives, Art Giveaways, and other benefits


Like these but not sure what Chalk Couture is- Click here to read all about it! 

Wanna shop for some Chalk Couture stuff? Click here to check out all the amazing items! 

And as always, help a sister out by sharing this post, like it and leave me a comment! 

Until then...


Thursday, September 1, 2022

🍂🍁September Club Couture - Grateful For This Day // Let's get chalking 🍂🍁

A spray of foliage and classic autumn leaves welcome the next season and remind us of the importance of daily gratitude. This month’s Club Couture™ subscription includes Chalkology® Paste Singles in Black Velvet, Camel, and Rust, for a look that says, “It’s fall coming back to me now.


Ready to start this months creation? Follow along!

This month’s Club Couture™ subscription includes Chalkology® Paste Singles in Black Velvet, Camel, and Rust.

Supplies Included: 

-Club Chalk Couture Design: Grateful For This Day 
-Chalkology® Paste Singles: Black Velvet, Camel, and Rust*

Additional supplies needed:

-Pallet Sign (9" × 12")
-Color Trays
-Fuzzing Cloth
-Mini Squeegee
-Multi-Tool
-Mini Squeegee

Color and Placement Suggestions

Black Velvet: sentiment 
Camel: foliage
Rust: autumn leaves and acorns

Follow these instructions to complete this project:

  1. Peel off the Transfer Backer Sheet and “fuzz” the Transfer by gently pressing onto a Fuzzing Cloth and carefully pulling it upward.

  2. Center the Transfer on the surface; smooth it out to ensure it has properly adhered and that there are no bubbles or wrinkles.

  3. Knead your Chalkology Paste Singles and cut them open. Squeeze the desired amount of paste onto a Color Tray, using a new tray for each color.

  4. Use your Mini Squeegee to apply color over your Transfer (see “Color and Placement Suggestions”). Scrape away excess paste as evenly as possible.

  5. For best results, divide your project into sections and use the chalk-and-pull method. Chalk the top section of the foliage design and peel back that portion to let the paste dry before continuing.

  6. Gently lay the Transfer back down over the chalked section. Ensure the unchalked sections of the Transfer are fully adhered, without bubbles or wrinkles. Repeat the above steps as you chalk the remainder of the Transfer.

  7. Once fully chalked, and before the paste dries, remove Transfer from surface and immediately clean the Transfer with cool water (do not let it soak).

  8. Dry the Transfer flat with the sticky side up. Once dry, reapply the Transfer Backer Sheet and store flat.

  9. “Fall” into the new season with your latest project!


Not a Club Member yet?


Love your Club Couture membership, but want more to use them on? Get a Best Basics Chalk It Up Kit

Our basic instructions go like this: choose a surface and Transfer, add some paste or ink, and start creating. With the Best Basics Chalk It Up Kit, you’ll have what you need to carry out those instructions and you’ll be well on your way to artistry!

This kit includes two of our favorite surfaces: Board & Base (perfect for A-sized Transfers) and a Sylvie White Frame (perfect for B-sized Transfers). Both surfaces are reusable with Chalkology Paste, and can be used in either landscape or portrait orientation. Plus, that Board & Base is reversible so you can have two projects to display all at once!

Are you ready for Fall or do you want a little more Summer? I know I'm ready for Fall! 

 Do you make stuff for your home? Let me know! I would love to hear all about it! 

LET'S BE FRIENDS ON SOCIAL MEDIA:  
Find me on Instagram: https://bit.ly/2QTKYg4
Find me on Pinterest: https://bit.ly/3iaX94p
Find me on Facebook: https://bit.ly/3hYyoZ0
Join my VIP Group: https://bit.ly/2QPLgEV

What Is Chalk Couture?: https://youtu.be/nyosBF7gSxo
See how to create with Chalk Couture: https://youtu.be/jHLd2P2zqWo

SAVE 40% OFF EVERYTHING & JOIN MY TEAM AS A DESIGNER: 
What Is In The Kit: https://youtu.be/qiVdqk2RDdw

JOIN MY CLUB COUTURE & GET EXCLUSIVE PERKS: 
EXCLUSIVE DISCOUNT: 25% OFF, Happy Mail, Exclusive Lives, Art Giveaways, and other benefits


Like these but not sure what Chalk Couture is- Click here to read all about it! 

Wanna shop for some Chalk Couture stuff? Click here to check out all the amazing items! 

And as always, help a sister out by sharing this post, like it and leave me a comment! 

Until then...

Google Analytics

AUTO ADS BODY