This collection offers 18 new evergreen Transfers, 1 new Surface with refillable options and 9 Chalkable shapes! There is also 10 digital downloads too! There’s something for everyone, whether you’re looking for a specific project size, or you want to be inspired by a certain space, occasion, or surface. Find what is calling out to you!
We've taken fine-line drawings to the next level with the Dragonfly Vines stencil! Elegant foliage, fluttering dragonflys, and a bold welcome make this Transfer mixable, matchable, and versatile for all your evergreen projects.
SKU: B24104301
You're the main character! On a tote bag or a T-shirt, this retro design is the perfect way to let everyone know that we're all just a part of your story. Chalk it all in one color or come up with your own color scheme to match your energy.
Being kind is cool. Enough said. Spread kindness and share this message on a project in your home or at the office, even wear it out and about on a T-shirt or tote bag. Use the individual elements to make it your own!
Jazz things up with a stencil that's ready to make some noise in your next project! Pluck the individual elements out of this design or create a concert, using all of them combined.
You're gorgeous, darling, and we see you that way no matter what you look like. Great for T-shirts, display pieces, gifts, and more, this Chalk Transfer® design is calling for your own touch of creativity. Wake up and get right to it!
Celebrate good times––hooray! This Chalk Transfer® design makes us want to party. With dotted elements designed to be layered, create a fun and festive project for any celebration, from birthdays to New Year's Eve.
Click here to buy the coordinating Digital Download. Create something new with the look and feel of something well-loved! The Antique Typewriter Keys stencil gives the impression of age and whethering to any project. Find the "write" message and share it with this design!
Click here to buy the coordinating Digital Download. Add texture, balance, character, composition, and depth to any project by beginning with any of these distinct, repeatable, everyday patterns. The organic nature of each design element makes this a fool-proof way to level up your projects.
Be bold with these seven repeatable patterns! These cut-apart designs make beautiful backdrops to any project or they work as great statement pieces all on their own.
Sometimes you just need a gentle reminder to "Let go and let God". This mixture of fonts and the cut-apart Transfer elements make it easy to customize an evergreen display piece for your home or a gift for a friend. God is good, and (in a very different way) so is this design from Chalk Couture™.
Click here to buy the coordinating Digital Download. This sassy sentiment showcases the classic bible verse in a unique, fun way that's the perfect fit for textile projects, like a tote bag or T-shirt, or for around the house. Be salty. Stay salty, y'all!
The perfect polka dot pattern doesn't exist—oh, wait, it does! The Medium Polka Dot design is a classic that will always come in handy. Layer it with other designs for a subtle and sweet addition to any project.
Think outside the box! Whether you're switching things up seasonally or just freshening up your décor, simply slide the chalkable surface out of the frame and replace it. Refills come in a double-sided wood grain finish (with stain on one side and a white-wash on the other) as well as a reusable Couture Boutique® finish. The outer frame measures approximately 10¼" x 13¼"; whereas the chalkable surface measures approximately 9” x 12”.
Fits a B Sized Transfer- See all B Sized Transfers HERE!
LET'S BE FRIENDS ON SOCIAL MEDIA:
SHOP MY CHALK COUTURE SITE:
SAVE 40% OFF EVERYTHING & JOIN MY TEAM AS A DESIGNER:
JOIN MY CLUB COUTURE & GET EXCLUSIVE PERKS:
EXCLUSIVE DISCOUNT: 25% OFF, Happy Mail, Exclusive Lives, Art Giveaways, and other benefits
CHALK COUTURE PRODUCTS
Transfers:
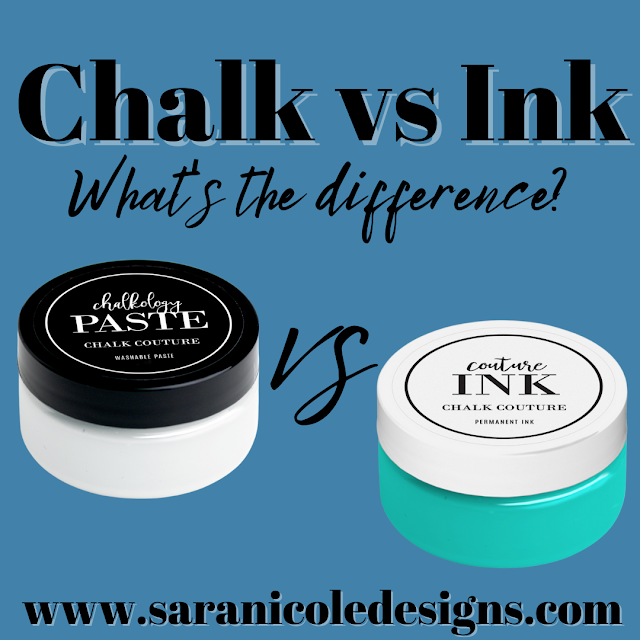
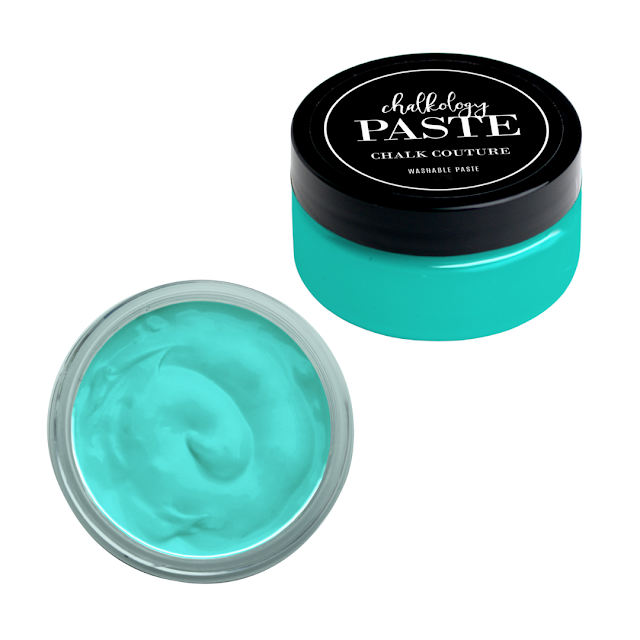
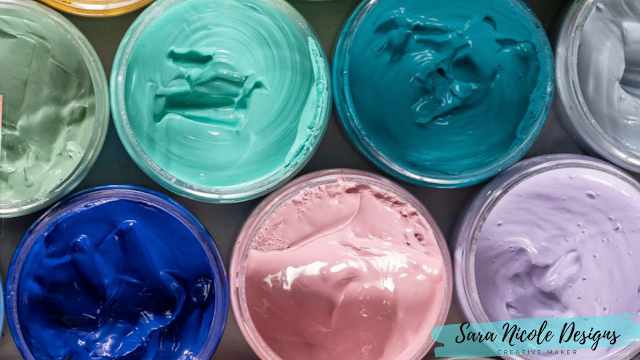
Chalkology Paste:
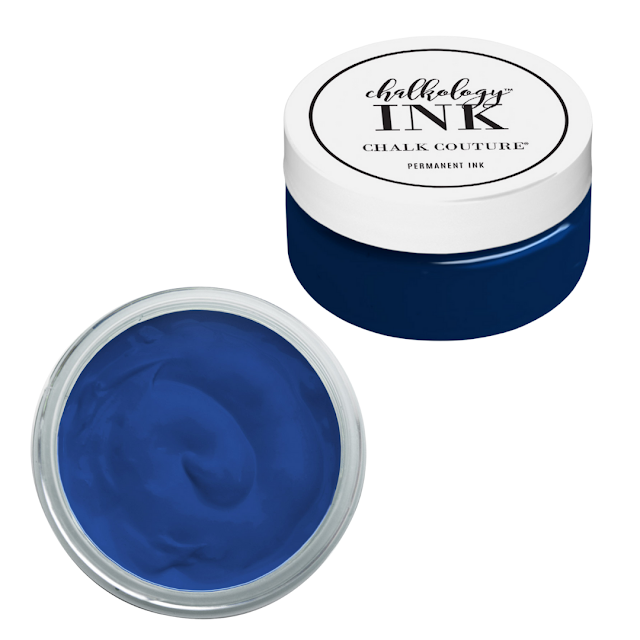
Chalkology Ink:
Surfaces:
Accessories:
Wanna shop for some Chalk Couture stuff? Click here to check out all the amazing items!
And as always, help a sister out by sharing this post, like it and leave me a comment!
Until then...