Showing posts with label Valentines Day Decor. Show all posts

Monday, February 5, 2024

DIY XOXO Canister // Make your own Valentines Day Decor! // Come chalk with me!


I love shopping for new holiday decor items, but sometimes storing all these new great items is a pain! All my totes almost (if not) already full and I'm pretty sure my husband doesn't want me to get anymore totes! So I decided to take an item I already have and use it. I have a Rae Dunn Christmas Canister that is blank on the back, so I decided to use this. This is perfect since it is pottery and has a shiny finish. Easy to remove when I want to change it out or put in away with the Christmas decor. 

Come see me create a new XOXO Valentines Day Canister!


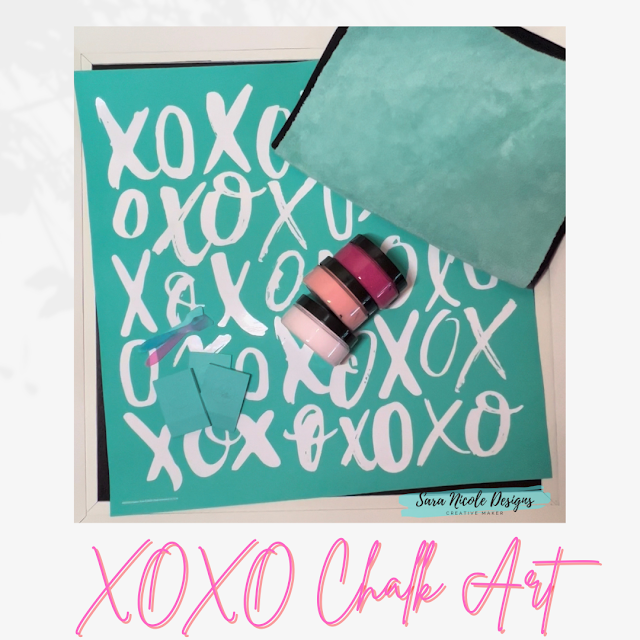
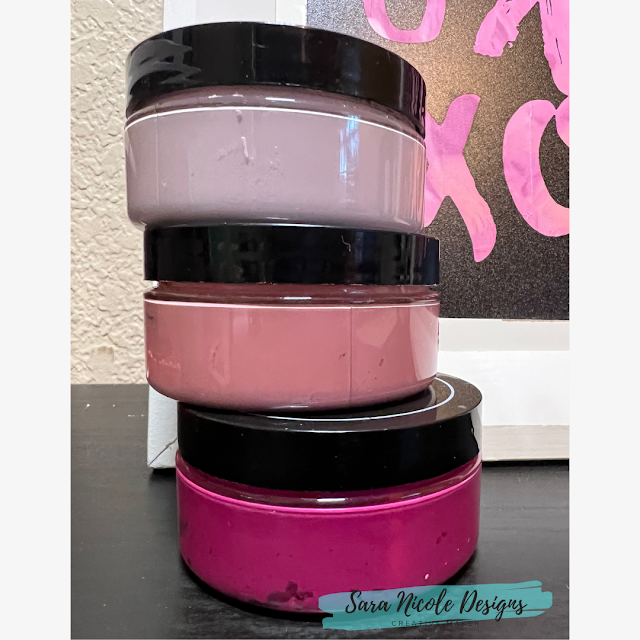
Step 1. 1st, I grabbed all my supplies - Hugs and Kisses XOXO Transfer,  Chalk Paste in Candy Apple, Fuzzing Cloth, mini squeegee and my Rae Dunn Canister. 

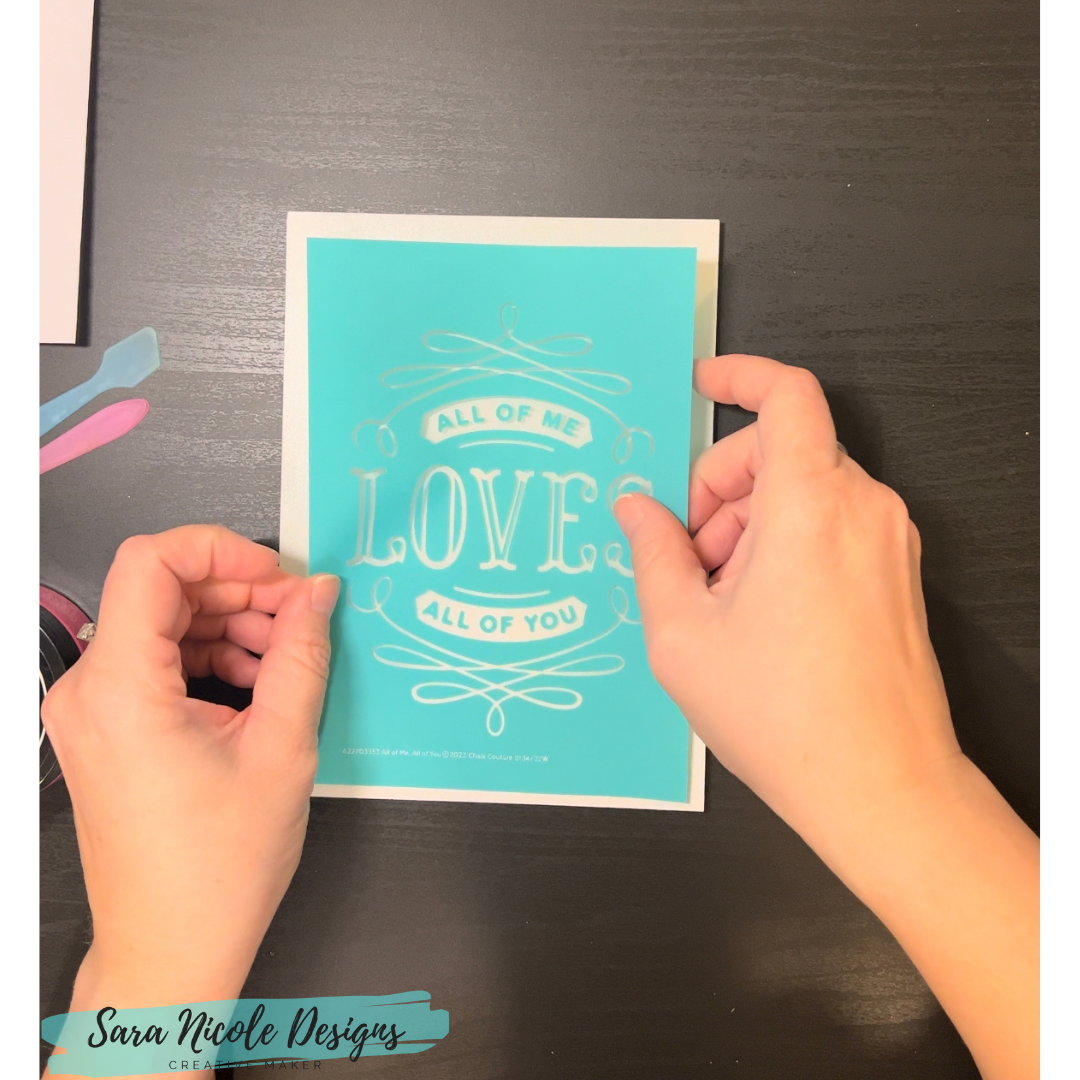
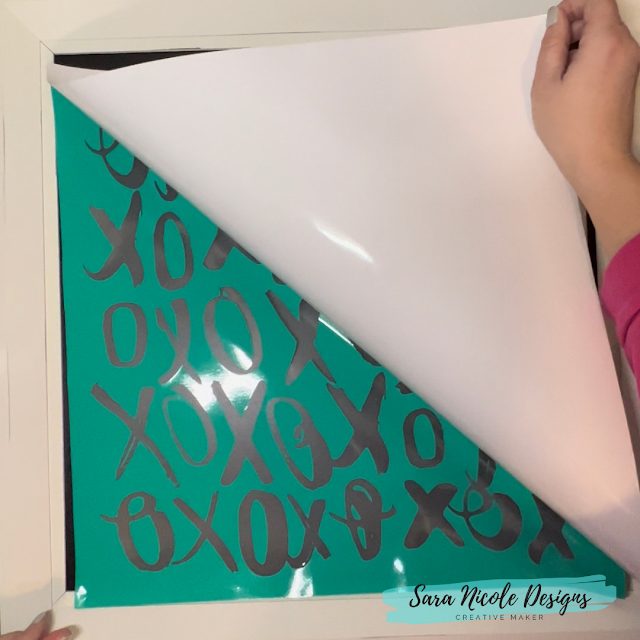
Step 2. Time to cut out the transfer that you want to use. 

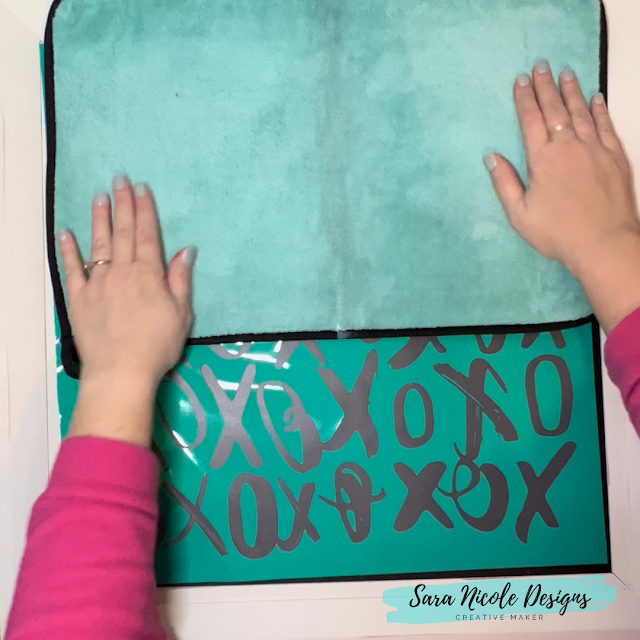
Step 3. Grab that Fuzzing Cloth and fuzz, fuzz, fuzz that transfer! 

Step 4. Time to place the transfer on the Canister. They nice thing is these new transfers are more see-through so it is easy to place on the surface. Also, you can take the transfer off and re-apply if you don't like the placement.

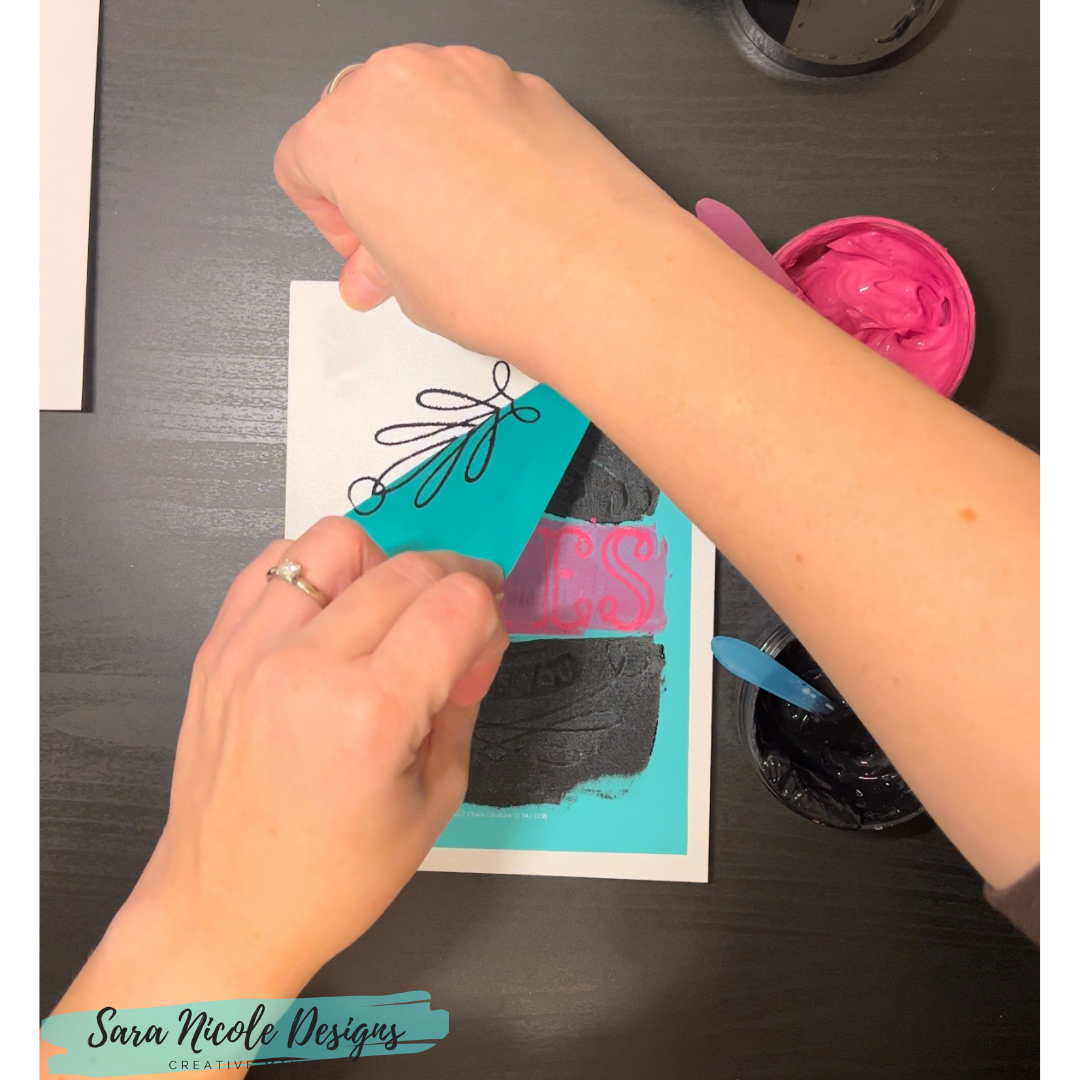
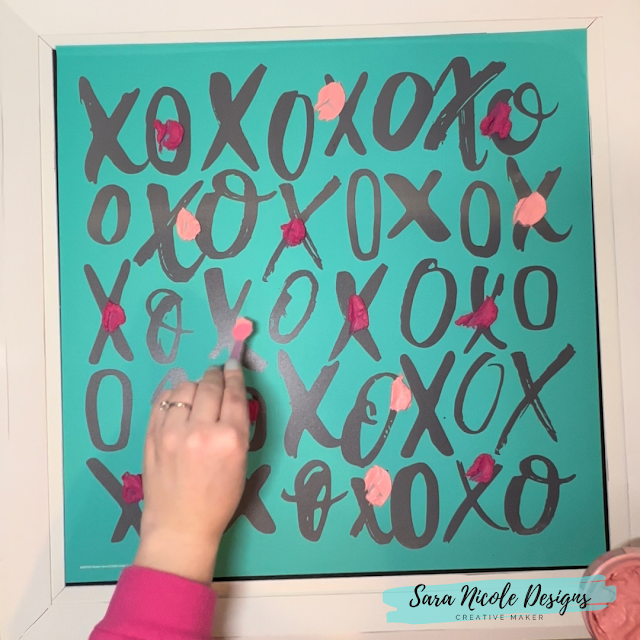
Step 5. Grab the Candy Apple Chalk Paste and give it a stir. Then it's time to chalk! Take a small amount and rub it all over the transfer. The best part is that you can take the excess chalk and put it back into the container. 

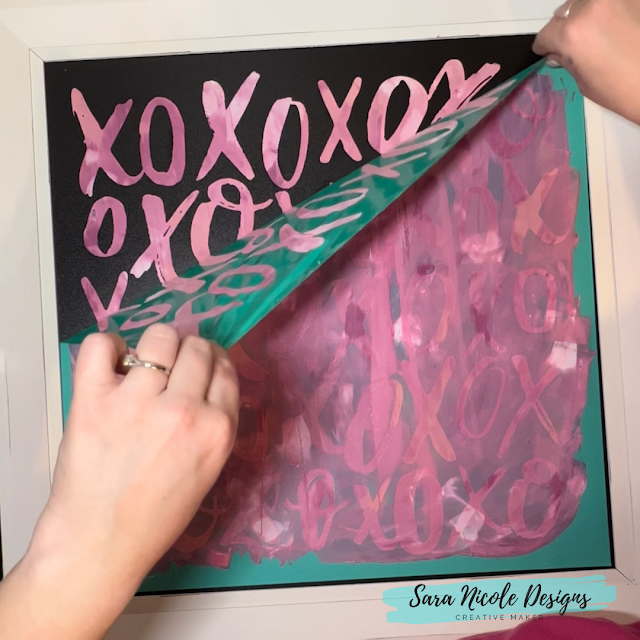
Step 6. Remove the transfer slowly and clean it right away. This helps from discoloration. Even if does get discolored, it doesn't harm it... it will still be sticky and work. I just like my transfer to still look pretty. Stir you chalk paste one more time an put the lid back on tight. I always soak my stir sticks and squeegees in warm soapy water. 

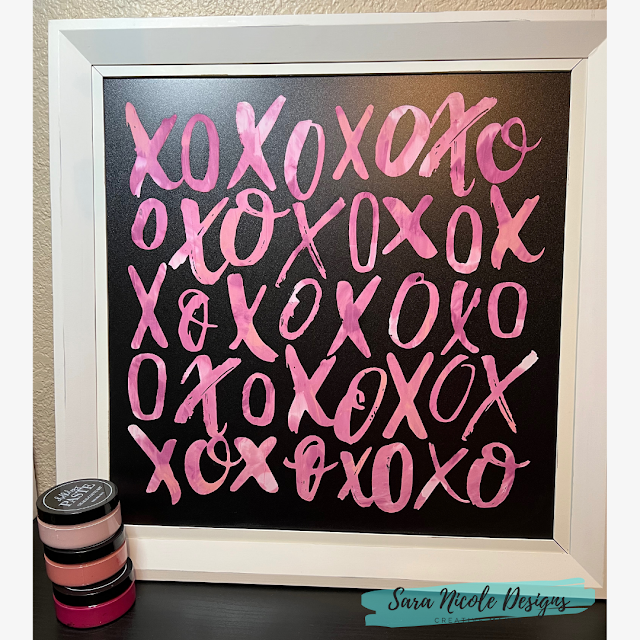
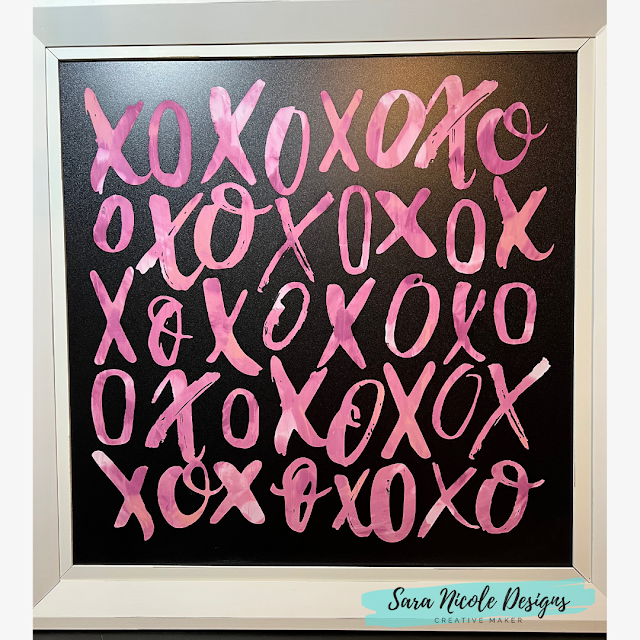
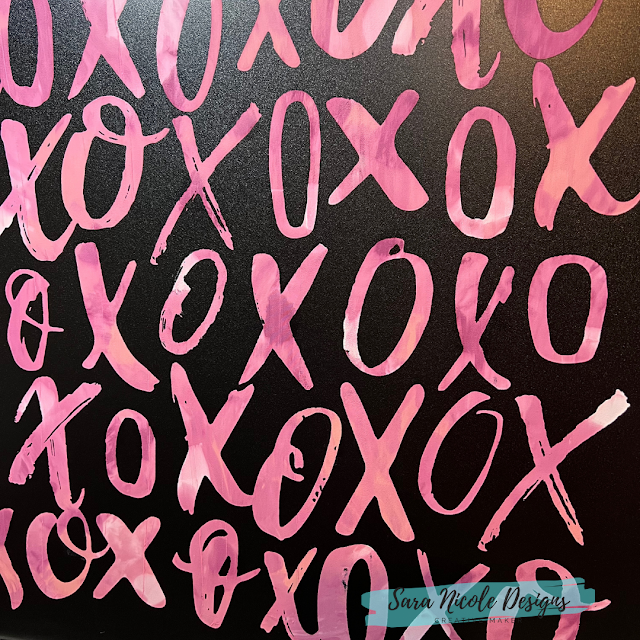
Now it's time to enjoy my new Valentines XOXO Canister! 
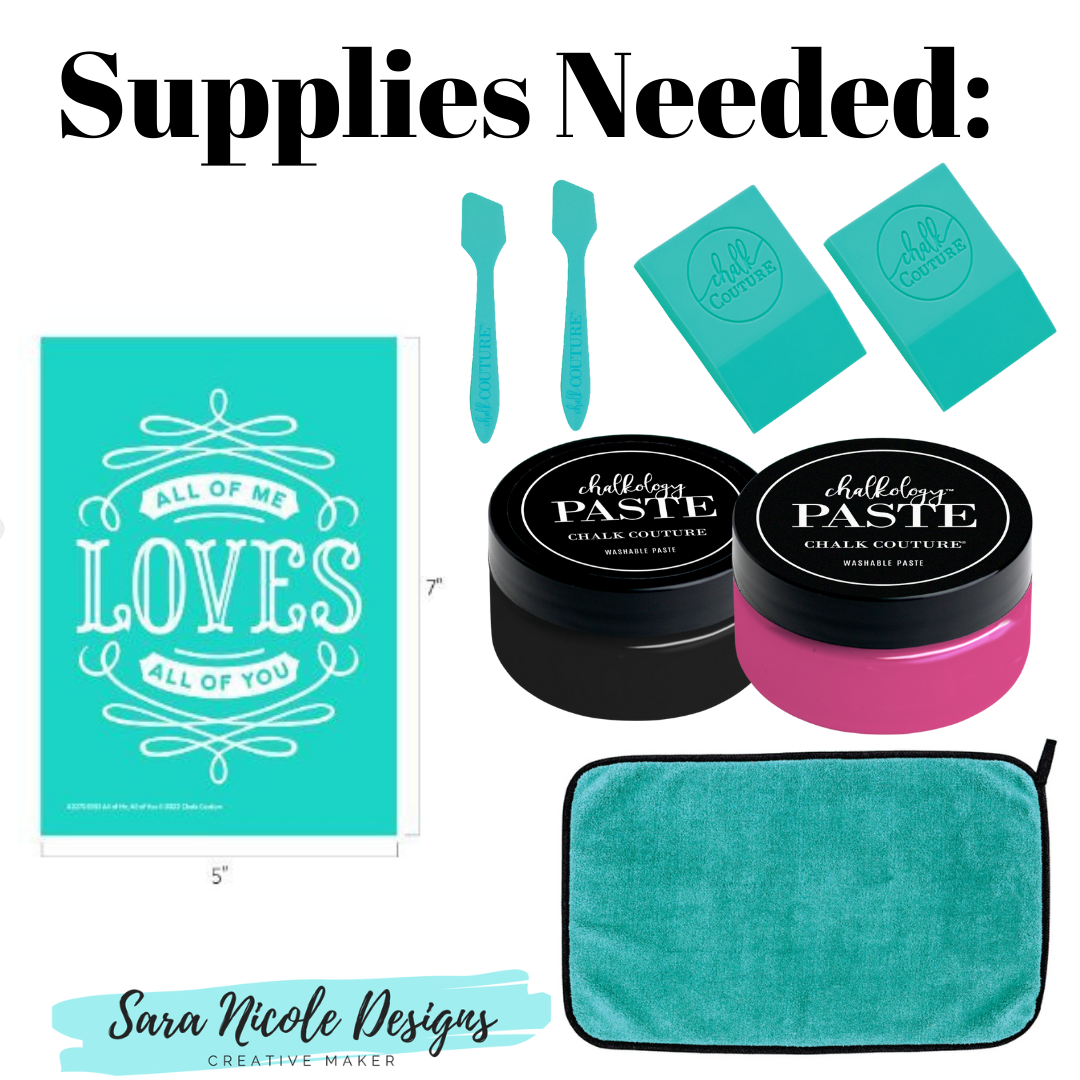

OR watch it on TikTok here


Check out some of my other Valentines Day Projects:

Do you decorate for Valentines Day? I sure do! I love to make little items for my kids and husband! 

 Do you make stuff for your home? Let me know! I would love to hear all about it! 

LET'S BE FRIENDS ON SOCIAL MEDIA:  
Find me on Instagram: https://bit.ly/2QTKYg4
Find me on Pinterest: https://bit.ly/3iaX94p
Find me on Facebook: https://bit.ly/3hYyoZ0
Join my VIP Group: https://bit.ly/2QPLgEV

What Is Chalk Couture?: https://youtu.be/nyosBF7gSxo
See how to create with Chalk Couture: https://youtu.be/jHLd2P2zqWo

SAVE 40% OFF EVERYTHING & JOIN MY TEAM AS A DESIGNER: 
What Is In The Kit: https://youtu.be/qiVdqk2RDdw

JOIN MY CLUB COUTURE & GET EXCLUSIVE PERKS: 
EXCLUSIVE DISCOUNT: 25% OFF, Happy Mail, Exclusive Lives, Art Giveaways, and other benefits


Like these but not sure what Chalk Couture is- Click here to read all about it! 

Wanna shop for some Chalk Couture stuff? Click here to check out all the amazing items! 

And as always, help a sister out by sharing this post, like it and leave me a comment! 

Until then...


Sunday, January 29, 2023

All of me loves all of you! //Time to chalk // Valentines Day Crafts

I love creating for Valentines Day with all the pinks and reds! Pink is one of my favorite colors so I use it the most during Valentines Day. 

Come along with me while I create this Chalk Craft- All of me loves all of you! 

Supplies Needed

1 Surface -Couture Boutique® Board & Base 

2 Small Squeegees

2 Stir Sticks

1 Fuzzing Cloth

1 Jar of Black Velvet Chalk Paste

1 Jar of Raspberry Sorbet Chalk Paste


Step 1: Get all your supplies together and ready. 

Step 2: Remove your transfer from the backing and fuzz your transfer well. You don't want it too sticky or it will be really hard to remove from the surface and may stretch it out. 


Step 3: Place the transfer on the surface in the position that you want it. 

Step 4: Open up for you chalk Pastes and give them a good stir. If they are a little thick or dry, this is a good time to add a little distilled water. 


Step 5: I typically work from top to bottom, so I started with the Black Velvet Chalk Paste for everything except for the work LOVES. 


Step 6: Now I am going in with the Raspberry Sorbet Chalk Paste for the word LOVES. Since this is a smaller transfer, I am chalking all of it without lifting and drying it. 


Step 7: Time to remove the transfer. Pull transfer from the top down to prevent it from stretching it out. 

Step 8: Time to clean all your items! Clean the transfer first with cold water and a Board Eraser. Lay out the transfer to dry upside down. 

Watch me make it on Youtube here: 

Or Check it out on TikTok HERE!

Check out some of my other Valentines Day Projects:

LET'S BE FRIENDS ON SOCIAL MEDIA:  
Find me on Instagram: https://bit.ly/2QTKYg4
Find me on Pinterest: https://bit.ly/3iaX94p
Find me on Facebook: https://bit.ly/3hYyoZ0
Join my VIP Group: https://bit.ly/2QPLgEV

What Is Chalk Couture?: https://youtu.be/nyosBF7gSxo
See how to create with Chalk Couture: https://youtu.be/jHLd2P2zqWo

SAVE 40% OFF EVERYTHING & JOIN MY TEAM AS A DESIGNER: 
What Is In The Kit: https://youtu.be/qiVdqk2RDdw

JOIN MY CLUB COUTURE & GET EXCLUSIVE PERKS: 
EXCLUSIVE DISCOUNT: 25% OFF, Happy Mail, Exclusive Lives, Art Giveaways, and other benefits


Like these but not sure what Chalk Couture is- Click here to read all about it! 

Wanna shop for some Chalk Couture stuff? Click here to check out all the amazing items!

And as always, help a sister out by sharing this post, like it and leave me a comment! 

Until then...


Monday, February 21, 2022

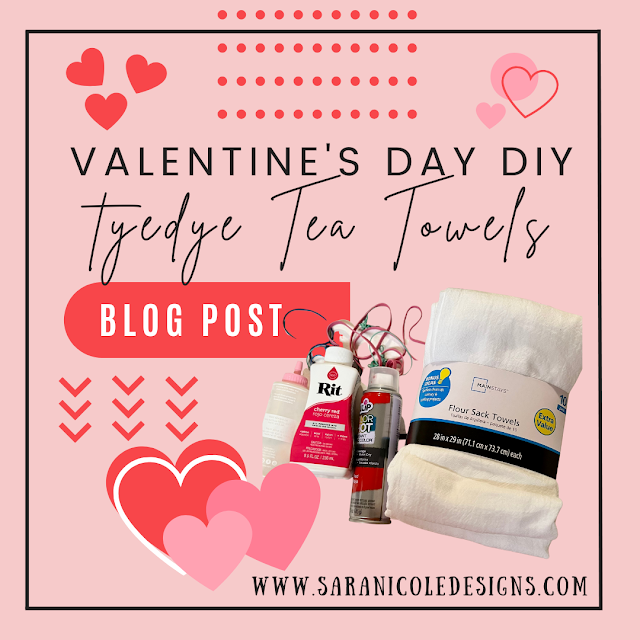
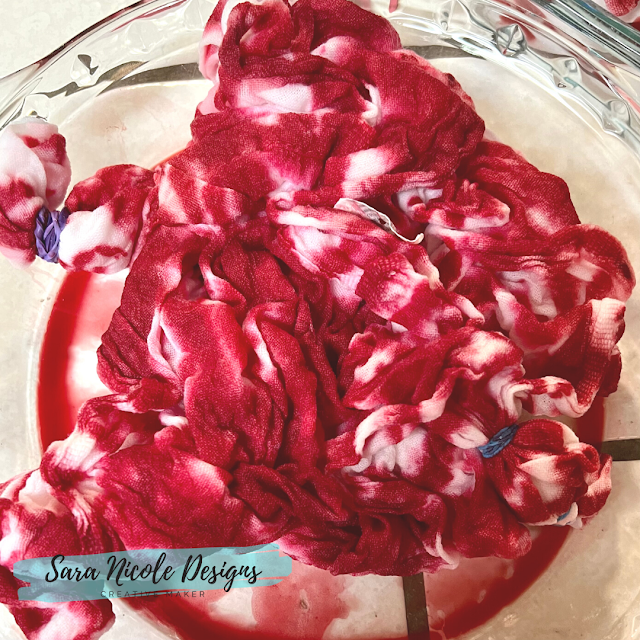
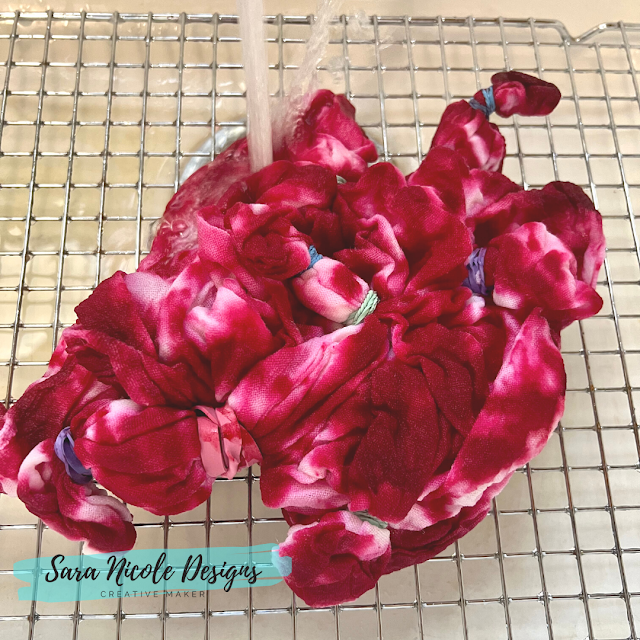
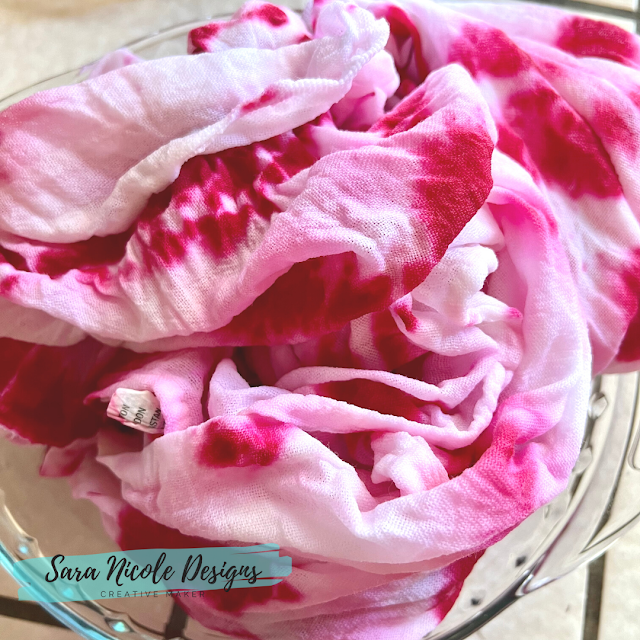
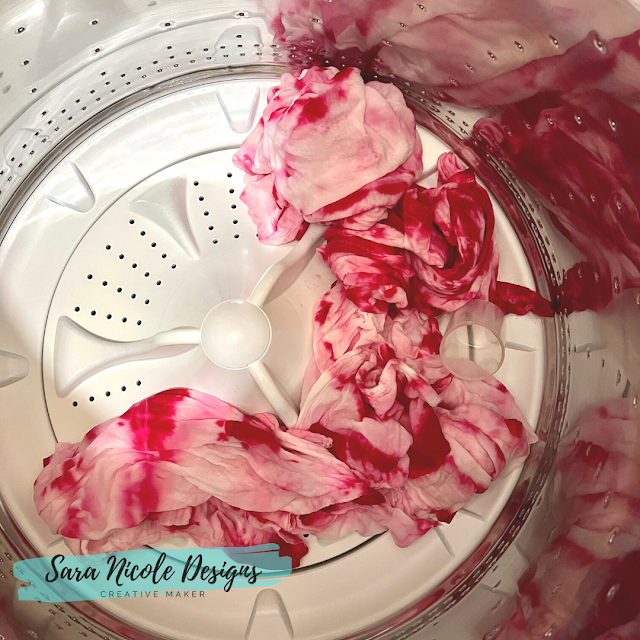
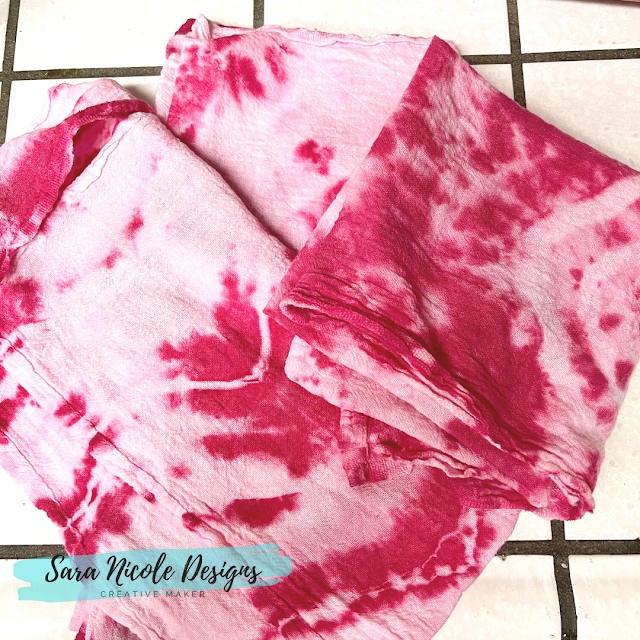
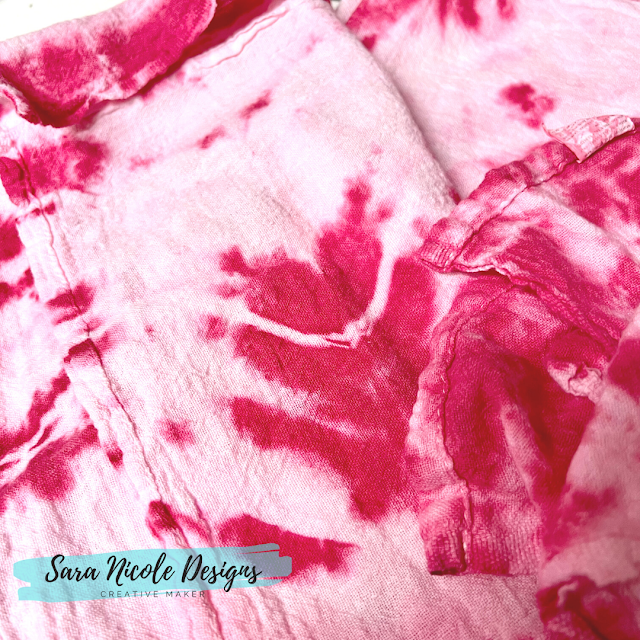
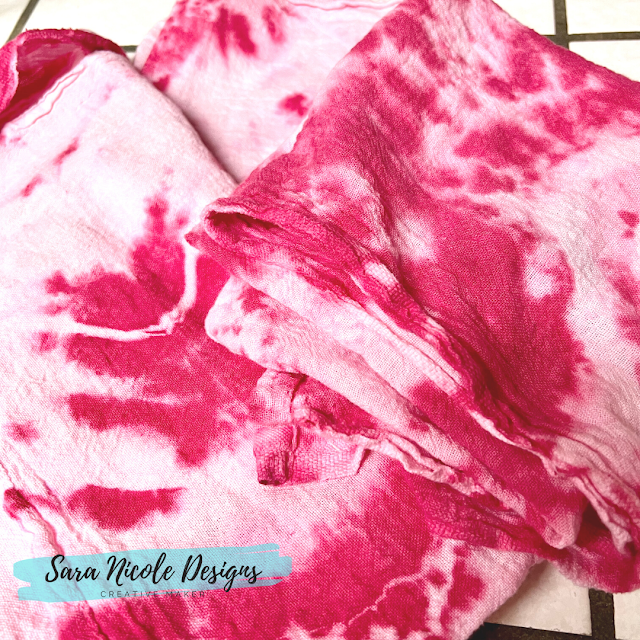
DIY Tye Dye Valentines Kitchen Tea Towels // Come craft with me!

Valentines Day is almost here and I needed some Valentines Towels. So I decided to make them! Who doesn't love a good craft? These are really easy to make and can be a great family craft. 

Fun fact: According to Wikipedia, Valentine's Day, also called Saint Valentine's Day or the Feast of Saint Valentineis celebrated annually on February 14. It originated as a Christian feast day honoring one or two early Christian martyrs named Saint Valentine and, through later folk traditions, has become a significant cultural, religious, and commercial celebration of romance and love in many regions of the world.

Supplies needed:

-Tea Towels
-Dye in all the colors that you want to use
-Rubber bands
-Pyrex glass pans

Step 1: Get all your supplies together. I already had most of my supplies on hand, so all I had to buy was the tea towels. 

Step 2: Put rubber bands around the tea towels. There are so many ways you can do this to create different designs. I did mine a few different ways. 

Step 3: Wet you towels until the are soaked through. Ring out any excess water. You want them wet but not soaking. 

Step 4: Time to Dye! I mixed my dyes into small bottles for easy use. Squirt the dye in all the spots that you want. You could have a pattern or make it random. Do it how ever you want! There is no wrong way to do this. 


Step 5: Once you are done adding the dyes, cover and set aside. I normally let them sit for at least 12 hours. 

Step 6: Time to rinse. I always rinse in cold water. I place a cookie cooling sheet in my sink so the tea towel doesn't sit directly in the sink. I didn't use gloves to rise, but if you are going to be moving with your hands, you might want to. I rise and turn over and rise more until there is no color rinsing from it any more. Remove the rubber band and set aside. 


Step 7: Time to wash! When I wash these, I wash with 1 dark towel I find that they wash and dry better with a large heavy towel. I was on cold with a normal amount of detergent. Dry on low too. 

Now it's time to enjoy your tea towels! I use mine all year long. 


Want to see more Valentines crafts? 

What colors would you use for your tye dye tea towels?

 Do you make stuff for your home? Let me know! I would love to hear all about it! 

What Is Chalk Couture?: https://youtu.be/nyosBF7gSxo
See how to create with Chalk Couture: https://youtu.be/jHLd2P2zqWo

SAVE 40% OFF EVERYTHING & JOIN MY TEAM AS A DESIGNER: 
What Is In The Kit: https://youtu.be/qiVdqk2RDdw

JOIN MY CLUB COUTURE & GET EXCLUSIVE PERKS: 
EXCLUSIVE DISCOUNT: 25% OFF, Happy Mail, Exclusive Lives, Art Giveaways, and other benefits


Like these but not sure what Chalk Couture is- Click here to read all about it! 


Wanna shop for some Chalk Couture stuff? Click here to check out all the amazing items! 


And as always, help a sister out by sharing this post, like it and leave me a comment! 

Until then...


Saturday, January 29, 2022

XOXO Valentines DIY Home Decor // Come chalk with me! // Time to get your crafts on!


Have you started decorating for Valentines Day yet? I have just started and I've had my eye on this transfer for a while. I decided to use 3 different pinks and combine them so it looks like a the-dye effect. 

Fun fact - According to Wikipedia: Hugs and kisses, abbreviated in North America as XO or XOXO, is an informal term used for expressing sincerityfaithlove, or good friendship at the end of a written letteremail or text message. In the United Kingdom, the phrase 'hugs and kisses' is widely used. 

Now lets get crafting! 

Step 1: Grab all your supplies that you will need. This makes it so much easier so you don't have to get up while chalking. Always stir your paste colors before you use them. If they feel a little dry, add a little bit of distilled water to it and stir well. 


Step 2: Time to Fuzz Fuzz FUZZ! These newer transfers seem really sticky so fuzz it well so it doesn't stick too much to the surface. 

Step 3: Lay your transfer down onto your surface. Make sure it's completely flat.

Step 4: I wanted a the-dye feel so I put the Chalk Paste Mauvelous, Raspberry Sorbet and Peony chalk paste all over the transfer in small smears. 

Step 5: Once you have enough paste all over the transfer, take a small squeegee and start to mix them all together.  If there is too much paste on the squeegee, just wipe it off and keep going. On other projects when doing this effect, I've actually put the excess mixed paste in a separate jar to use later. It's pretty cool the colors you can make when mixing paste together, 
Step 6: One all done, lift up transfer and wash it off. The faster you wash it, the cleaner it will be. Use the Board Eraser to get it really clean, really easy. Its a great tool! After washing, lay it upside down so it can dry and you can put on the backing. These transfers are meant to be used 8-12 times each! But I have heard of people using them way more than that! Now clean your tools. During the chalking, I will wipe them will baby wipes, but when I am done, I just put them in a mason jar filled will water. These are easy to clean too. I've never even needed soap to clean them. 


Step 8: Display your awesome chalk art!

Check out these other Valentines Day Decor items:

What Paste colors could you choose? There are so many options, the outcome possibilities are unlimited! 

What are you making for your Valentine?

 Do you make stuff for your home? Let me know! I would love to hear all about it! 

What Is Chalk Couture?: https://youtu.be/nyosBF7gSxo
See how to create with Chalk Couture: https://youtu.be/jHLd2P2zqWo

SAVE 40% OFF EVERYTHING & JOIN MY TEAM AS A DESIGNER: 
What Is In The Kit: https://youtu.be/qiVdqk2RDdw

JOIN MY CLUB COUTURE & GET EXCLUSIVE PERKS: 
EXCLUSIVE DISCOUNT: 25% OFF, Happy Mail, Exclusive Lives, Art Giveaways, and other benefits


Like these but not sure what Chalk Couture is- Click here to read all about it! 


Wanna shop for some Chalk Couture stuff? Click here to check out all the amazing items! 


And as always, help a sister out by sharing this post, like it and leave me a comment! 

Until then...


Google Analytics

AUTO ADS BODY