Showing posts with label Fall. Show all posts

Saturday, August 31, 2024

Cozy Up to Fall: Warm and Inviting Home Decor Ideas // My top 10 Fun Fall picks for your home to get you in the Fall mood!


Cozy Up to Fall: Warm and Inviting Home Decor Ideas

As the leaves change and the crisp autumn air sets in, our homes become a cozy retreat from the outside world. Welcome the warmth and magic of fall with these inviting home decor ideas!

1. Warm Lighting- Soften your space with warm lighting. Use table lamps, floor lamps, or string lights with warm-toned bulbs to create a cozy ambiance.

2. Cozy Textiles- Snuggle up with throw blankets, plush rugs, and comfortable pillows in warm, rich colors like orange, red, and yellow.

3. Seasonal Scents- Fill your home with the inviting aromas of fall: pumpkin spice, apple cinnamon, and vanilla.

4. Nature-Inspired Elements- Bring the outdoors in with natural elements like potted mums, branches, and pinecones.

5. Warm Color Palette- Embrace the warmth of fall with a color palette that features earthy tones, like olive green, terracotta, and golden yellow.

6. Fall Florals- Create a beautiful centerpiece with seasonal flowers like sunflowers, dahlias, and chrysanthemums.

7. Cozy Nooks- Create inviting nooks with comfortable seating, soft blankets, and a good reading light.

8. Seasonal DecorAdd festive touches with seasonal decor like pumpkins, corn husks, and fall-themed wall art.

9. Warm MetallicsAdd warmth with metallic accents like brass, copper, and gold.

10. Outdoor Decor- Extend the warmth to your outdoor spaces with lanterns, pumpkins, and cozy throw blankets.

Happy decorating!


Better Homes & Gardens 8" Wide Marble Glass Pumpkin, Orange


Which of these items are your favorite? I would buy and use all of these in my home for fall! 

LET'S BE FRIENDS ON SOCIAL MEDIA:  
Find me on Instagram: https://bit.ly/2QTKYg4
Find me on Pinterest: https://bit.ly/3iaX94p
Find me on Facebook: https://bit.ly/3hYyoZ0
Join my VIP Group: https://bit.ly/2QPLgEV

What Is Chalk Couture?: https://youtu.be/nyosBF7gSxo
See how to create with Chalk Couture: https://youtu.be/jHLd2P2zqWo

SAVE 40% OFF EVERYTHING & JOIN MY TEAM AS A DESIGNER: 
What Is In The Kit: https://youtu.be/qiVdqk2RDdw

JOIN MY CLUB COUTURE & GET EXCLUSIVE PERKS: 
EXCLUSIVE DISCOUNT: 25% OFF, Happy Mail, Exclusive Lives, Art Giveaways, and other benefits


Like these but not sure what Chalk Couture is- Click here to read all about it! 

Wanna shop for some Chalk Couture stuff? Click here to check out all the amazing items!

And as always, help a sister out by sharing this post, like it and leave me a comment! 

Until then...


Harvest Ivory and Rust Maple Leaf Wreath, 24 in, by Way To Celebrate


Hey There Pumpkin Fall Front Doormat 18" x 30"


Decorative Pumpkins Artificial Pumpkins Faux Pumpkins Halloween Thanksgiving Tabletop Pendant for Home Halloween party Decorations


Sunday, August 25, 2024

DIY Pumpkins cutouts with Chalk Paste // Come chalk with me!

I love pumpkins.... I Love Pumpkins.... I LOVE PUMPKINS! If you know anything about me, you would know I LOVE pumpkins... I fill my whole porch with them from September to November, I drink all the pumpkin drinks, I eat all the pumpkin treats and I even wear pumpkin clothing. 

Crafting pumpkin things is no different. Fall time and Halloween time are my favorite to create and craft. 

I do a lot with chalk art with Chalk Couture and a neat thing they came out with is the digital file for the shapes of the transfers they carry. I bought this neat pumpkin transfer: Pumpkin Pals and I wanted to put my own surface out of wood with my Glowforge. I love being able to cut anything that I want- wood, Acrylic, stone... really anything! It's pretty amazing! Anyways... back to pumpkins! 

Here is the transfer in full


Come check out to see how I made these pumpkins!

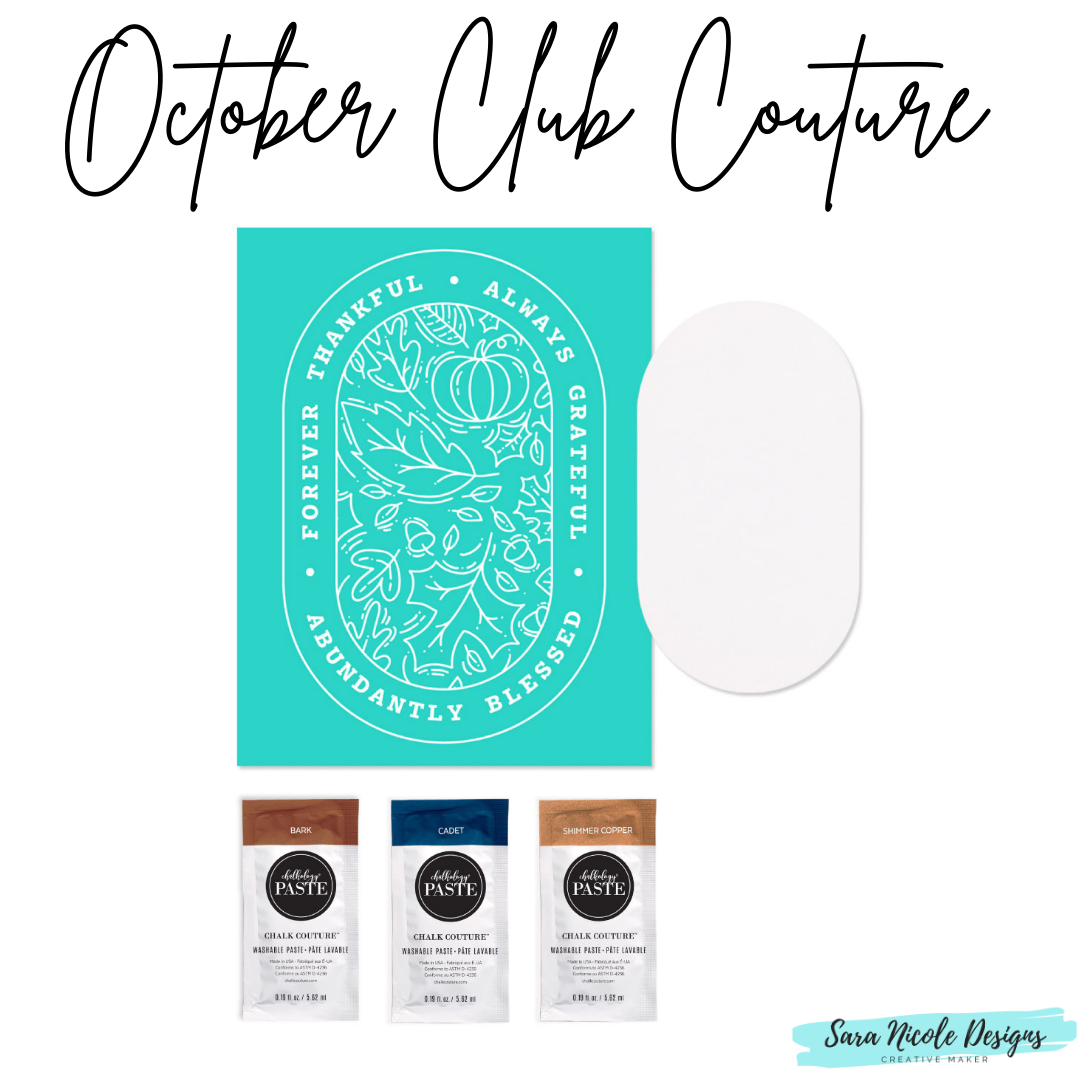
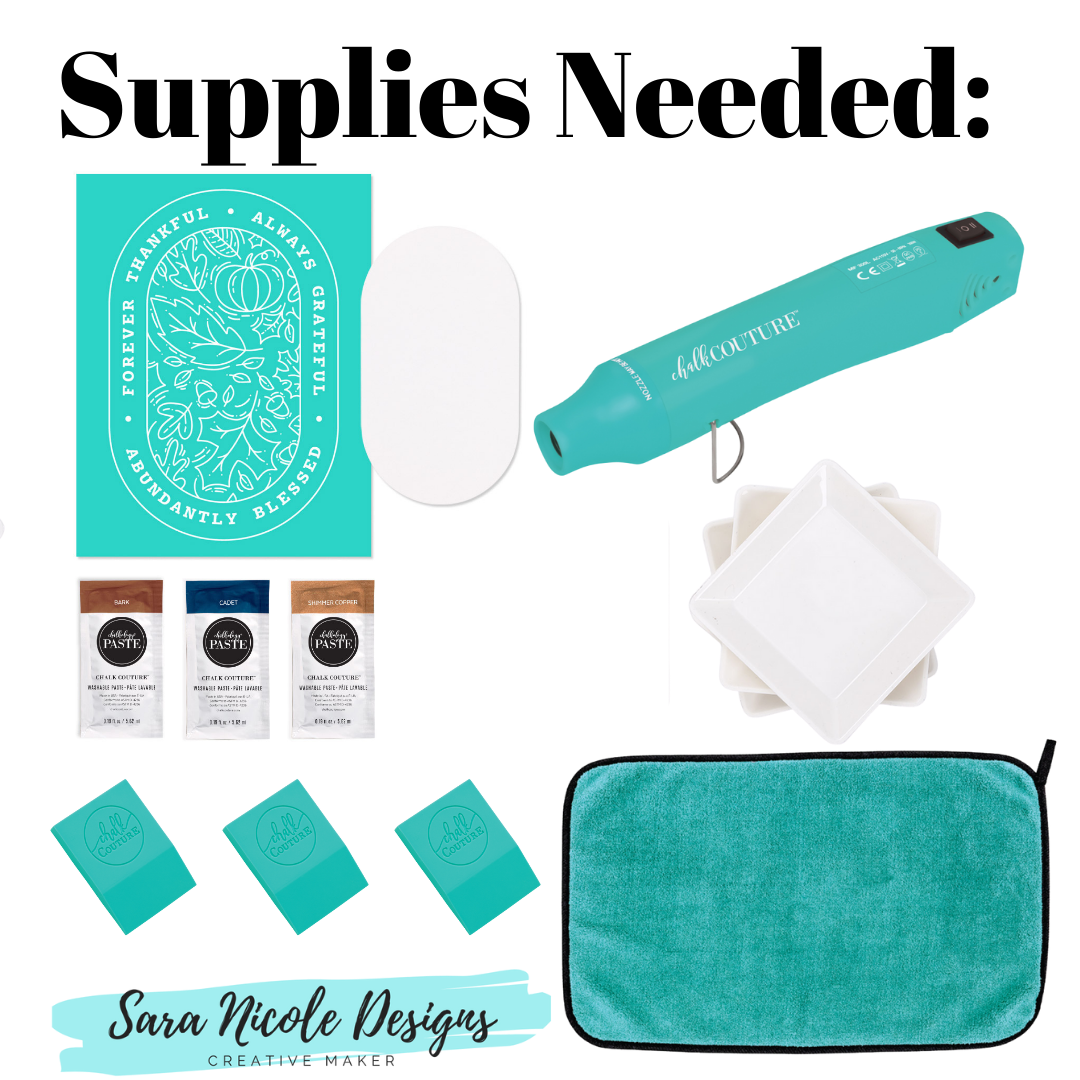
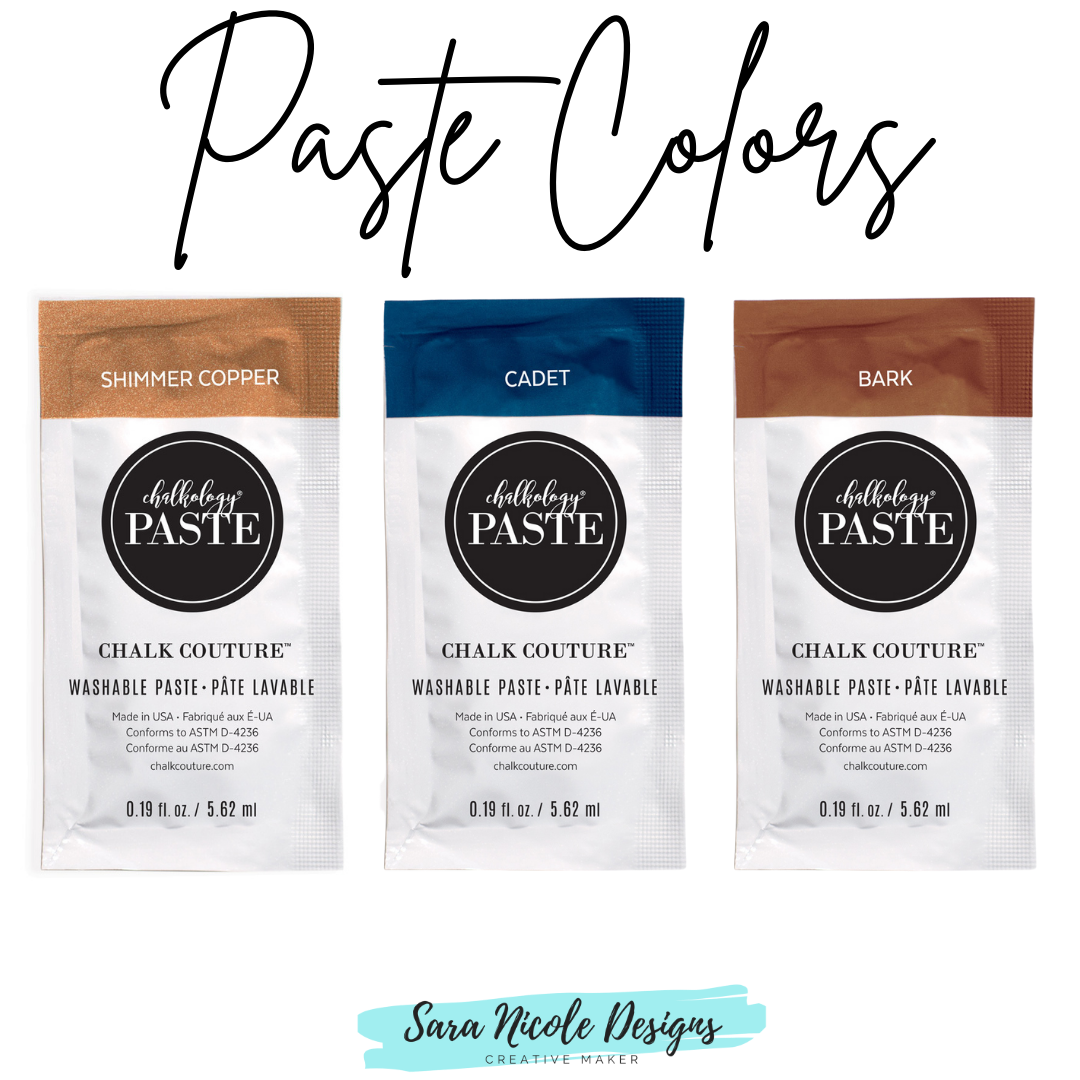
Step 1: Grab all your supplies. I grabbed my Transfer: Pumpkin Pals, Shimmer Pumpkin Chalk Paste, and Black Velvet Chalk Paste, Transfer Trimmers, 2 small Squeegees, 2 Stir Sticks and Painted wooden pumpkin cutouts.  

Step 2: I grabbed my pastes and open them up and gave them a good stir. If they haven't been used for bit, they can get a little dry. I don't want to start a project and open the jars to thick paste, so I make sure they are good before I start. 


Step 3: Time to get the transfer ready. This was a larger transfer so I needed to cut it into sections to use the transfers easier. I used my Transfer Trimmers to cut the transfer up. 
Step 4: Time to fuzz fuzz fuzz! Since I had painted a wood surface that I cut out using my glow forge, I didn't want it to pull up any pain when I pulled my transfer up. I made sure to fuzz really well. I used my fuzzing cloth, but you can use a clean shirt or on your clean pants you are wearing. I have done that in a pinch. 

Step 5: Time to place the transfer on the surface. The new transfers have a more translucent backing so it is easier to see they placement. I wasn't sure if I liked them, but I have come to love them! They make layering so much easier! 
Step 6: Now I started with the shorter pumpkin and decided to use the Shimmer Pumpkin on the painted wooden pumpkin surface that I cut out. I knew it was close in color but I liked the way it turned out. I took my Stir Stick and grabbed a small amount of the Shimmer Pumpkin chalk paste and placed it on there. Then I took small squeegee and spread it around making sure all the mesh parts are covered in chalk paste.


Step 7: Time to peel the transfer off and wash it out. Lay upside down to dry before putting on the backing sheet. Now to enjoy this wooden pumpkin for displaying it during Fall, Halloween and Thanksgiving.  


Step 8: Onto the bigger pumpkin. I wanted to to this pumpkin with Black Velvet chalk paste to make it stand out more that the Shimmer Pumpkin chalk paste. I started off by fuzzing this transfer. 


Step 9: Place the transfer on the pumpkin surface. Rub surface hard to make sure it adheres well.
Step 10: Time to place a dollop of Black Velvet Chalk Paste onto the transfer using a Stir Stick and use the small squeegee to apply the chalk paste all over the whole transfer making sure you go over all the mesh areas. 


Step 11Time to peel the transfer off and wash it out. Lay upside down to dry before putting on the backing sheet. Now to enjoy this wooden pumpkin for displaying it during Fall, Halloween and Thanksgiving.  


Once I take out all my Fall decorations, I will post on how I used these pumpkins. I kinda want to make more and do them in whites and blues. 

Wanna just watch me make it? Come check out my video here: 

What is your favorite color combo: Orange or Black? Let me know! 

Do you make stuff for your home? Let me know! I would love to hear all about it! 

LET'S BE FRIENDS ON SOCIAL MEDIA:  
Find me on Instagram: https://bit.ly/2QTKYg4
Find me on Pinterest: https://bit.ly/3iaX94p
Find me on Facebook: https://bit.ly/3hYyoZ0
Join my VIP Group: https://bit.ly/2QPLgEV

What Is Chalk Couture?: https://youtu.be/nyosBF7gSxo
See how to create with Chalk Couture: https://youtu.be/jHLd2P2zqWo

SAVE 40% OFF EVERYTHING & JOIN MY TEAM AS A DESIGNER: 
What Is In The Kit: https://youtu.be/qiVdqk2RDdw

JOIN MY CLUB COUTURE & GET EXCLUSIVE PERKS: 
EXCLUSIVE DISCOUNT: 25% OFF, Happy Mail, Exclusive Lives, Art Giveaways, and other benefits


Like these but not sure what Chalk Couture is- Click here to read all about it! 

Wanna shop for some Chalk Couture stuff? Click here to check out all the amazing items!

And as always, help a sister out by sharing this post, like it and leave me a comment! 

Until then...


Thursday, October 5, 2023

October Club Couture - Abundantly Blessed // Time to get your craft on!

Forever thankful and always grateful for an amazing monthly Club Couture™ project! With Bark, Cadet, and Shimmer Copper Chalkology® Paste Singles, you’ll fall in love with the Abundantly Blessed Chalk Transfer® design and its coordinating Couture Boutique® Chalkable Shape.
Did you see what's new with Club Couture?! Now with each month's transfer, you now get a chalkable shape that coordinates with the transfer. How cool is that! 

Ready to make this month's Club Couture transfer? Follow along! 
The October Shipment comes with Bark, Cadet, and Shimmer Copper Chalkology® Paste Singles. 


Supplies Included:

-Club Couture Chalk Transfer® design: Abundantly Blessed Chalkology® 
-Paste Singles: Bark, Cadet, Shimmer Copper*
-Coordinating accessory: Couture Boutique® Chalkable Shapes Abundantly Blessed

Additional supplies needed: 

-Pallet Sign (9" × 12")
-Color Trays
-Mini Squeegee
-Multi-Tool
-Fuzzing Cloth
-Quick Dry Tool
-Hot glue gun

Color and Placement Suggestions:

Bark: dots
Cadet: sentiment
Shimmer Copper: leaves and seasonal icons, borders

Follow these instructions to complete this project:

1. Knead your Chalkology Paste Singles. Cut the paste singles open and squeeze the desired amount of paste onto a Color Tray, using a new tray for each color.

2. Remove the Transfer Backer Sheet and “fuzz” the Transfer on a Fuzzing Cloth. Center the Transfer on the Pallet Sign; smooth out the Transfer to ensure that it has properly adhered and there are no bubbles or wrinkles.

3. For best results when applying paste, divide your project into sections and use the chalk-and-pull method. To perform this method, apply paste one section at a time (see “Color and Placement Suggestions”) using a squeegee or Multi-Tool. Once you have chalked a section, and before the paste dries, peel back the Transfer (without removing it from the surface completely) and let the paste dry before continuing. You can use a Quick Dry Tool to expedite the drying process. Lay the Transfer back down over the chalked section.

4. Repeat steps as necessary until the design has been completely chalked. Remove your Transfer from the surface and immediately clean the Transfer with cool water (do not let it soak). Dry the Transfer flat with the sticky side up.

5. Allow the Transfer to dry completely before using it again to apply paste to your Chalkable Shape (chalk-and-pull method is not needed).

6. Clean and care for the Transfer again, according to the instructions given in step 4. Once dry, reapply the Transfer Backer Sheet and store flat.

7. Use hot glue to adhere the Chalkable Shape to the Pallet Sign, directly over top of where you chalked its corresponding element on the surface.

Add this beautiful piece to your seasonal décor!

See how to make it here:

Not a Club Member yet?


Love your Club Couture membership, but want more to use them on? Get a Best Basics Chalk It Up Kit

Our basic instructions go like this: choose a surface and Transfer, add some paste or ink, and start creating. With the Best Basics Chalk It Up Kit, you’ll have what you need to carry out those instructions and you’ll be well on your way to artistry!

This kit includes two of our favorite surfaces: Board & Base (perfect for A-sized Transfers) and a Sylvie White Frame (perfect for B-sized Transfers). Both surfaces are reusable with Chalkology Paste, and can be used in either landscape or portrait orientation. Plus, that Board & Base is reversible so you can have two projects to display all at once!

Are you a pumpkin lover? I sure am! I buy as many pumpkins that I can fit on my porch!   

 Do you make stuff for your home? Let me know! I would love to hear all about it! 

LET'S BE FRIENDS ON SOCIAL MEDIA:  
Find me on Instagram: https://bit.ly/2QTKYg4
Find me on Pinterest: https://bit.ly/3iaX94p
Find me on Facebook: https://bit.ly/3hYyoZ0
Join my VIP Group: https://bit.ly/2QPLgEV

What Is Chalk Couture?: https://youtu.be/nyosBF7gSxo
See how to create with Chalk Couture: https://youtu.be/jHLd2P2zqWo

SAVE 40% OFF EVERYTHING & JOIN MY TEAM AS A DESIGNER: 
What Is In The Kit: https://youtu.be/qiVdqk2RDdw

JOIN MY CLUB COUTURE & GET EXCLUSIVE PERKS: 
EXCLUSIVE DISCOUNT: 25% OFF, Happy Mail, Exclusive Lives, Art Giveaways, and other benefits


Like these but not sure what Chalk Couture is- Click here to read all about it! 

Wanna shop for some Chalk Couture stuff? Click here to check out all the amazing items! 

And as always, help a sister out by sharing this post, like it and leave me a comment! 

Until then...

Monday, October 17, 2022

Trick or Treat Craft Kits are here! // Only for $24.99 //Come chalk with me


Who doesn't love a good Halloween project?!? I know I do!  So this is such a great project to do thats pretty easy!

I think this ChalkMade™ kit is simply bootiful. Give us candy. Give us cake. Give us something sweet to make! Treat yourself with a little handmade happiness this Halloween with this spooktacular felt banner and its coordinating accessories.

This kit includes one of each of the following:

  • Stitched decorative banner (9½” x 12½”)
  • Exclusive B-sized Chalk Transfer® design
  • Chalkology® Paste singles in Bright White and Orange Peel
  • 2 Color Trays
  • Mini Squeegee
  • Wooden dowel
  • Tassel accent
  • Printed instructions
Color and Placement Suggestions

Bright White: “Or”, Bats 
Orange Peel: “Trick”, “Treat”

Follow these instructions to complete this project:

1. Remove your Transfer from its packaging.

2. Carefully peel off the Transfer Backer Sheet.

3. Center the Transfer on the Stitched Decorative Banner. Smooth the Transfer out to ensure it has properly adhered and that there are no air bubbles or wrinkles.

4. Knead your Chalkology Paste Singles. Cut open the corner of each packet and squeeze the desired amount of paste onto a Color Tray, using a new tray for each color.

5. Smooth a generous amount of Chalkology Paste over the Transfer using the Mini Squeegee (see “Color and Placement Suggestions”), pressing the paste completely through the screen.

6. Once the screen portion of the design is completely covered, squeegee the excess paste off as evenly as possible and scrape it back into the tray. The more excess paste you remove, the better the result will be.

7. Before the paste dries, slowly peel back the Transfer. To prevent any stretching, peel the Transfer back vertically from two parallel corners, instead of diagonally.

8. Immediately clean the Transfer with cool water and a Board Eraser. Do not leave the Transfer in water or let it soak.

9. Dry the Transfer flat with the sticky side up.

10. Insert the wooden dowel at the top of the Stitched Decorative Banner.

11. Attach the tassel accent to the wooden dowel as desired.

12. Thread the ribbon through the holes of the wooden dowel and tie a knot at each end.

13. Once the Transfer has been washed and dried, reapply the Backer Sheet and store it flat.

14. Relish your creation and embrace the beauty of homemade holiday projects!

Ready to get your own kit? Click here: 
SKU: Z213125
  
$24.99 USD


Watch how to create this here: 

Do you make stuff for your home? Let me know! I would love to hear all about it! 

LET'S BE FRIENDS ON SOCIAL MEDIA:  
Find me on Instagram: https://bit.ly/2QTKYg4
Find me on Pinterest: https://bit.ly/3iaX94p
Find me on Facebook: https://bit.ly/3hYyoZ0
Join my VIP Group: https://bit.ly/2QPLgEV

What Is Chalk Couture?: https://youtu.be/nyosBF7gSxo
See how to create with Chalk Couture: https://youtu.be/jHLd2P2zqWo

SAVE 40% OFF EVERYTHING & JOIN MY TEAM AS A DESIGNER: 
What Is In The Kit: https://youtu.be/qiVdqk2RDdw

JOIN MY CLUB COUTURE & GET EXCLUSIVE PERKS: 
EXCLUSIVE DISCOUNT: 25% OFF, Happy Mail, Exclusive Lives, Art Giveaways, and other benefits


Like these but not sure what Chalk Couture is- Click here to read all about it! 

Wanna shop for some Chalk Couture stuff? Click here to check out all the amazing items! 

And as always, help a sister out by sharing this post, like it and leave me a comment! 

Until then...

Google Analytics

AUTO ADS BODY