Friday, July 2, 2021

4th of July 3 Tiered Tray // Come Chalk with Me! // 2021


I had so much fun buying and creating items for this years 4th of July. I just bought a Glowforge about a month ago, and I couldn't wait to use it! If you don't know what a Glowforge is, it's a Laser Printer that cuts, engraves and scores all kinds stuff like wood, fabric, leather, paper, Plexiglas (acrylic), Delrin (acetal), mylar, rubber, Corian, foods, and more. Glowforge can also engrave all of the above plus glass, coated metal, marble, anodized aluminum, titanium, some phones, tablets, and laptops, and more. So pretty much a fancy crafting machine! 

Want more info on the Glowforge? Click Here! 

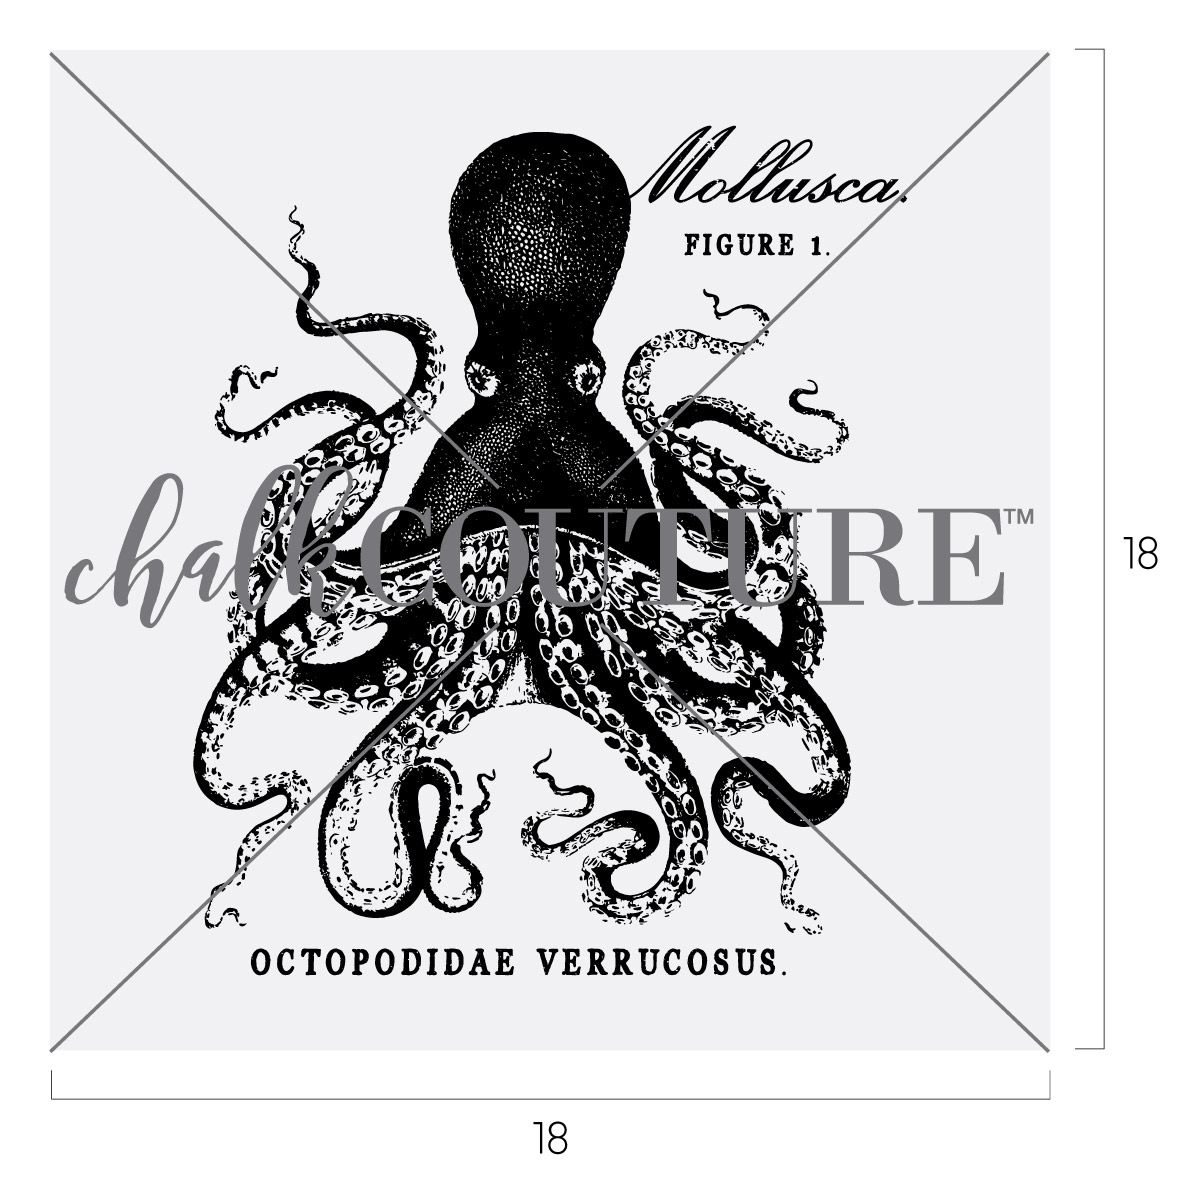
Some of the items that I chalked and some items I created my own files and cut in the Glowforge. Plus some items I bought too. 

How many Rae Dunn items do you see?

Want to see my 2020 4th of July 3 Tiered Tray?            Click Here!

Come see how I styled my 4th of July 3 Tiered Tray! 


Top Tier

This tier starts with a red, white and blue wooden beaded garland with a wooden tag with says God Bless America. Next to that is a wooden Star with a flag print from Hobby Lobby (last year). Then is the Blue Matte Rae Dunn USA Mug from Marshalls. Inside the mug is a sign that I made from a scrap piece of wood and I created the design myself and cut it out on my Glowforge. Then I painted it and glued it on to the scrap piece of wood. Behind the sign and inside the mug are some glitter stars on sticks from Dollar Tree. There is a thin vintage garland that starts on the top tier and continues throughout all of the tiers. 


Middle Tier

Starting on the Left side, is a red & white striped small bowl that came from the dollar section at Target a few years ago. Inside that is a plastic ice cream bowl that came in a set (see bottom tier for the rest) of 4. Next is the small shabby chic USA sign that I made from a piece of scrap wood and Chalk Couture transfer and Chalk Paste. On top of that is a hanging decoration on a vintage 4th of July little girl from Hobby Lobby. On the right is a Rae Dunn Brave Mug. Inside of the mug are some more glitter stars on sticks from Dollar Tree. In front of the mug is a small wooden sign that says America from Hobby Lobby. The thin vintage garland continues on this tier too. 

Bottom Tier

From the left, I painted 2 old cans with chalk paint in white and blue and sanded them down a bit. Then there is a small blue with while stars bowl - that came in a set with the red & white striped bowl from the middle tier- from the dollar spot at Target. Inside that bowl is a Rae Dunn USA mug. Next to that is another red painted can. Inside of the can is a Freedom sign from Hobby Lobby. In the middle is a Rae Dunn flag candle with Brave writer under the flag(2020). On the right is a Rae Dunn America Mug. Inside of the Mug are 2 Rae Dunn Spatulas -Large has a Americana Top Hat and says Brave and the Small on says Home of the Brave. In the back is the 3 other ice cream bowls in fun red, white and blue patterns. These also have spoons inside. The thin vintage garland continues and finishes under this tier.


How many Rae Dunn items did you find?                           7! 

Do you make stuff for your home? Let me know! I would love to hear all about it! 

What Is Chalk Couture?: https://youtu.be/nyosBF7gSxo
See how to create with Chalk Couture: https://youtu.be/jHLd2P2zqWo

SAVE 40% OFF EVERYTHING & JOIN MY TEAM AS A DESIGNER: 
What Is In The Kit: https://youtu.be/qiVdqk2RDdw

JOIN MY CLUB COUTURE & GET EXCLUSIVE PERKS: 
EXCLUSIVE DISCOUNT: 25% OFF, Happy Mail, Exclusive Lives, Art Giveaways, and other benefits


Like these but not sure what Chalk Couture is- Click here to read all about it! 

Wanna shop for some Chalk Couture stuff? Click here to check out all the amazing items! 


And as always, help a sister out by sharing this post, like it and leave me a comment! 

Until then...

Sunday, June 27, 2021

DIY Octopus Chalk Art // Create your own Home Decor! //Come Chalk with Me!


If you know me, you know I love everything ocean! The ocean is my happy place and I love to be at the beach, listening to the waves and feel that ocean mist on my skin. My dream house would be at the ocean. But since I don't live in my dream beach house, I guess I'll just have to add a beachy feel to my home decor.  

I created this Octopus Chalk Art with a retired Transfer, 4 different blue chalk pastes and a found surface from Marshalls that is a great size for large transfers. 

Live Deeply Collection Octopus Chalk Transfer | Chalking With Jessica

This transfer has been on my to do list for a long time, so I was excited to finally use it. I've wanted to put it on a throw pillow for some time, but while putting our normal home decor back out, I saw the perfect surface. I had used this large surface for my Valentines Mantel. But it was time change the mantel, so what better time to create the Octopus! 

Want to see how I made it? Follow along!

Supplies Needed: 
Large Magnetic Chalkboard from Marshalls
Transfer: Octopus- Live Deeply Collection (retired)


Step 1
Grab all your supplies that you will need. This makes it so much easier so you don't have to get up while chalking. I didn't use the trays since I have the jars of each chalk paste. Always stir your paste colors before you use them. If they feel a little dry, add a little bit of distilled water to it and stir well.

Step 2 
I was reusing a surface, so I had to clean in off. I started by spraying the chalked part with distilled water from the Fine Mist Sprayer from Chalk Couture. I let it sit for a few minutes and then I take a Board Eraser to really clean it off. After the board is clean, I wipe it dry with a lint free cloth. Now my surface is ready to be used. 

Step 3
Time to Fuzz Fuzz FUZZ! These newer transfers seem really sticky so fuzz it well so it doesn't stick too much to the surface. Since this is a large transfer, I have found that it is easier to turn it upside down, then take the backer off. This way is less likely to stick itself to any part of the transfer. Then I just fuzz it upside-down. 

Step 4
Once it's all fuzzed, I carefully flip it over and lay it into position of where I want it. Make sure its completely flat.

Step 5
With this project, I wanted it to have 4 different blues that blended well together. I used Ocean Mist, Lakeshore, Colonial Blue and Shimmer Splash. I used the Small Squeegee for all since I was blending them together. I used 4 Paste Stir Sticks to give then a good stir before I used them. Have your pastes close to you for easy use.

Step 6
Start with the 1st paste and take out small amounts with the stir sticks and randomly place them all over the transfer. Continue with the rest of the pastes until you feel that there is enough. Do this fast so the paste doesn't start to dry out. Once you have them all placed around the transfer, grab your Small Squeegee and start to spread the paste around. There is no rhyme or reason, so have fun while mixing and spreading the paste around. 

Step 7
I noticed that I had a lot of extra paste left over so I placed it into a Color Tray to use on another project. This makes for a unique fun color that is like no other. 

Step 8
Once you have removed the excess paste, now you can carefully peel the transfer off. 

Step 9
Clean your transfer right away. This will ensure more uses. To clean larger transfers, I clean them in the shower. Make sure the wall is clean and place the dirty transfer on there. Use the shower head to clean with cold water. Grab your board eraser and clean both sides. Once clean, hang or lay sticky side up until dry. Once dry, apply backer and store away.

Now enjoy your creation! 

Watch me make it here: 

Do you make stuff for your home? Let me know! I would love to hear all about it! 

What Is Chalk Couture?: https://youtu.be/nyosBF7gSxo
See how to create with Chalk Couture: https://youtu.be/jHLd2P2zqWo

SAVE 40% OFF EVERYTHING & JOIN MY TEAM AS A DESIGNER: 
What Is In The Kit: https://youtu.be/qiVdqk2RDdw

JOIN MY CLUB COUTURE & GET EXCLUSIVE PERKS: 
EXCLUSIVE DISCOUNT: 25% OFF, Happy Mail, Exclusive Lives, Art Giveaways, and other benefits


Like these but not sure what Chalk Couture is- Click here to read all about it! 


Wanna shop for some Chalk Couture stuff? Click here to check out all the amazing items! 


And as always, help a sister out by sharing this post, like it and leave me a comment! 

Until then...


Life is Better at the Beach Tablet Stand // Easy DIY Home Decor // Come chalk with me!

Want an easy to DIY that's easy to make and easy to change? Well you have found it! The Tablet Stand has been a game changer to add to my Decorated 3 Tiered tray. It's easy to chalk on, cleans off easy so you are ready to change it for the next holiday. 

I've had my eye on a transfer and when I decided to redo my 3 Tiered Tray with my Beach stuff, I knew the Life is Better at the Beach Transfer was perfect! I use this in the kitchen while cooking. I just place my tablet in it to keep my recipes available but out of the way. 

Want to see how I made it? Follow along!

Supplies Needed: 
Tablet Stand from Hobby Hobby
Life is Better at the Beach Transfer (retired)

Step 1
Get all your supplies together. Open the Couture Teal Chalk Paste  and Tide Chalk Paste and stir it well using a Stir Stick.

Step 2
Fuzz the transfer usin the Fuzzing Cloth. Don't be afraid to fuzz it alot. If it seems really sticky, it might need quite a few fuzzings. Since the new transfers seem to be stickier, fuzz fuzz FUZZ! You don't want that to pull up the back ground up when removing the transfer. 

Step 3
Press the transfer onto the surface firmly and grab the Stir Stick and apply the Couture Teal Chalk Paste onto the top of the transfer. Take the small squeegee and glide the Paste all over the transfer covering all mesh areas until you hit the last word -Beach. Only chalk with Couture Teal Chalk Paste on the top part of the word. Now take your Tide Chalk Paste and start from the bottom of the word Beach, but leave a small amount in the middle. There should be a line in between the 2 colors that has no paste. Then you are going to take your finger and combine the two colors. I like to use the motion of going up and down all the way across. you don't want to go side to side as it will not make the best ombre effect. Once fully chalked, pull the transfer from the top to bottom holding both ends, making sure to not stretch the transfer. Now since these new transfers seem to be more stickier that the older one, evenly pulling the transfer is important. 

Step 4
Clean your transfer right away. This will ensure more uses. To clean larger transfers, I clean them in the shower. Make sure the wall is clean and place the dirty transfer on there. Use the shower head to clean with cold water. Grab your board eraser and clean both sides. Once clean, hang or lay sticky side up until dry. Once dry, apply backer and store away. 

Now enjoy your creation! 
How cute is my Beachy 3 Tiered Tray? 

Watch me make it here: 
Do you make stuff for your home? Let me know! I would love to hear all about it! 

What Is Chalk Couture?: https://youtu.be/nyosBF7gSxo
See how to create with Chalk Couture: https://youtu.be/jHLd2P2zqWo

SAVE 40% OFF EVERYTHING & JOIN MY TEAM AS A DESIGNER: 
What Is In The Kit: https://youtu.be/qiVdqk2RDdw

JOIN MY CLUB COUTURE & GET EXCLUSIVE PERKS: 
EXCLUSIVE DISCOUNT: 25% OFF, Happy Mail, Exclusive Lives, Art Giveaways, and other benefits


Like these but not sure what Chalk Couture is- Click here to read all about it! 

Wanna shop for some Chalk Couture stuff? Click here to check out all the amazing items! 


And as always, help a sister out by sharing this post, like it and leave me a comment! 

Until then...


Google Analytics

AUTO ADS BODY