

If you know me, you know I love everything ocean! The ocean is my happy place and I love to be at the beach, listening to the waves and feel that ocean mist on my skin. My dream house would be at the ocean. But since I don't live in my dream beach house, I guess I'll just have to add a beachy feel to my home decor.
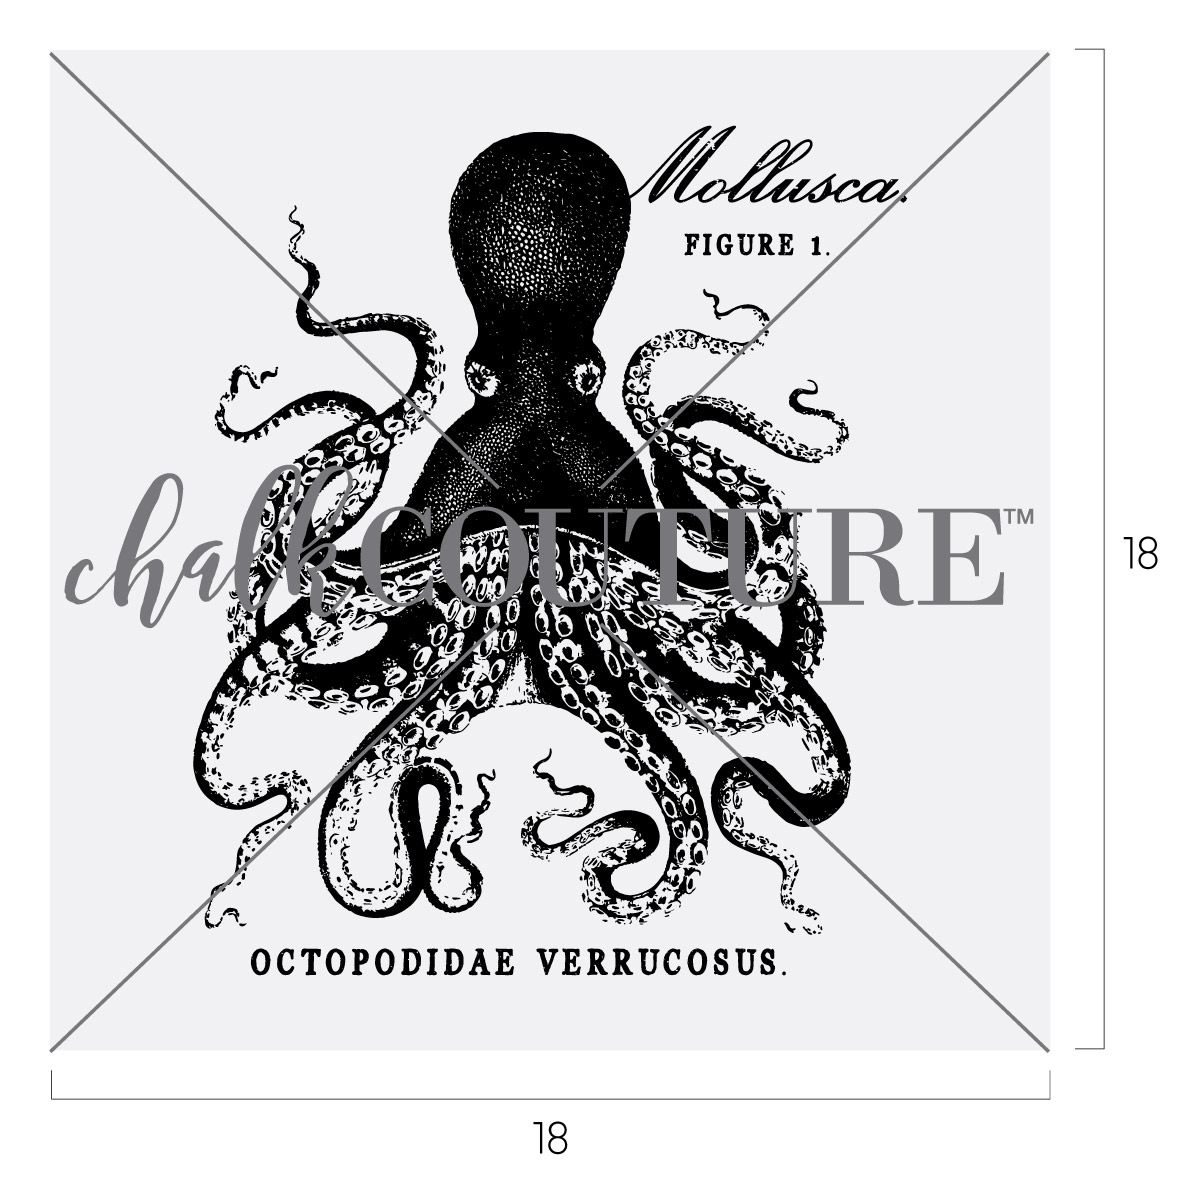
I created this Octopus Chalk Art with a retired Transfer, 4 different blue chalk pastes and a found surface from Marshalls that is a great size for large transfers.
This transfer has been on my to do list for a long time, so I was excited to finally use it. I've wanted to put it on a throw pillow for some time, but while putting our normal home decor back out, I saw the perfect surface. I had used this large surface for my Valentines Mantel. But it was time change the mantel, so what better time to create the Octopus!
Want to see how I made it? Follow along!
Supplies Needed:
Large Magnetic Chalkboard from Marshalls
Transfer: Octopus- Live Deeply Collection (retired)
Chalk Pastes: Ocean Mist, Lakeshore, Colonial Blue and Shimmer Splash
Step 1
Grab all your supplies that you will need. This makes it so much easier so you don't have to get up while chalking. I didn't use the trays since I have the jars of each chalk paste. Always stir your paste colors before you use them. If they feel a little dry, add a little bit of distilled water to it and stir well.


Step 2
I was reusing a surface, so I had to clean in off. I started by spraying the chalked part with distilled water from the Fine Mist Sprayer from Chalk Couture. I let it sit for a few minutes and then I take a Board Eraser to really clean it off. After the board is clean, I wipe it dry with a lint free cloth. Now my surface is ready to be used. 


Step 3
Time to Fuzz Fuzz FUZZ! These newer transfers seem really sticky so fuzz it well so it doesn't stick too much to the surface. Since this is a large transfer, I have found that it is easier to turn it upside down, then take the backer off. This way is less likely to stick itself to any part of the transfer. Then I just fuzz it upside-down.


Step 4
Once it's all fuzzed, I carefully flip it over and lay it into position of where I want it. Make sure its completely flat.

Step 5
With this project, I wanted it to have 4 different blues that blended well together. I used Ocean Mist, Lakeshore, Colonial Blue and Shimmer Splash. I used the Small Squeegee for all since I was blending them together. I used 4 Paste Stir Sticks to give then a good stir before I used them. Have your pastes close to you for easy use.

Step 6
Start with the 1st paste and take out small amounts with the stir sticks and randomly place them all over the transfer. Continue with the rest of the pastes until you feel that there is enough. Do this fast so the paste doesn't start to dry out. Once you have them all placed around the transfer, grab your Small Squeegee and start to spread the paste around. There is no rhyme or reason, so have fun while mixing and spreading the paste around.


Step 7
I noticed that I had a lot of extra paste left over so I placed it into a Color Tray to use on another project. This makes for a unique fun color that is like no other.
Step 8
Once you have removed the excess paste, now you can carefully peel the transfer off.

Step 9
Clean your transfer right away. This will ensure more uses. To clean larger transfers, I clean them in the shower. Make sure the wall is clean and place the dirty transfer on there. Use the shower head to clean with cold water. Grab your board eraser and clean both sides. Once clean, hang or lay sticky side up until dry. Once dry, apply backer and store away.
Now enjoy your creation!


Watch me make it here:
Do you make stuff for your home? Let me know! I would love to hear all about it!
What Is Chalk Couture?: https://youtu.be/nyosBF7gSxo
See how to create with Chalk Couture: https://youtu.be/jHLd2P2zqWo
SHOP MY CHALK COUTURE SITE:
What Is Chalk Couture: https://youtu.be/nyosBF7gSxo
SAVE 40% OFF EVERYTHING & JOIN MY TEAM AS A DESIGNER:
Why Join: https://youtu.be/eCxxbvCWCUg
What Is In The Kit: https://youtu.be/qiVdqk2RDdw
JOIN MY CLUB COUTURE & GET EXCLUSIVE PERKS:
What Is Club: https://www.youtube.com/watch?v=ZCvBz-ApN8s
EXCLUSIVE DISCOUNT: 25% OFF, Happy Mail, Exclusive Lives, Art Giveaways, and other benefits
CHALK COUTURE PRODUCTS
Transfers:
Chalkology Paste:
Chalkology Ink:
Surfaces:
Accessories:
Like these but not sure what Chalk Couture is- Click here to read all about it!
Wanna shop for some Chalk Couture stuff? Click here to check out all the amazing items!
And as always, help a sister out by sharing this post, like it and leave me a comment!
Until then...

A more modern trend that’s really taking off is digital abstract cartoon art. Think bold shapes, smooth flowing forms, and eye-catching colors—all coming together to create something fresh and artistic. This style is especially popular among design-savvy people who want their accessories and décor to feel stylish and contemporary.
ReplyDeleteOn phone cases, these abstract patterns make a trendy statement, giving everyday items a creative edge. When used on bottles or as wall art, they bring a clean, gallery-inspired look that instantly elevates the space. Overall, this trend blends creativity with a bit of sophistication and appeals to anyone who loves visually striking designs.https://colornjoy.com/blogs/halloween-wallpapers
https://colornjoy.com/blogs/hello-kitty-wallpapers
https://colornjoy.com/blogs/hello-kitty-wallpapers/lock-screen-hello-kitty-wallpaper-iphone-download-1qi7z82u2
https://colornjoy.com/blogs/basketball-wallpapers/nike-basketball-wallpaper-4k-hd-9sg9r45r4