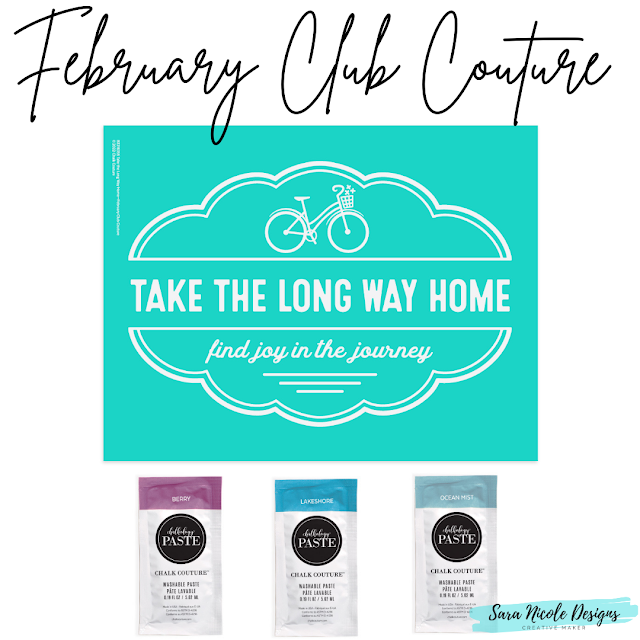
We want to ride our bicycles! February’s Club Couture Transfer is a reminder to enjoy the journey. With a vintage bicycle design, a dreamy bubble frame, and the sentiments “take the long way home” and “find joy in the journey”, this design will help you take the long way home. Your shipment this month also includes Berry, Lakeshore, and Ocean Mist Chalkology® Paste Singles.
Supplies Included
Club Couture Chalk Transfer® design: Take the Long Way Home
Chalkology® Paste Singles: Berry, Lakeshore, and Ocean Mist
Additional Supplies Needed
Surface: Aiden Style White Frame (9" × 12")
Chalkology® Paste: Bright White
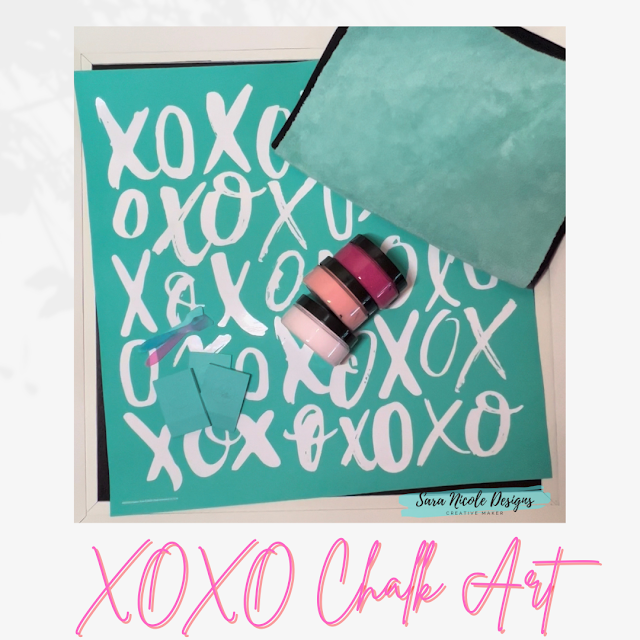
Tools: Color Trays, Fuzzing Cloth, Mini Squeegee, Multi-Tool, Detail Tool
Color and Placement Suggestions
Berry: bicycle basket, line elements
Bright White: bicycle, “take the long way home”
Lakeshore: flowers, “find joy in the journey”
Ocean Mist: bubble frame
Follow these instructions to complete this project:
1. Remove your Transfer from its packaging and carefully peel off the Transfer Backer Sheet.
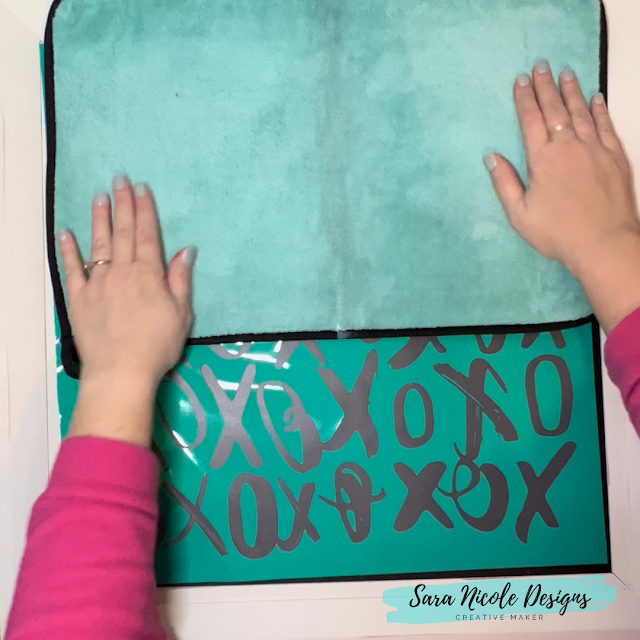
2. “Fuzz” the Transfer by gently pressing onto a Fuzzing Cloth and carefully pulling it upward. This will make the Transfer easier to remove from the surface after you’ve applied the paste.
3. Center the Take the Long Way Home Transfer on the surface, and smooth it out to ensure it has properly adhered and that there are no bubbles or wrinkles.
4. Knead your Chalkology Paste Singles. Cut open the corner of each packet and squeeze the desired amount of paste onto a Color Tray, using a new tray for each color.
5. With the curved edge of your Multi-Tool, thoroughly mix your jar of Bright White Chalkology Paste and scrape excess paste from the jar sides.
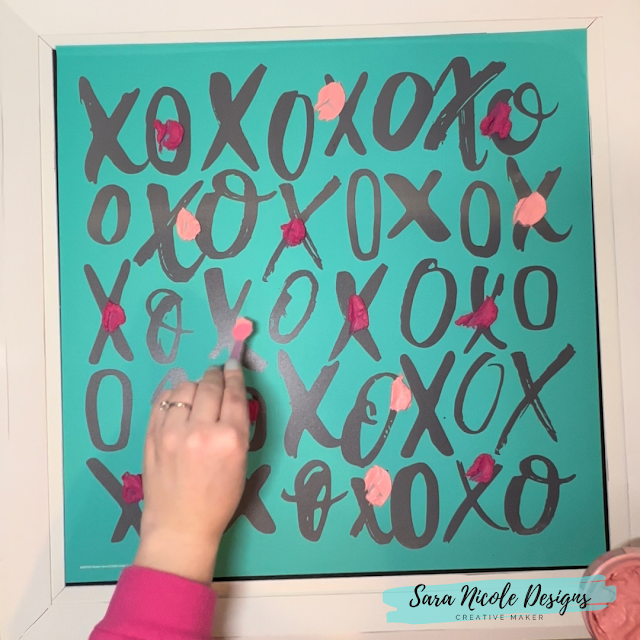
6. Use your tools to apply color over your Transfer (see “Color and Placement Suggestions”). Select your tool based on whichever size best fits the various elements you are chalking. Once the screen portions of the design are completely covered, use your tools to remove excess paste as evenly as possible; excess paste can be scraped back into the tray or jar. The more excess paste you remove, the better the result will be.
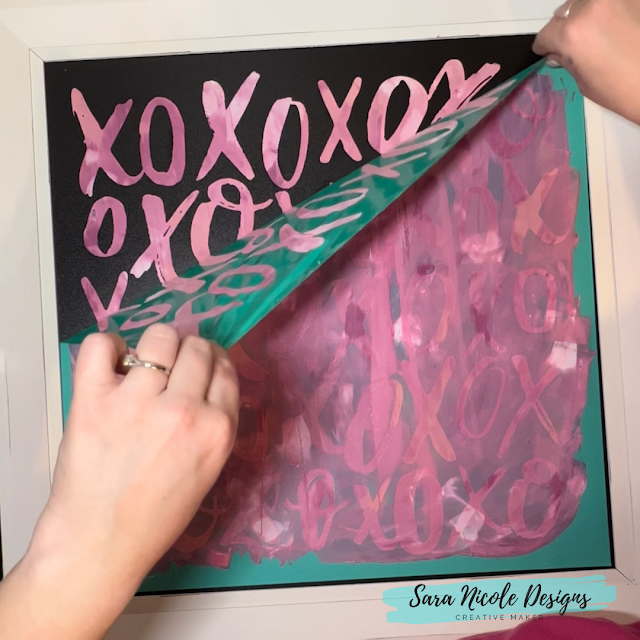
7. For best results, divide your project into sections and use the chalk-and-pull method. This allows you to work in smaller sections without having the paste dry in the screen, which would give you patchy results. Chalk the top section of the design and peel back only that portion of the Transfer to let the paste dry on the surface before continuing (use the Quick Dry Tool for a faster dry). To prevent any stretching in the Transfer, peel from the center or from both corners, instead of peeling diagonally.
8. Gently lay the Transfer back down over the chalked section. Ensure that the next section is fully adhered, and repeat these steps as you work your way down the Transfer.
9. Once your design is fully chalked and before the paste dries, remove your Transfer from the surface and immediately clean the Transfer with cool water (do not let it soak).
10. Dry the Transfer flat with the sticky side up. Once completely dry, reapply the Transfer Backer Sheet and store flat.
11. Display your latest creation and enjoy life’s journey!

Our basic instructions go like this: choose a surface and Transfer, add some paste or ink, and start creating. With the Best Basics Chalk It Up Kit, you’ll have what you need to carry out those instructions and you’ll be well on your way to artistry!
This kit includes two of our favorite surfaces: Board & Base (perfect for A-sized Transfers) and a Sylvie White Frame (perfect for B-sized Transfers). Both surfaces are reusable with Chalkology Paste, and can be used in either landscape or portrait orientation. Plus, that Board & Base is reversible so you can have two projects to display all at once!

