What's better that stars for the 4th of July decor? Shimmer Blue 4th of July Stars! This was an easy 5 minute craft that adds a little pop to my 4th of July decor!
Come see how I made this!
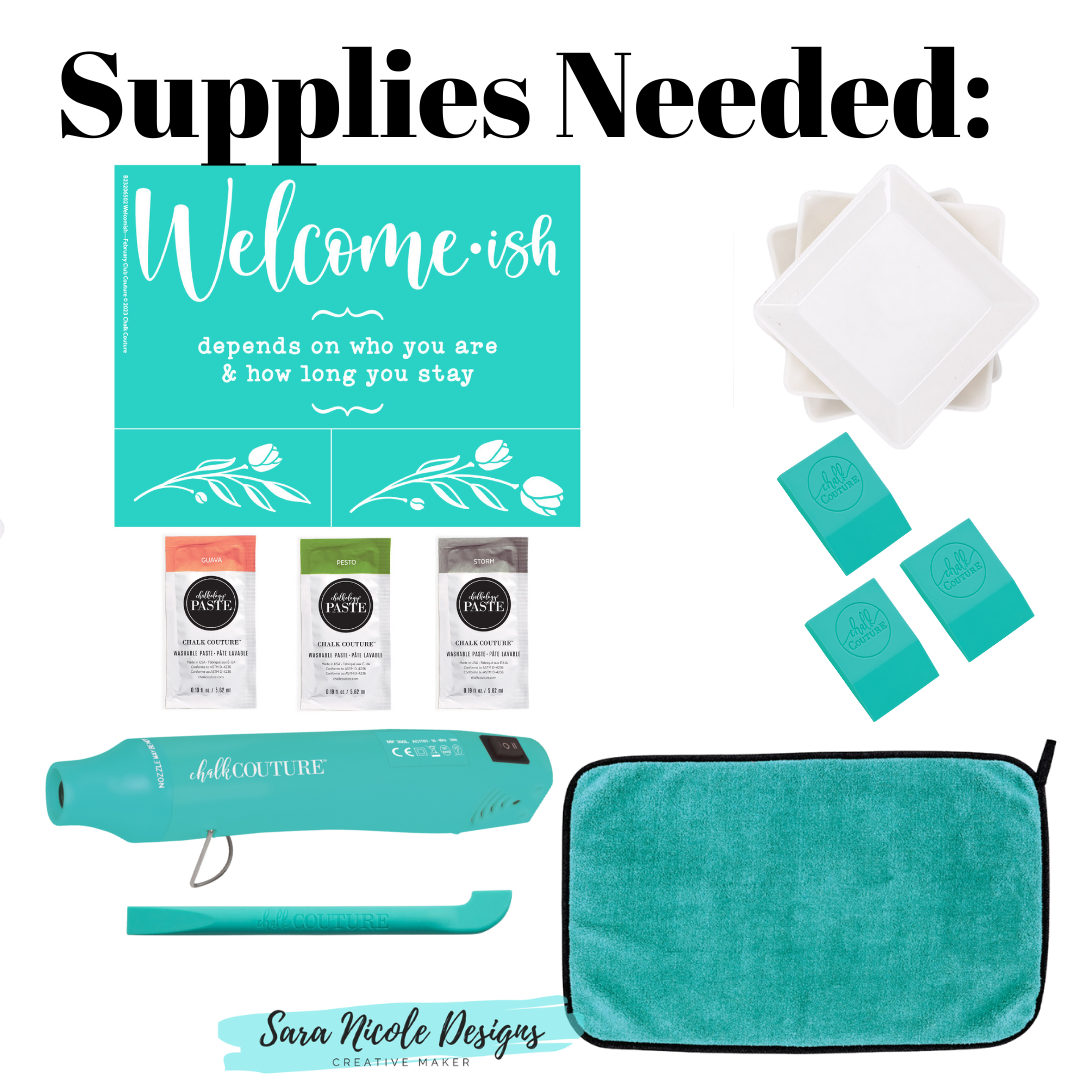
1. Time to get all the supplies for this project. I grab an old scrap piece of wood that I painted white and the shabby chic the sides. I had already cut this portion from a larger transfer - Land of the Free. I grabbed a mini squeegee, a stir stick and a jar of retired Shimmer Splash paste. I opened the chalk paste and gave it a good stir.

2. I grabbed my Fuzzing Cloth and gave it a good fuzz.

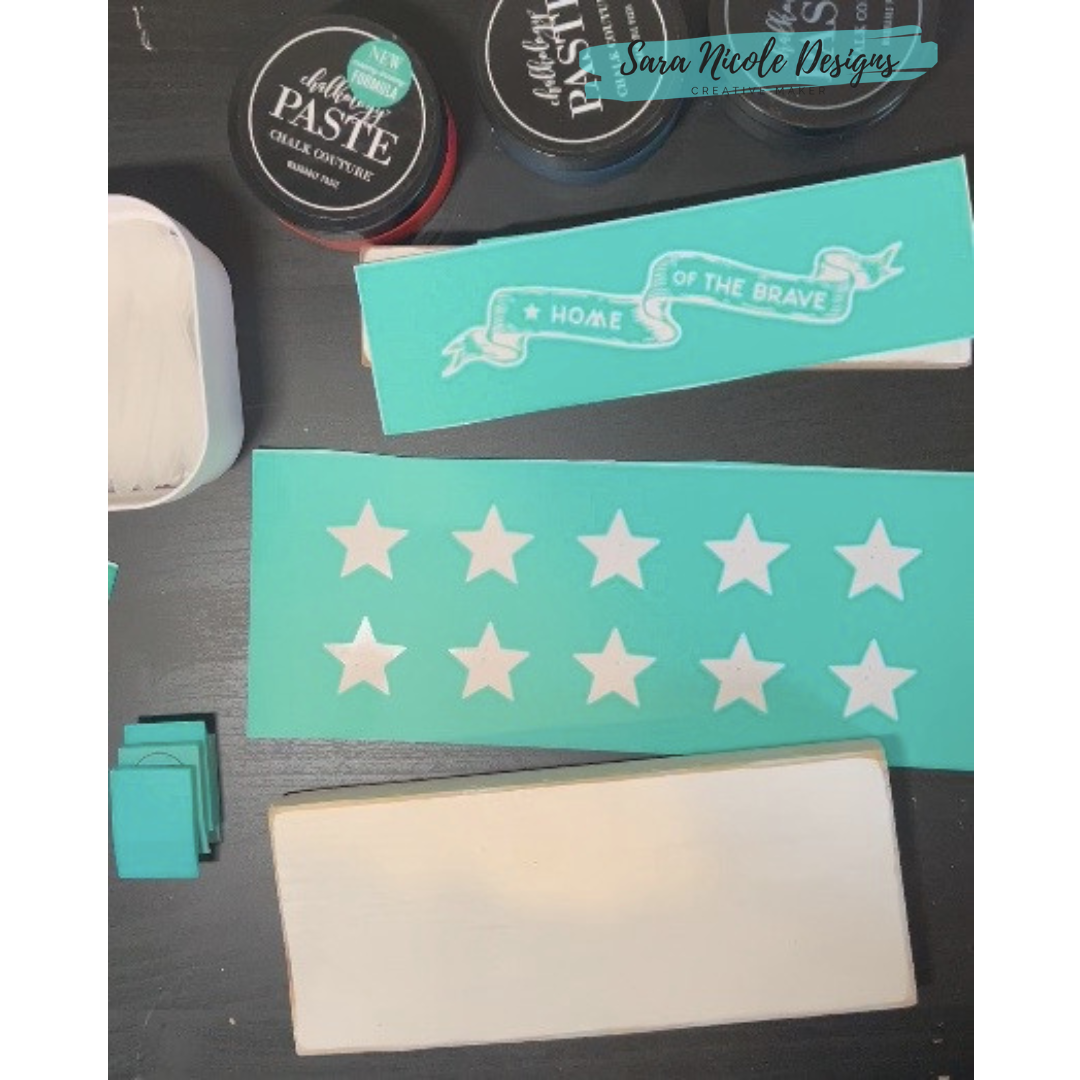
3. Once fuzzed, I placed the transfer in the position that I want the stars.

4. Then I pushed the transfer down and made sure there were no air bubbles.

5. Time to grab the Shimmer Splash Chalk Paste and start pasting! With the new transfers, the chalk paste doesn't get absorbed into the teal part as easy so any extra moves around with the squeegee. It took very little chalk paste to complete this project.

6. Once you are done chalking, time to remove the transfer. I make sure I pull off evenly and not from only one corner. That could stretch the transfer and ruin it. Once removed, I washed the transfer right away with water and a board eraser. Then I turned it over to dry. Once the transfer is dried, then re-apply the backer sheet and store properly.


This is how I styled my 4th of July Stars. It looks like it is placed it inside the mug, but it is behind the mug. This sign goes well with this 4th of July tiered tray that is on top of my hutch. I really like the shimmer when the sun hits it just right!
Watch how I made it here:
Check out some of my other 4th of July Crafts:
Do you make stuff for your home? Let me know! I would love to hear all about it!
LET'S BE FRIENDS ON SOCIAL MEDIA:
Find me on Instagram: https://bit.ly/2QTKYg4
Find me on Pinterest: https://bit.ly/3iaX94p
Find me on Facebook: https://bit.ly/3hYyoZ0
Join my VIP Group: https://bit.ly/2QPLgEV
Find me on Tik Tok: https://bit.ly/3l7VZgk
What Is Chalk Couture?: https://youtu.be/nyosBF7gSxo
See how to create with Chalk Couture: https://youtu.be/jHLd2P2zqWo
SHOP MY CHALK COUTURE SITE:
What Is Chalk Couture: https://youtu.be/nyosBF7gSxo
SAVE 40% OFF EVERYTHING & JOIN MY TEAM AS A DESIGNER:
Why Join: https://youtu.be/eCxxbvCWCUg
What Is In The Kit: https://youtu.be/qiVdqk2RDdw
JOIN MY CLUB COUTURE & GET EXCLUSIVE PERKS:
What Is Club: https://www.youtube.com/watch?v=ZCvBz-ApN8s
EXCLUSIVE DISCOUNT: 25% OFF, Happy Mail, Exclusive Lives, Art Giveaways, and other benefits
CHALK COUTURE PRODUCTS
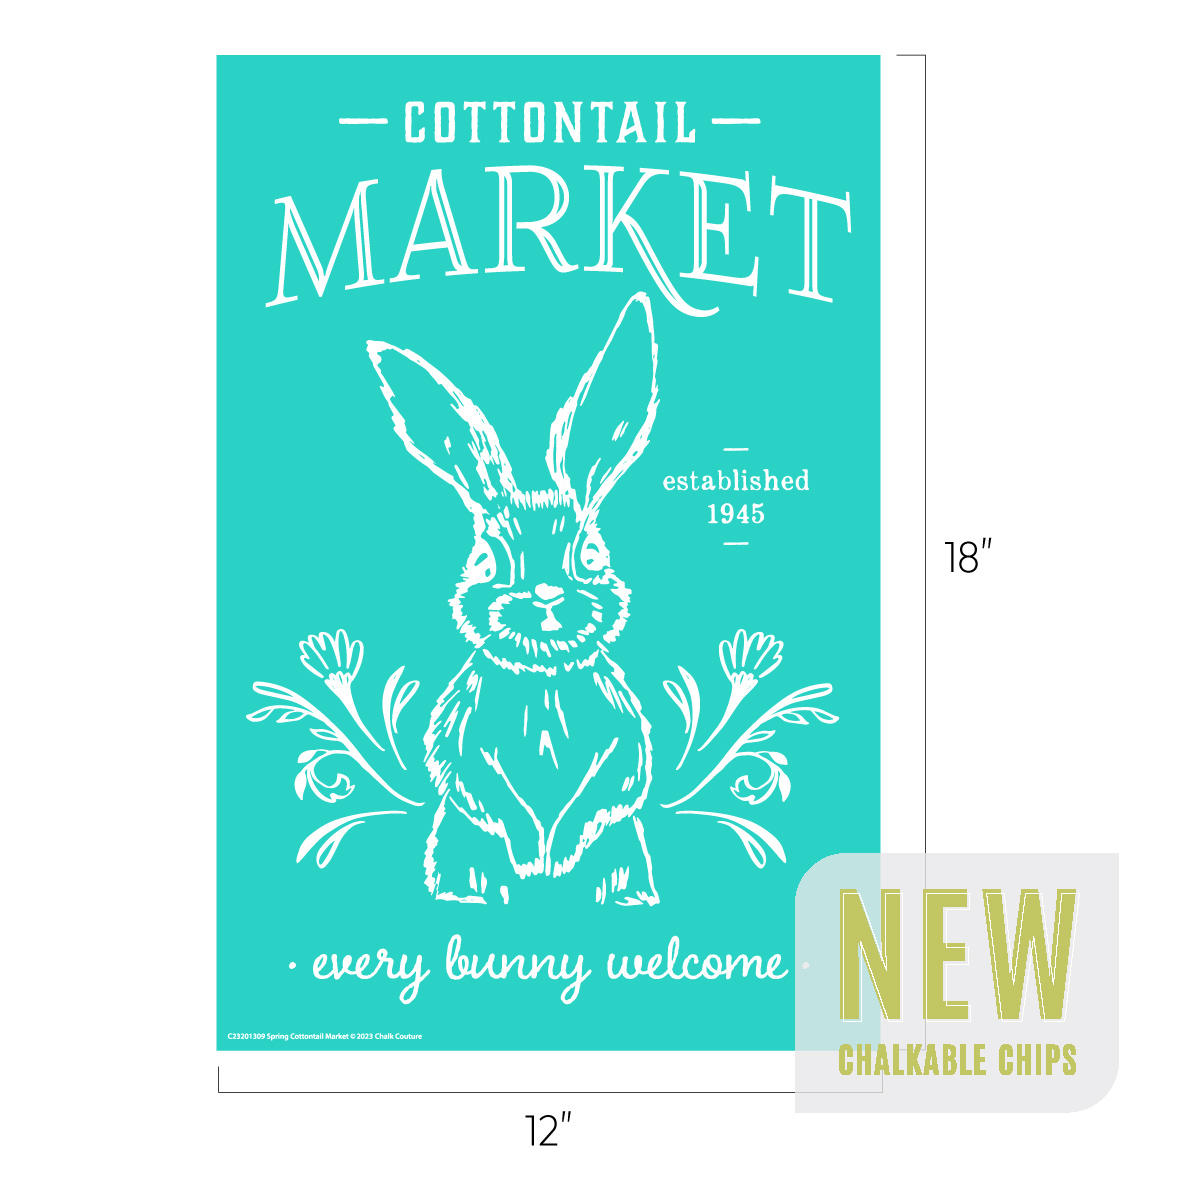
Transfers:
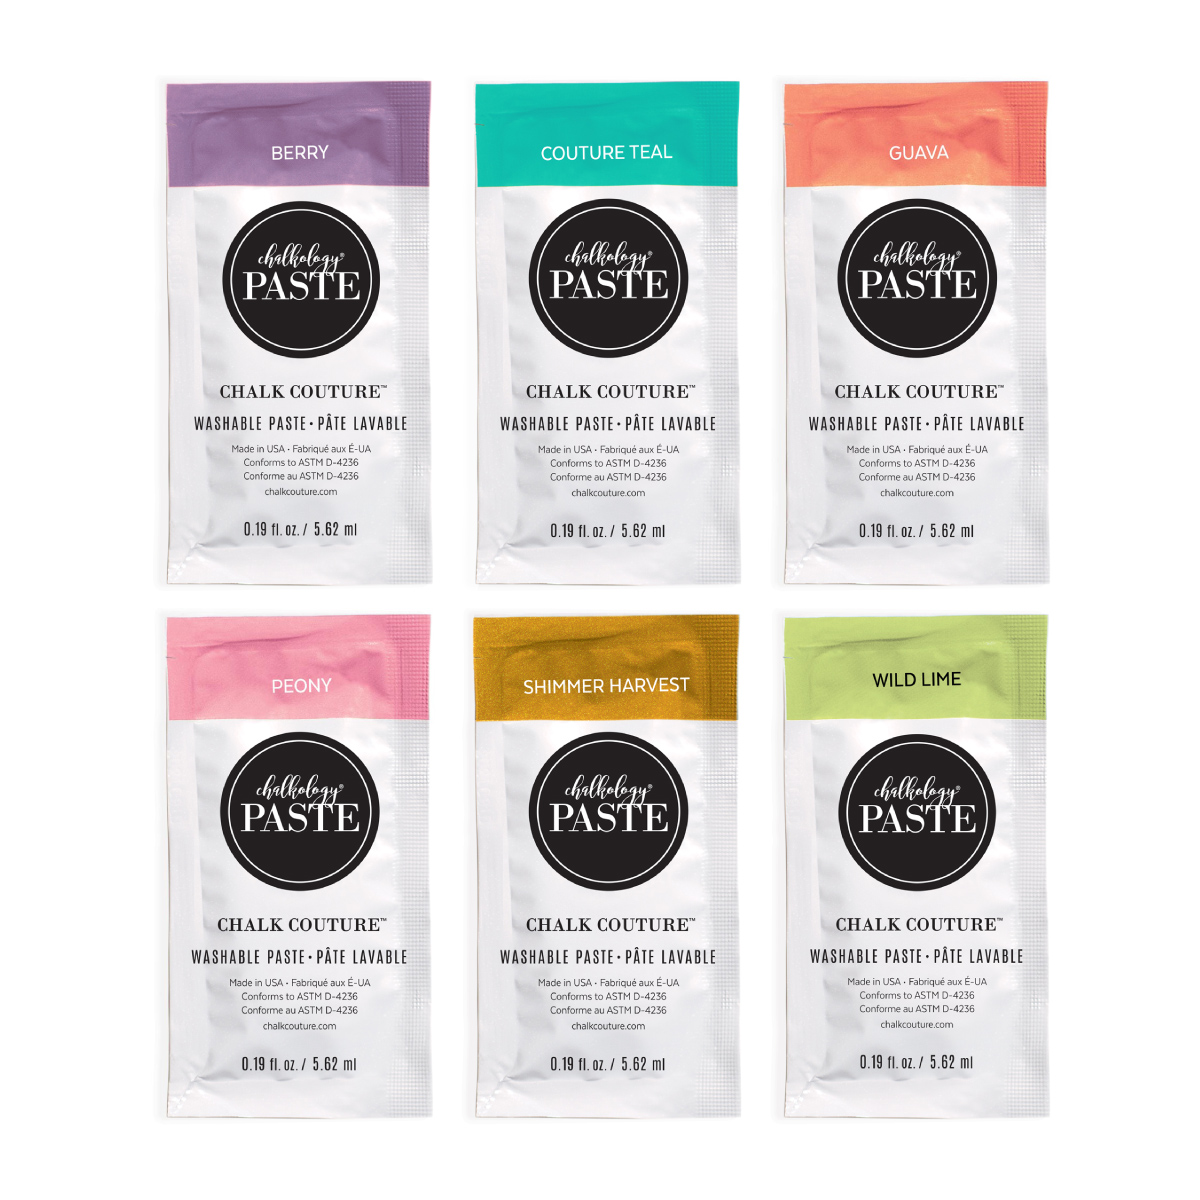
Chalkology Paste:
Chalkology Ink:
Surfaces:
Accessories:
Like these but not sure what Chalk Couture is- Click here to read all about it!
Wanna shop for some Chalk Couture stuff? Click here to check out all the amazing items!
And as always, help a sister out by sharing this post, like it and leave me a comment!
Until then...