Hop to It Chalkmade Kit

I really like winter, but I feel like it has been such a long winter. But, I am ready for some Spring weather! And Spring weather means spring crafts!
This is a great Spring project- Come check it out!
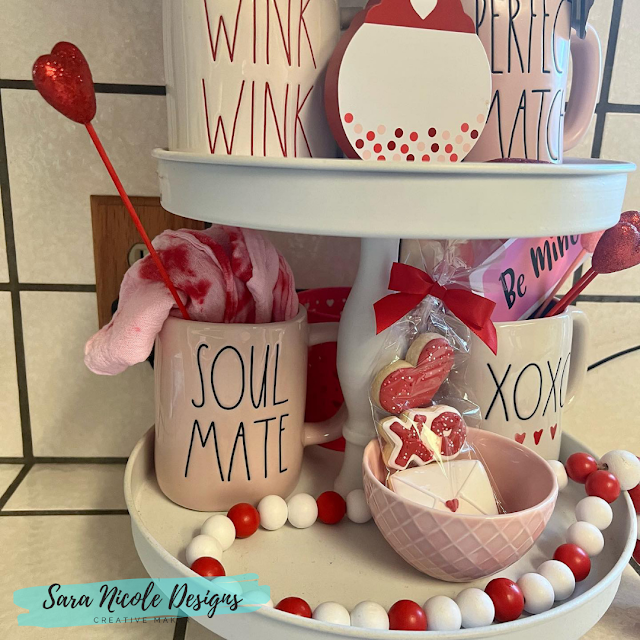
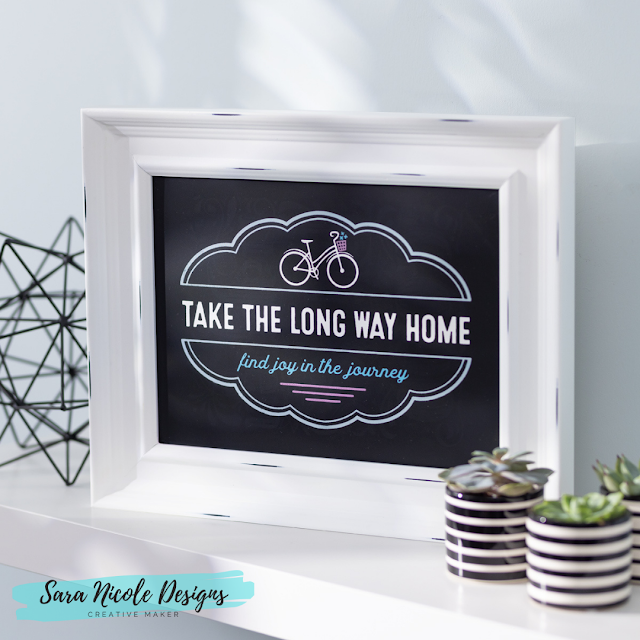
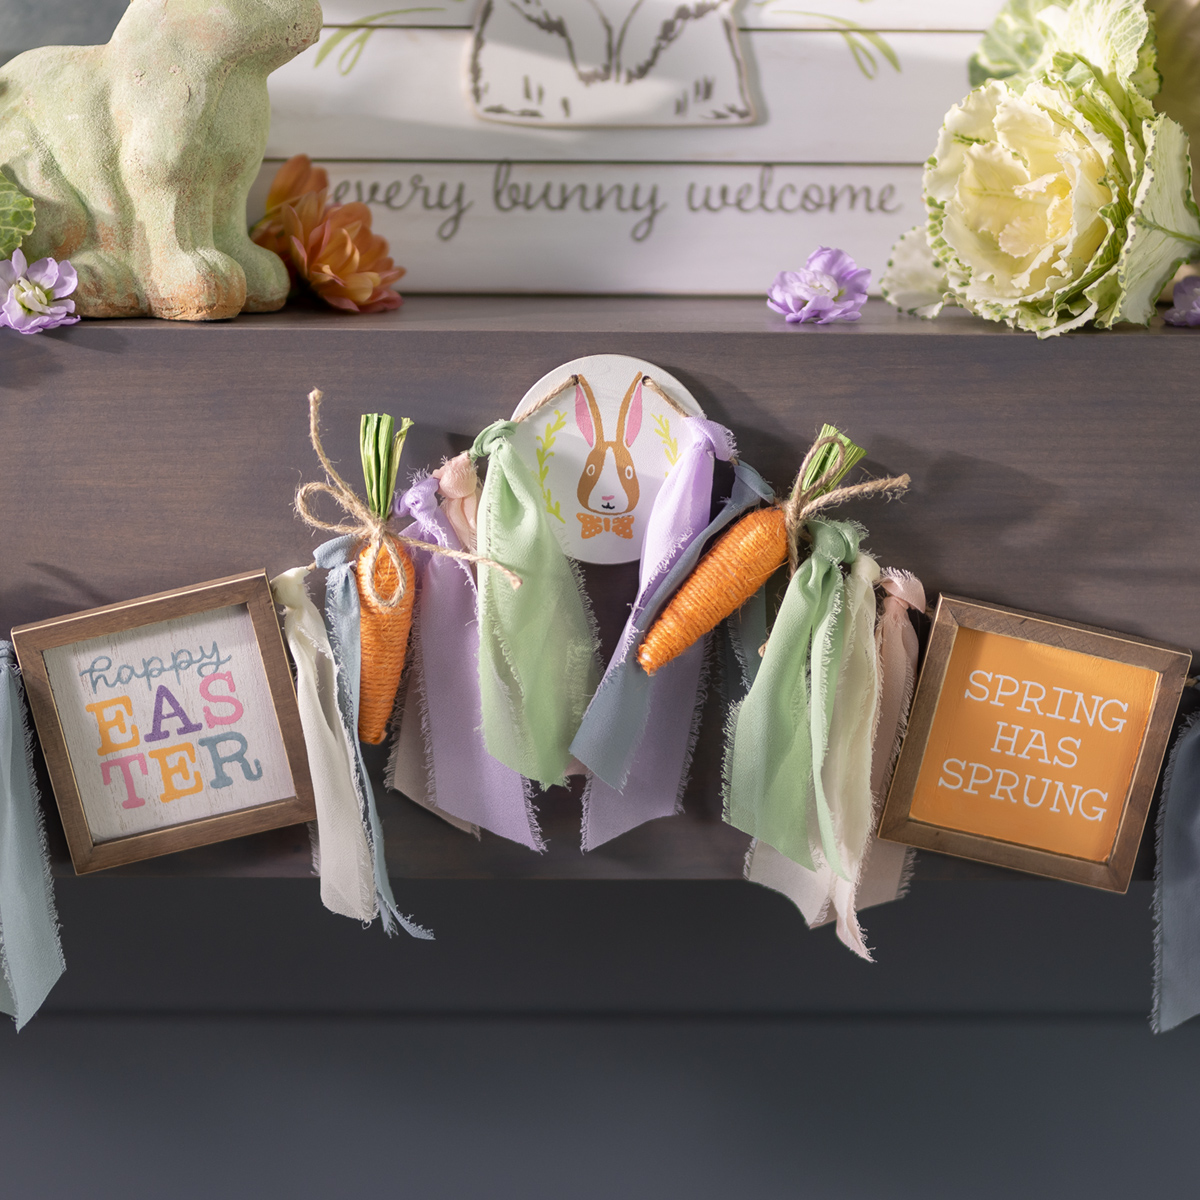
Add some hoppy fun to your springtime décor with this DIY bunny garland.

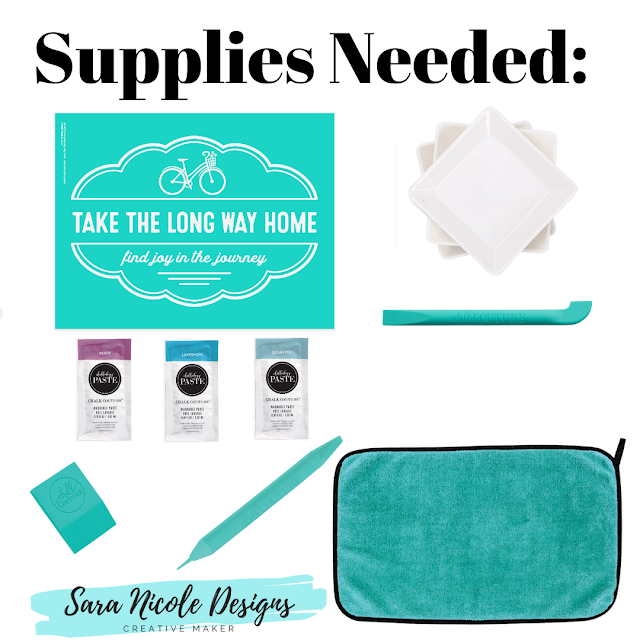
Includes:
-2 Bunny Slimcuts
-5 wooden eggs
-6 large beads
-24 small beads
-2 cotton balls
-twine
-ribbon
-Color Trays
-and a Mini Squeegee!
Ready to buy this kit? Click here:
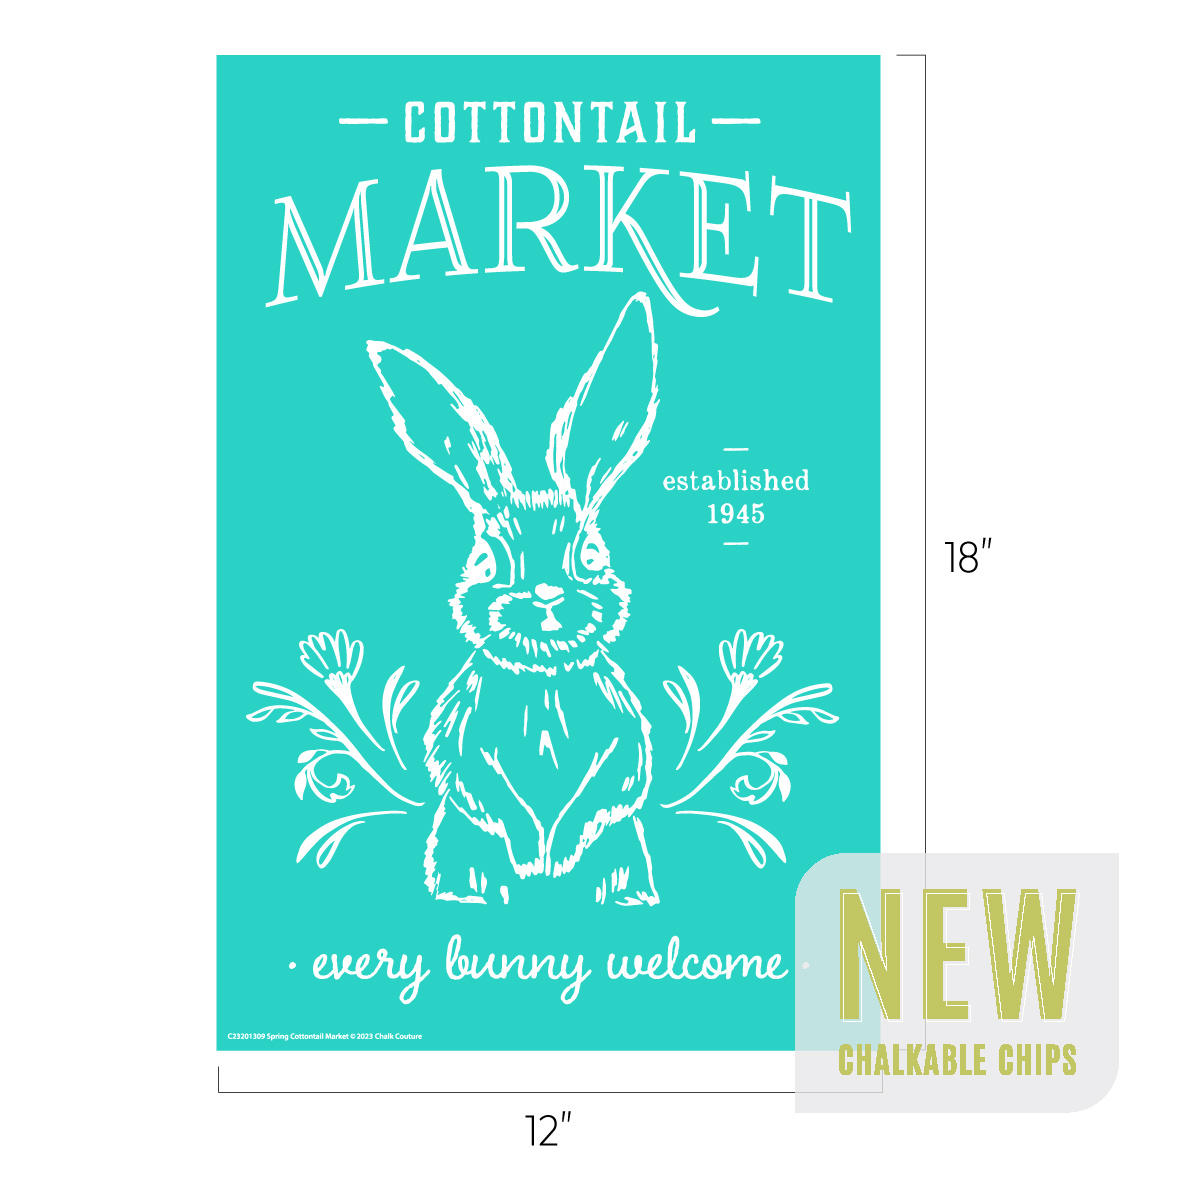
Check out these other cute Spring transfers

Spring Cottontail Market

Do you make stuff for your home? Let me know! I would love to hear all about it!
LET'S BE FRIENDS ON SOCIAL MEDIA:
Find me on Instagram: https://bit.ly/2QTKYg4
Find me on Pinterest: https://bit.ly/3iaX94p
Find me on Facebook: https://bit.ly/3hYyoZ0
Join my VIP Group: https://bit.ly/2QPLgEV
Find me on Tik Tok: https://bit.ly/3l7VZgk
What Is Chalk Couture?: https://youtu.be/nyosBF7gSxo
See how to create with Chalk Couture: https://youtu.be/jHLd2P2zqWo
SHOP MY CHALK COUTURE SITE:
What Is Chalk Couture: https://youtu.be/nyosBF7gSxo
SAVE 40% OFF EVERYTHING & JOIN MY TEAM AS A DESIGNER:
Why Join: https://youtu.be/eCxxbvCWCUg
What Is In The Kit: https://youtu.be/qiVdqk2RDdw
JOIN MY CLUB COUTURE & GET EXCLUSIVE PERKS:
What Is Club: https://www.youtube.com/watch?v=ZCvBz-ApN8s
EXCLUSIVE DISCOUNT: 25% OFF, Happy Mail, Exclusive Lives, Art Giveaways, and other benefits
CHALK COUTURE PRODUCTS
Transfers:
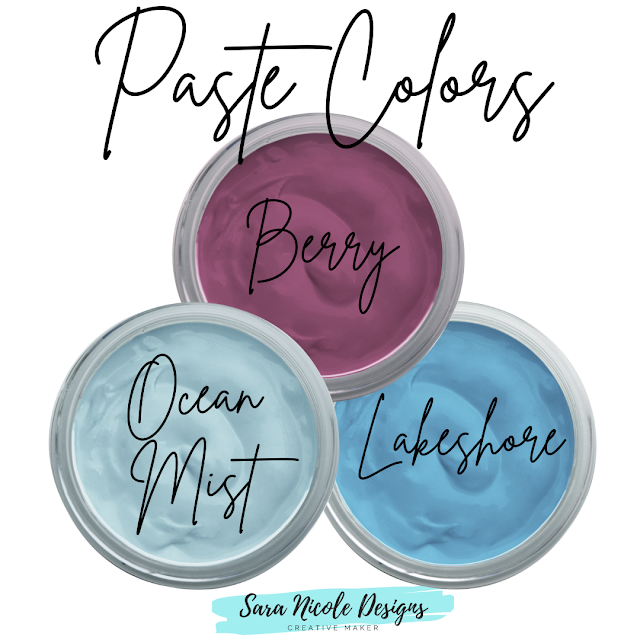
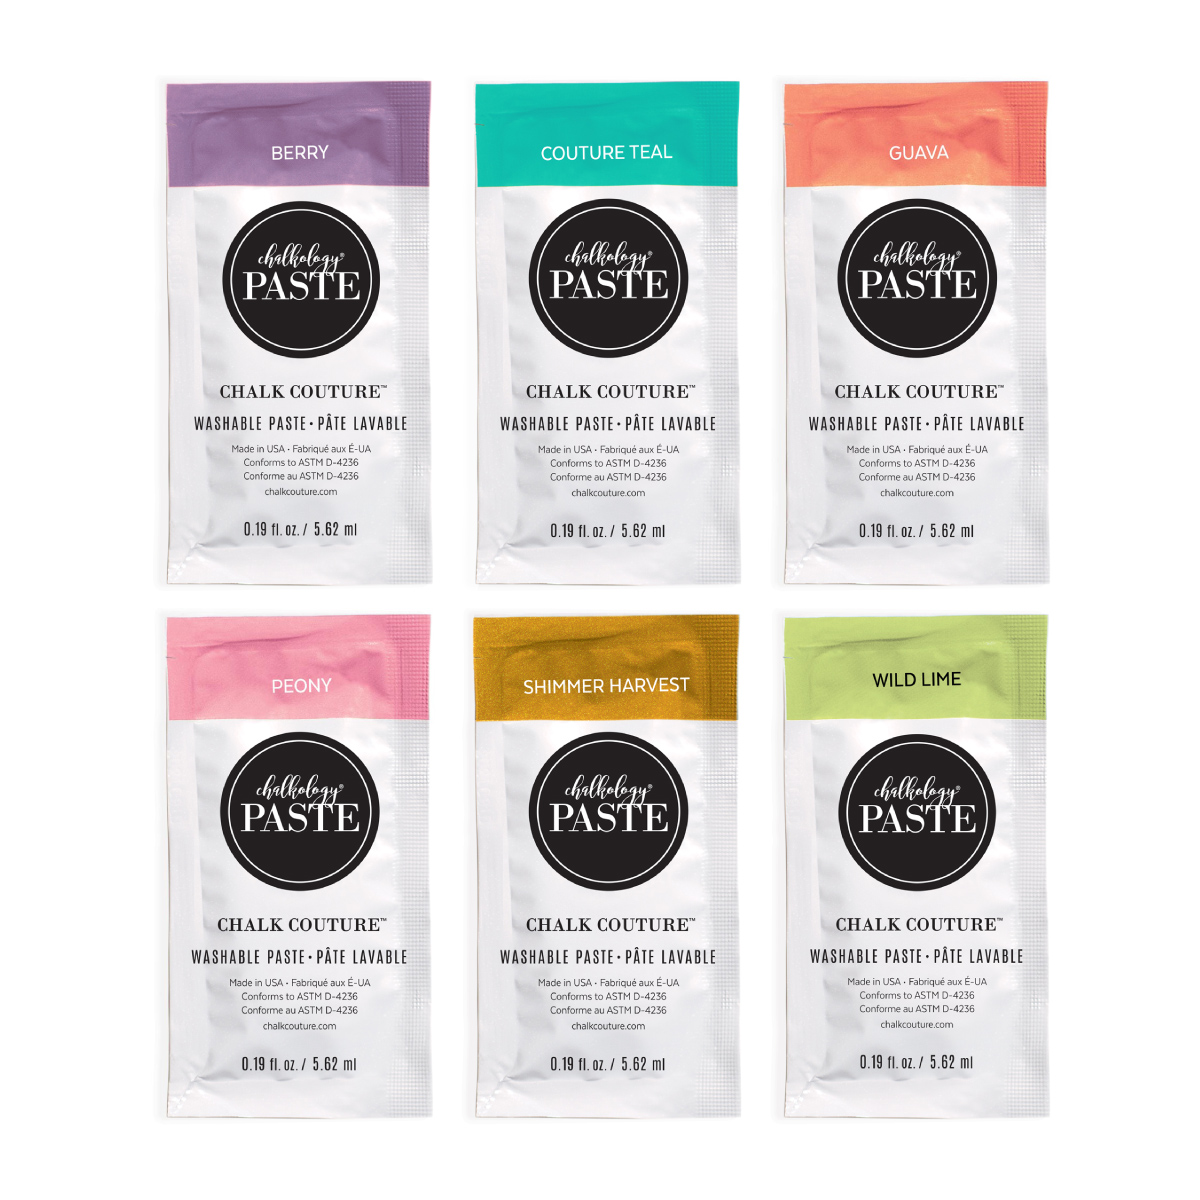
Chalkology Paste:
Chalkology Ink:
Surfaces:
Accessories:
Like these but not sure what Chalk Couture is- Click here to read all about it!
Wanna shop for some Chalk Couture stuff? Click here to check out all the amazing items!
And as always, help a sister out by sharing this post, like it and leave me a comment!
Until then...