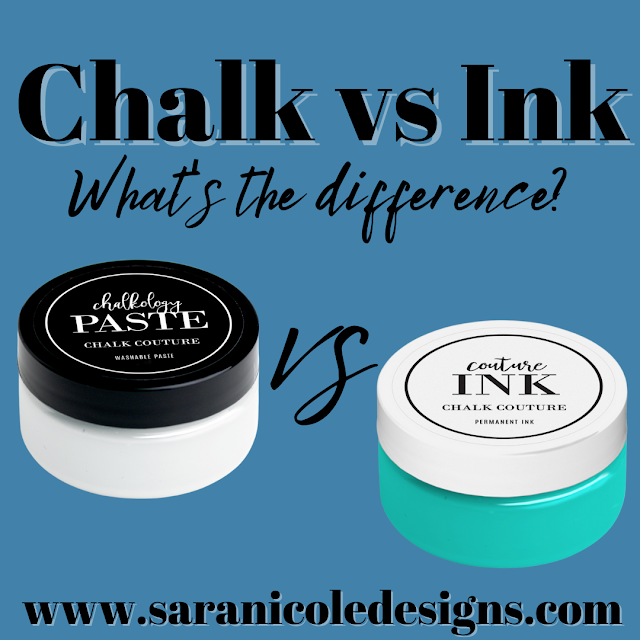
This is your go to guide on everything you need to know about Chalk Couture Pastes and Inks!
Are the paste and inks designed to be the same colors (are the reds the same, green, navy, etc.) or are they different?
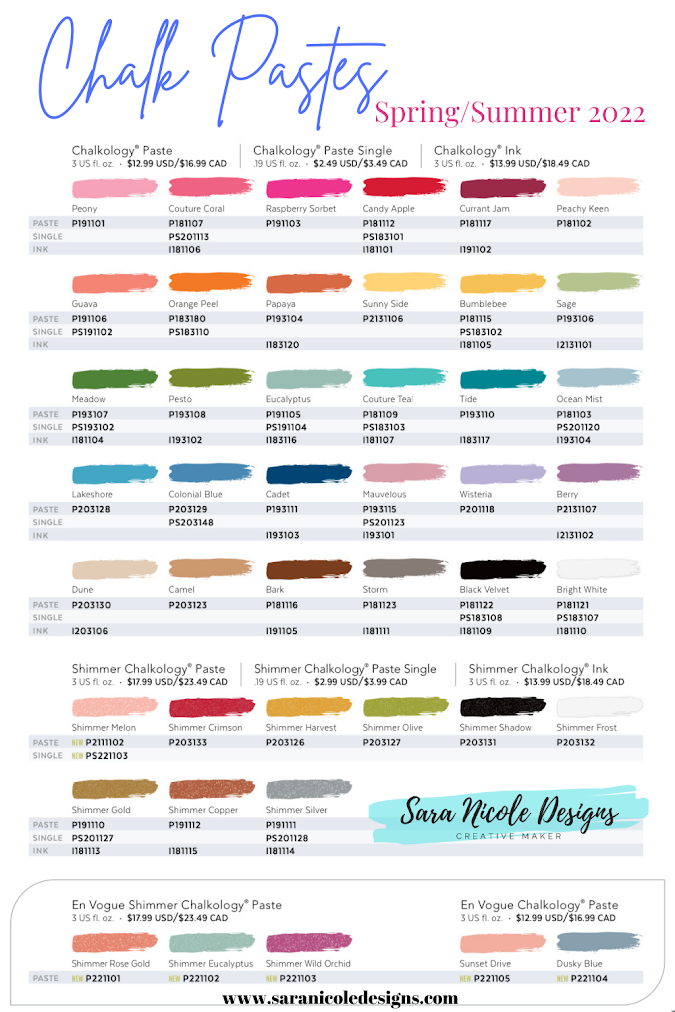
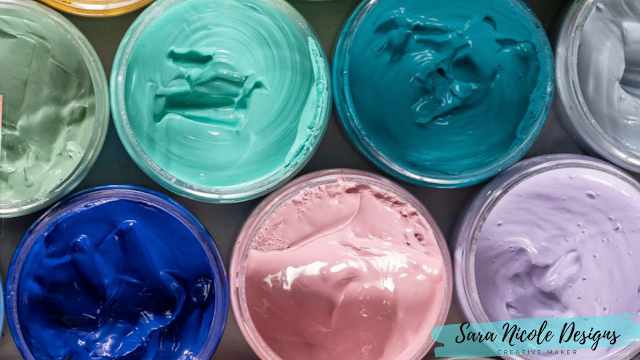
While some pastes and inks share the same color name, they are intended to be as close as possible but may not be identical. Because of their formulation and unique pigments, they will dry with different intensities.
Yes, however, do not mix the ink and paste together. Do not heat set the paste. (This means if you are heat setting a project with an iron, do not iron the paste. If you are heat setting an oven-safe surface, do not use paste on the project.)
Is there a different “look” in the dry finish between paste and ink (matte, glossy, thickness, rough vs. smooth, etc.)?
Yes. Paste is more matte and tends to level on its own. Ink dries more glossy and doesn’t level on its own, so you will need to smooth it to get the finish/thickness you desire.

Will either fade in daylight?
Any color will fade over time, but fading is accelerated when exposed to daylight. Avoid exposing your projects to long periods of sunlight and direct sunlight.
Is ink non-toxic?
Yes, but ink is not for human consumption and should be kept out of reach of children. Note that the metallic inks contain trace metals. Any accidental ingestion should be reported to your physician.
Can you mix ink colors together and on a project like you can paste colors?
Yes, no problem.
Can I mix ink and paste together?
No. The ink and paste cannot be mixed together, because the ink needs to be heat set and paste cannot be heated.
Can you still do techniques like marbling and ombré with ink?
Yes. They are trickier techniques with ink, but they do work.
Can I remove the ink from a hard surface project? (Like scraping off a plate/board with a craft knife?)
If you have heat set your project you should consider it permanent. If you haven’t heat set your project, the ink may come off completely, smudge, or smear in water or when rubbed briskly. On hard surfaces, you may be able to scrape off non-set ink with a craft knife. It will not come off cleanly like paste can and should be used carefully as it is not forgiving on surfaces, particularly fabric.
What is the difference in consistency with paste and ink?
With paste, you may see a difference in consistency. Each color has its own unique formula, so paste consistency can vary. You will not experience a significant difference in ink consistency. However, paste is typically thicker than ink.
Does ink dry more quickly or slowly?
Ink dries much slower than paste. You may wish to use a hair dryer to speed drying, particularly if you are making a project with layered colors.
Will ink bleed through fabric?
Yes, ink can bleed through fabric. Use an Ink Mat to protect your surfaces. Ensure you remove the Ink Mat before ironing your project to heat set the Ink.
Can I heat set my project while the Ink Mat is underneath it?
No, remove the Ink Mat first, because it is not heat proof.
Do I need to “seal” ink projects, even after heat setting?
No. The heat setting seals a project.
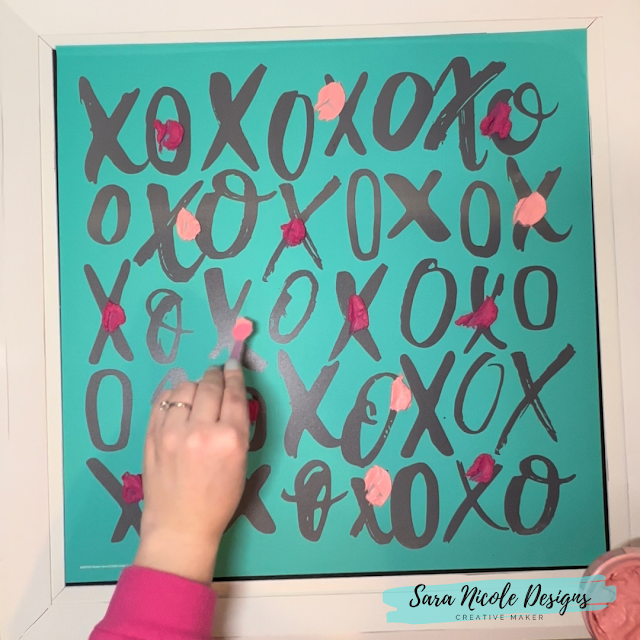
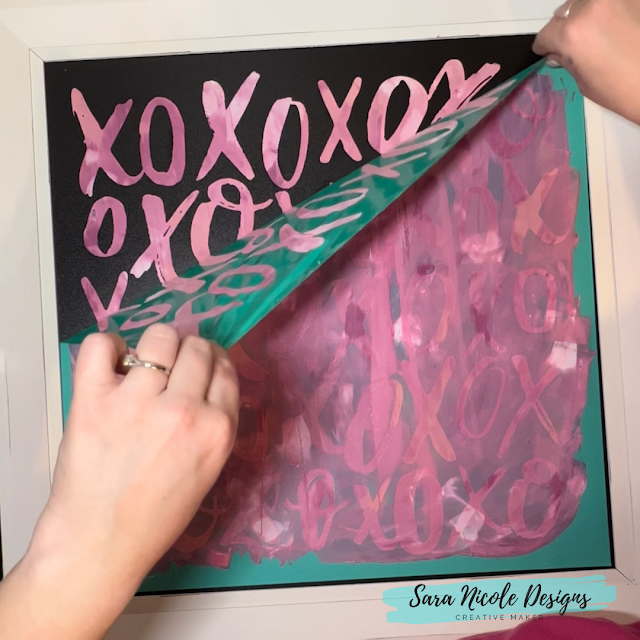
Does ink “interact” differently with our Chalk Transfer designs than paste? (Will ink stain my Transfers?)
Yes. Ink will likely stain your Transfer, although staining does not harm your Transfer. Some of the darkest colors of ink can stain the silk portion of the Transfer. The staining will not discolor the next project you make with that Transfer. However, wash your Transfers immediately after using Chalkology Ink. Because ink is permanent, it can clog the screen or pull at the Transfer if allowed to dry (and again, it is less forgiving than paste).
How long do you heat set fabric?
You will need to heat set a fabric project for 4 minutes on each side (inked side AND non-inked side) with a medium heat iron. Ensure you use a barrier between your iron and inked surface, such as parchment paper, and keep the iron moving in small circles—don’t let it rest in one spot.
Can you heat set non-fabric items? What about surfaces that can’t tolerate heat (like plastics or melamine)?
You can heat set non-fabric items that can tolerate heat in a medium oven (300-350° F) for 30 minutes. We recommend waiting for the ink to dry before putting it in the oven. Also, wait for the oven to heat before placing your project inside.
If you use ink on a surface that can’t tolerate heat, do not heat set it. If an item can be baked—like many ceramics, glassware, and cookware—then it will likely be heat safe. Please read all surface information about the item you plan to ink before putting in your oven. You can still use ink on surfaces that don’t tolerate heat, just remember they are not permanent, because they haven’t been set.
Can I use ink on dishes?
Ink is designed for décor items, and while you may choose to decorate common kitchen items (platters, plates, mugs, etc.) the ink was not formulated to be in direct contact with food or beverages.
Is the ink dishwasher safe?
Yes. Ink is dishwasher safe once it has been heat set.
Can I put ink on my chalkboard? If so, do I need to heat set it or just let it air dry?
Yes, you can put ink on your chalkboard, however we don’t recommend heat setting a chalkboard. Remember ink is designed to be permanent, so it may not completely come off even if it is not heat set.
What’s the best way to clean up after “accidents” with ink?
Any “project rescue” suggestions?
If it is only a small drop of ink, you can let it dry completely and peel it off (depending on where it has spilled; some fabrics it will soak into immediately). If it is a larger area, and ink won’t pull off, you may need to start over OR try to ink over the mistake. It will depend on the surface, because ink may stain even if it hasn’t been heat set.
How do you clean up your Ink Mat when you are done?
Use water to wipe it clean. Do not use a disinfecting wipe, because it will take the adhesive off your mat.
How do you layer designs?
Heat set the ink between layers. After you let the first layer dry, you are safe to layer on top of it. To speed this process, you can use a hair dryer after each layer.
What’s the life of ink when stored?
Chalkology Ink, similar to Chalkology Paste, will last longest when stored in its jar, tightly sealed and in a cool, dry place when not in use. Cap immediately after use or between projects to prolong life. Both paste and ink are best when used within 3 months of purchase. But I have had pastes and inks for over a year and still work great!
Do you make stuff for your home? Let me know! I would love to hear all about it!
What Is Chalk Couture?: https://youtu.be/nyosBF7gSxo
See how to create with Chalk Couture: https://youtu.be/jHLd2P2zqWo
SHOP MY CHALK COUTURE SITE:
What Is Chalk Couture: https://youtu.be/nyosBF7gSxo
SAVE 40% OFF EVERYTHING & JOIN MY TEAM AS A DESIGNER:
Why Join: https://youtu.be/eCxxbvCWCUg
What Is In The Kit: https://youtu.be/qiVdqk2RDdw
JOIN MY CLUB COUTURE & GET EXCLUSIVE PERKS:
What Is Club: https://www.youtube.com/watch?v=ZCvBz-ApN8s
EXCLUSIVE DISCOUNT: 25% OFF, Happy Mail, Exclusive Lives, Art Giveaways, and other benefits
CHALK COUTURE PRODUCTS
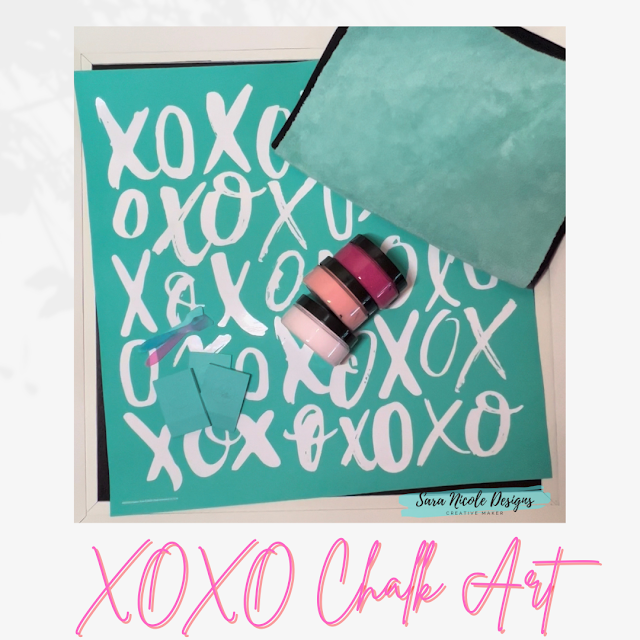
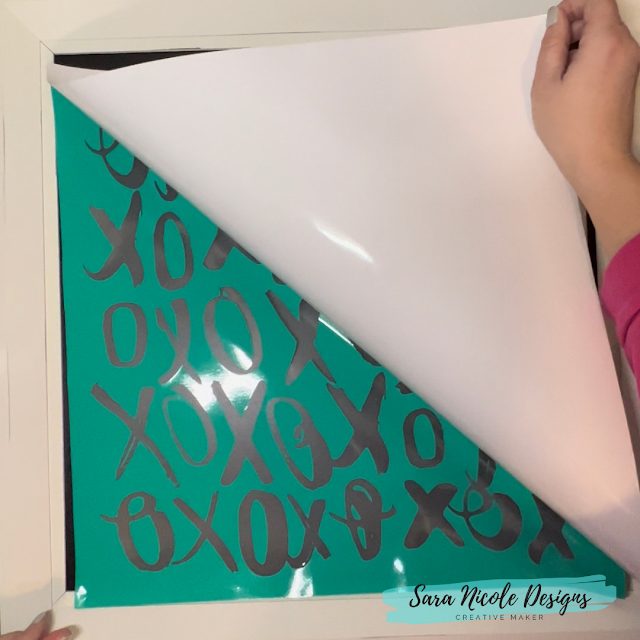
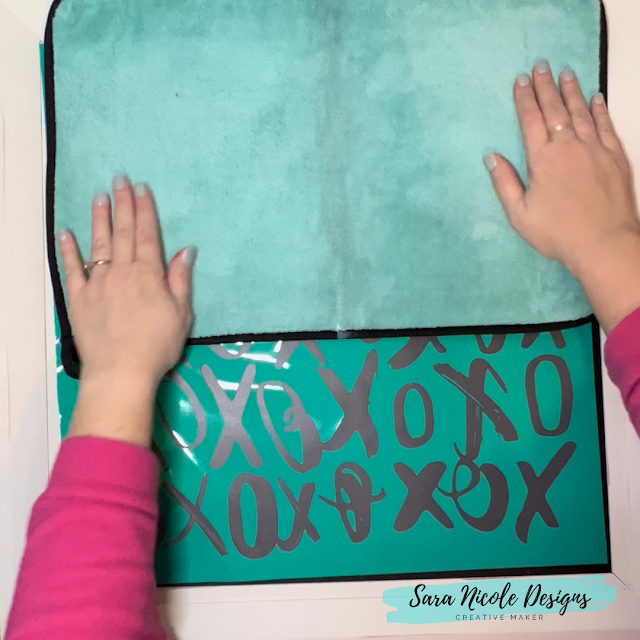
Transfers:
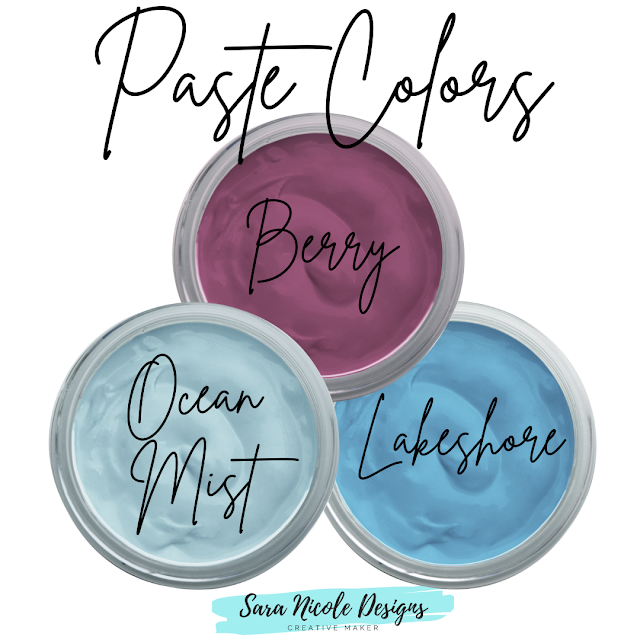
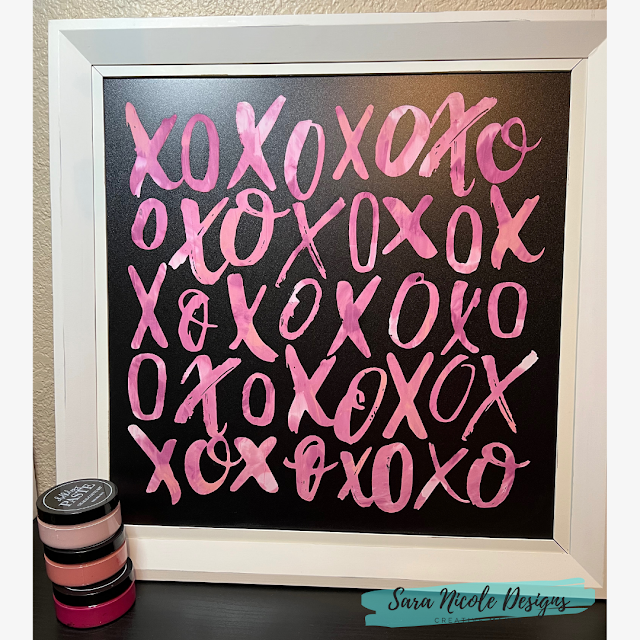
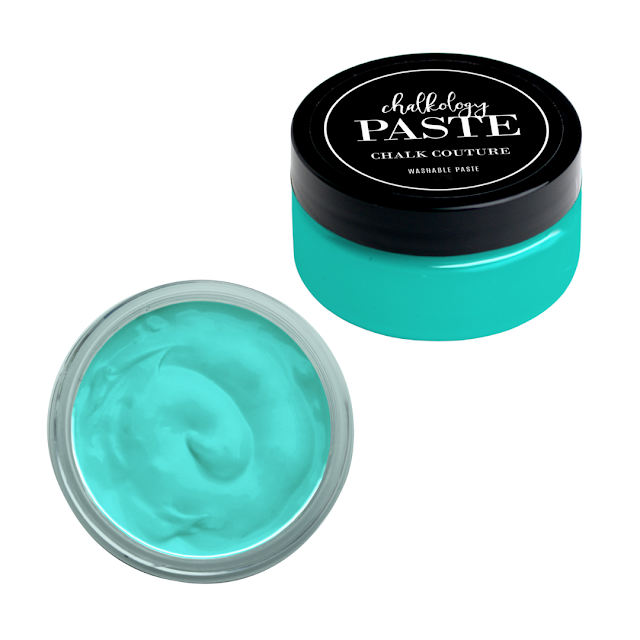
Chalkology Paste:
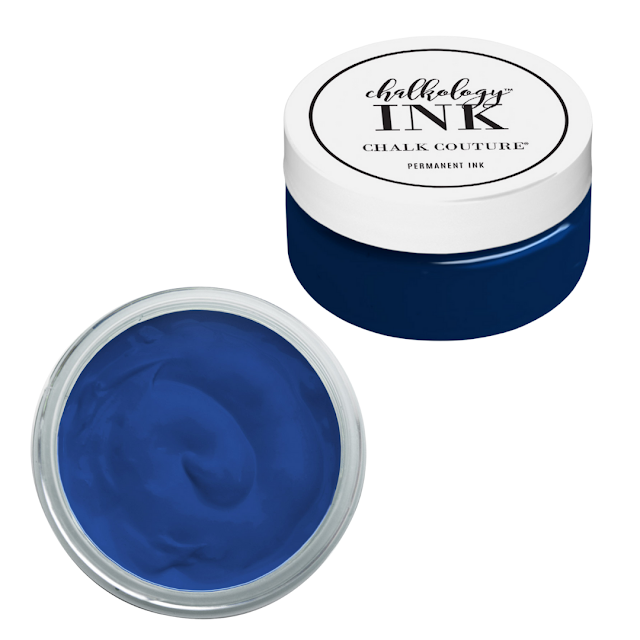
Chalkology Ink:
Surfaces:
Accessories:
Like these but not sure what Chalk Couture is- Click here to read all about it!
Wanna shop for some Chalk Couture stuff? Click here to check out all the amazing items!
And as always, help a sister out by sharing this post, like it and leave me a comment!
Until then...