While getting all my Valentine Rae Dunn mugs out, I have realized that I have just as many Valentines mugs as I do Christmas mugs 😳. I do have a few doubles that I need to get rid of too. I love Valentines Day since it's all lovey dovey and a small token of candy makes the kids happy. Thats a win in my book! I found these really great cards this year from Home Goods and they were so cute and cheap! Also a win in my book!
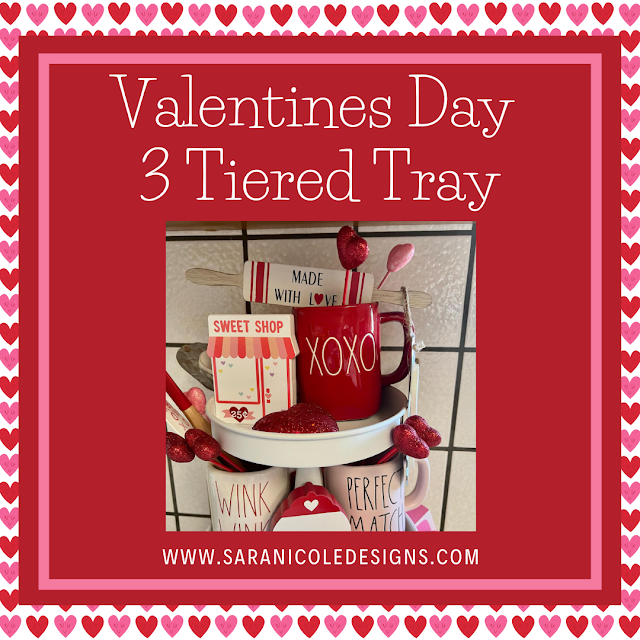
As you know, I love to decorate my 3 tiered tray for each holiday. And Valentines is always so fun since it's the next holiday after Christmas. My daughter loves this set since it is so full of pinks!
Now let me show you how I styled my Valentines 3 tiered tray!
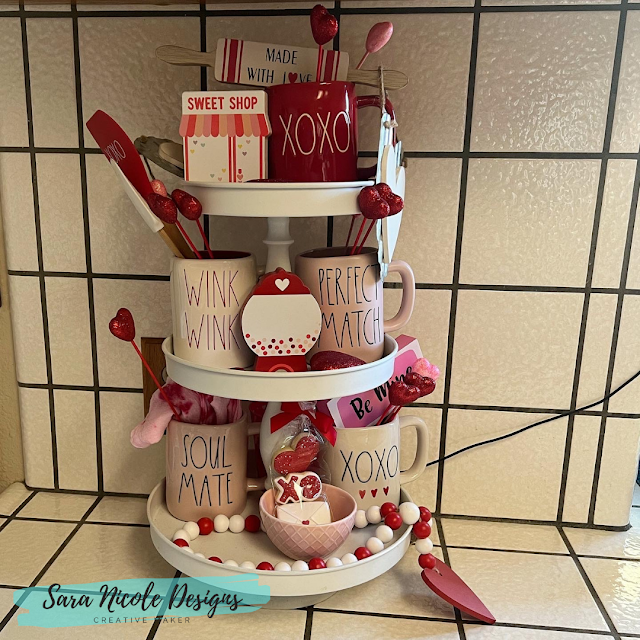
Top Shelf
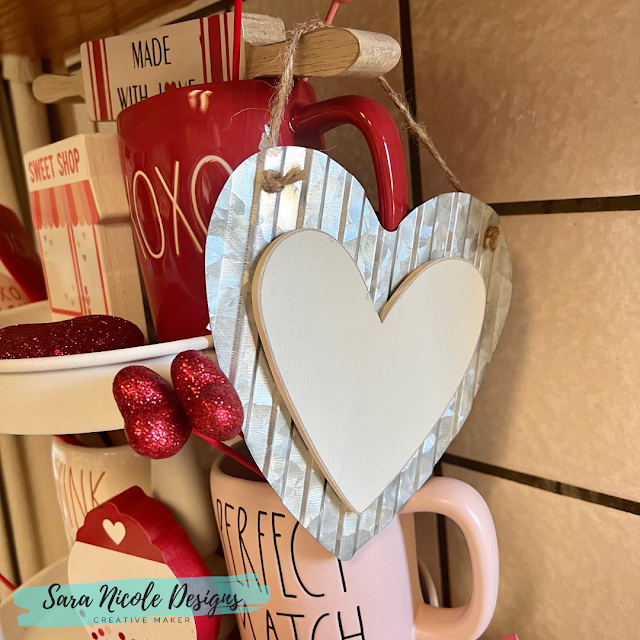
From the left, I have a wooden Sweet Shop from a valentines block set from Target. Next is a red XOXO Rae Dunn mug. On top of the mug is a little wooden sign shaped as a rolling pin that I picked up from Hobby Lobby. Inside the mug is a few glitter hearts on sticks. Hanging from the mug is a metal/wood heart from Hobby Lobby. There are also red glitter hearts on the bottom of the shelf.

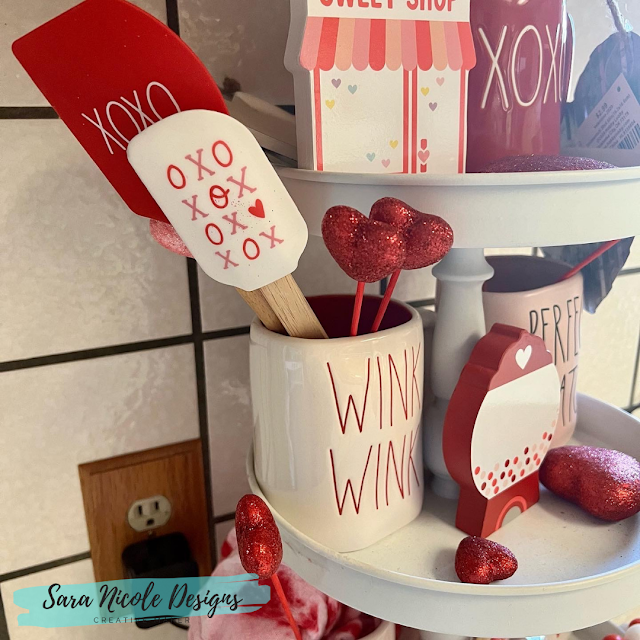
Middle Shelf
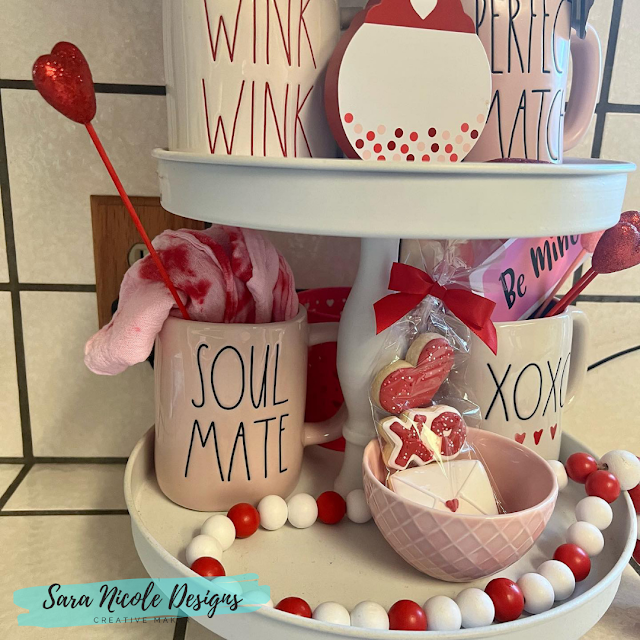
From the left I have a Wink Wink Rae Dunn Mug. Inside the mug are some glitter hearts along with a set of silicone spatulas. The red spatula is Rae Dunn and the white spatula is from Target. In the middle there is a wooden gum ball machine from the Wooden block set from Target. Next is a light pink Perfect Match Rae Dunn mug. Inside are some more glitter hearts. There are more glitter heart in the bottom of the shelf.
Bottom Shelf
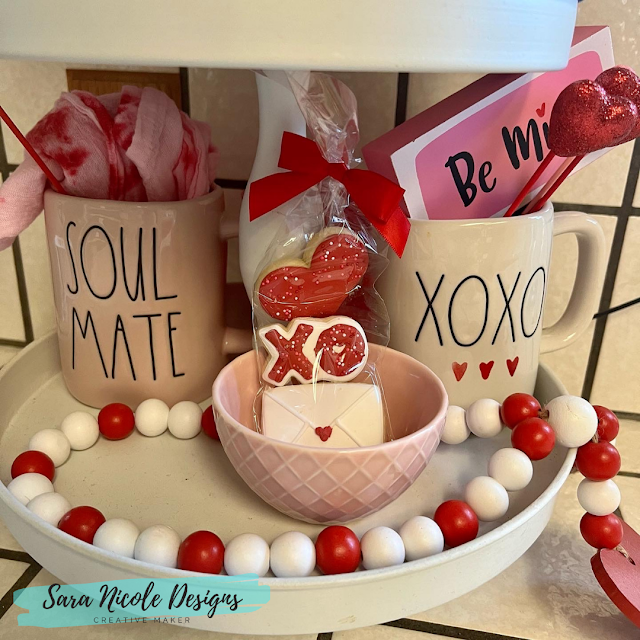
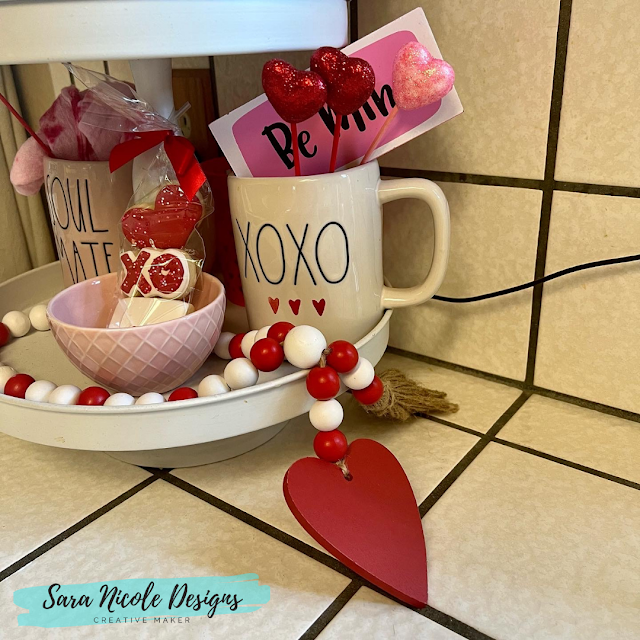
From the left, we start with a light pink Soul Mate Rae Dunn mug. Inside the mug is a glitter heart and a Tye Dyed Tea Towel that I made for Valentines day. In the middle is a pink bowl that I picked up at Ikea a few years ago. Inside the bowl is a cookie set I received from an old friend, Kristie Anagnos. She set a cute little valentines pack.
Which item is your favorite?
Do you make stuff for your home? Let me know! I would love to hear all about it!
What Is Chalk Couture?: https://youtu.be/nyosBF7gSxo
See how to create with Chalk Couture: https://youtu.be/jHLd2P2zqWo
SHOP MY CHALK COUTURE SITE:
What Is Chalk Couture: https://youtu.be/nyosBF7gSxo
SAVE 40% OFF EVERYTHING & JOIN MY TEAM AS A DESIGNER:
Why Join: https://youtu.be/eCxxbvCWCUg
What Is In The Kit: https://youtu.be/qiVdqk2RDdw
JOIN MY CLUB COUTURE & GET EXCLUSIVE PERKS:
What Is Club: https://www.youtube.com/watch?v=ZCvBz-ApN8s
EXCLUSIVE DISCOUNT: 25% OFF, Happy Mail, Exclusive Lives, Art Giveaways, and other benefits
CHALK COUTURE PRODUCTS
Transfers:
Chalkology Paste:
Chalkology Ink:
Surfaces:
Accessories:
Like these but not sure what Chalk Couture is- Click here to read all about it!
Wanna shop for some Chalk Couture stuff? Click here to check out all the amazing items!
And as always, help a sister out by sharing this post, like it and leave me a comment!
Until then...