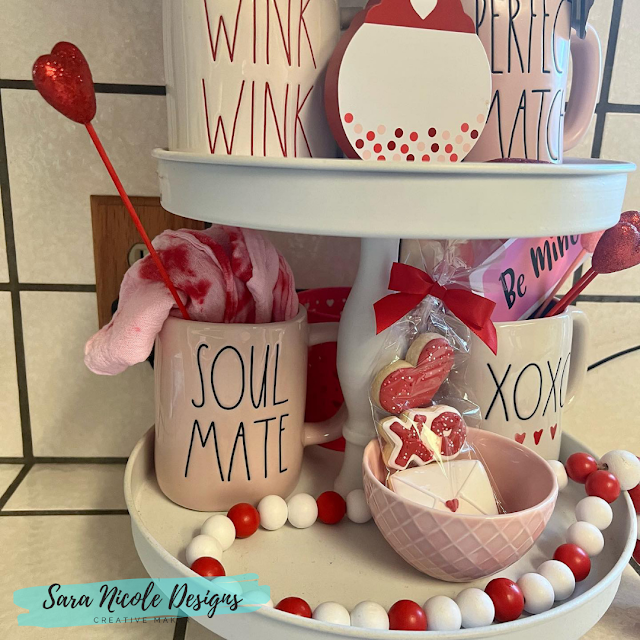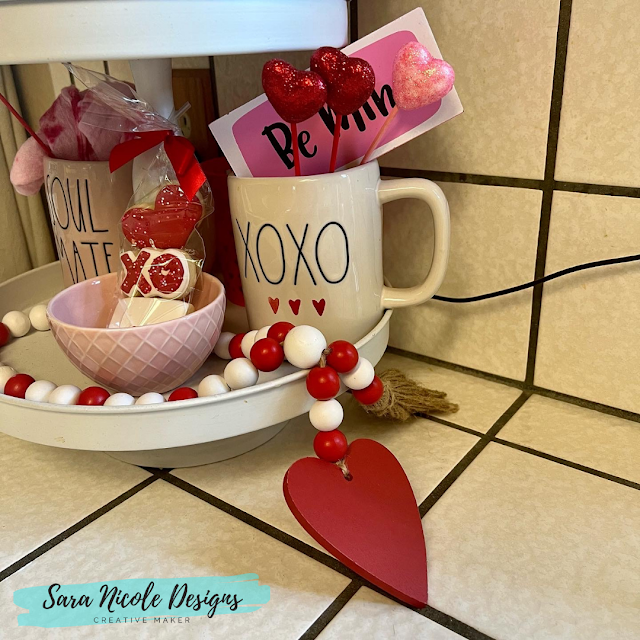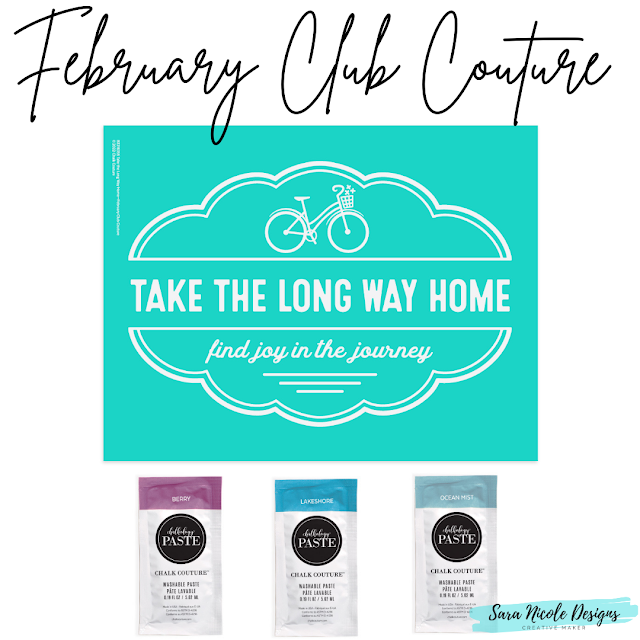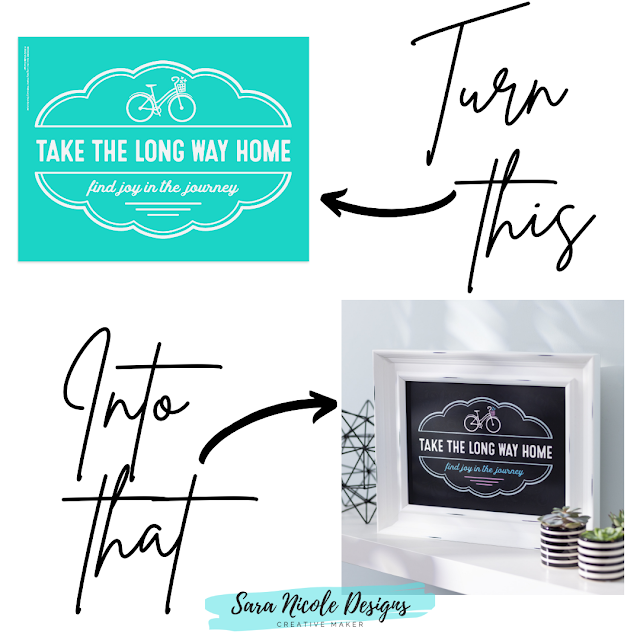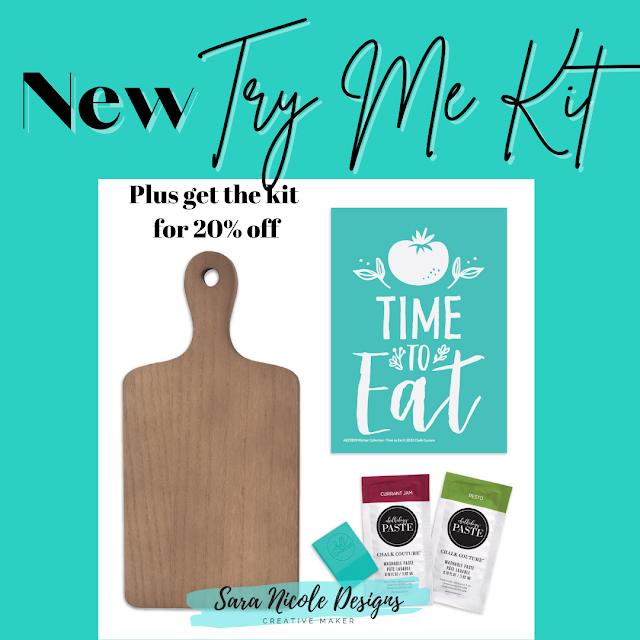
What are Try-Me Kits?
Try-Me Kits are an affordable, easy way for you to experience all the fun of Chalk Couture™—even if you have no chalking supplies on hand. You’ll get to make a complete project in minutes, at a so-nice price—20% off retail!

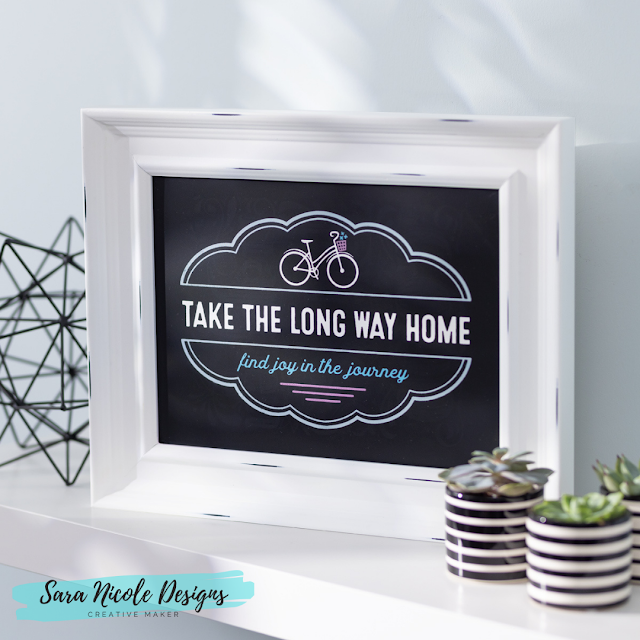
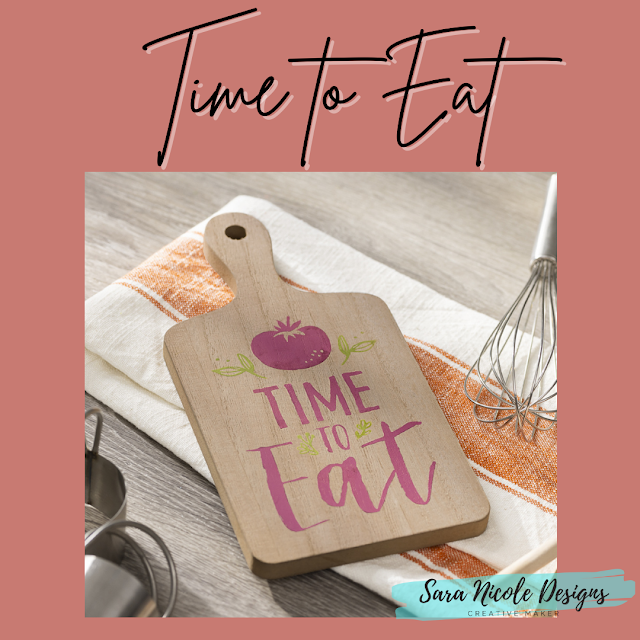
Give chalking a try with the perfect kit that includes everything you need! Gather up your favorite dishes and loved ones, ’cuz it’s time to eat! The Time to Eat Try-Me Kit features a scrumptious tomato and the words we all like to hear: “Time to eat”. Make a gorgeous statement in your kitchen by getting this project at 20% discount off retail price.
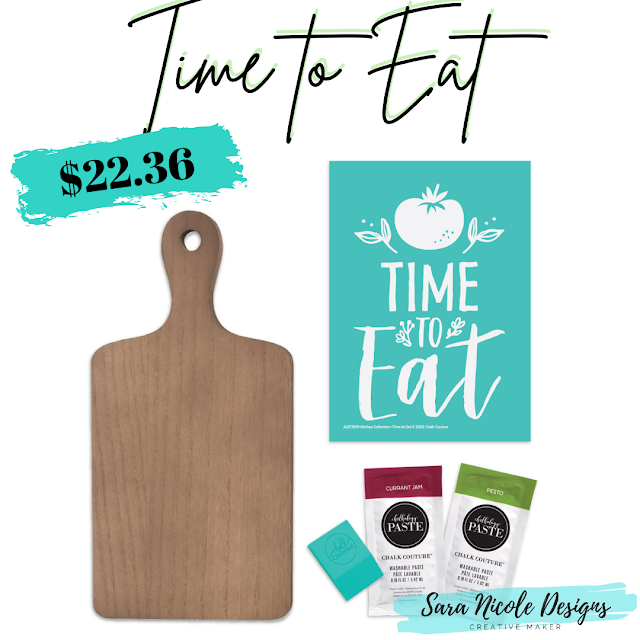
SKU: Z221165B
• $22.36 USD
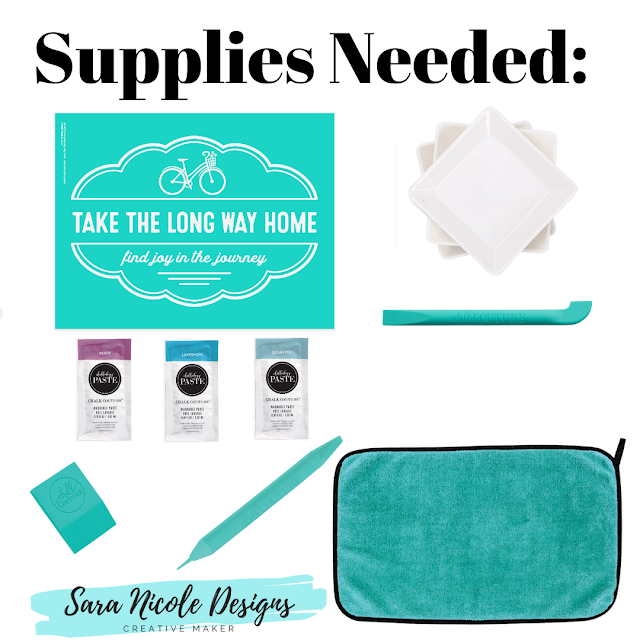
This kit includes each of the following:
- Kitchen Collection—Time to Eat Chalk Transfer® design
- Decorative Cutting Board surface (5” x 7”)
- Currant Jam Chalkology® Paste Single
- Pesto Chalkology® Paste Single
- Mini Squeegee
When you’re done with the designed project, you’ll have a fun décor piece, plus an A-sized Transfer and Mini Squeegee to use for future chalk projects!
Do you make stuff for your home? Let me know! I would love to hear all about it!
What Is Chalk Couture?: https://youtu.be/nyosBF7gSxo
See how to create with Chalk Couture: https://youtu.be/jHLd2P2zqWo
SHOP MY CHALK COUTURE SITE:
What Is Chalk Couture: https://youtu.be/nyosBF7gSxo
SAVE 40% OFF EVERYTHING & JOIN MY TEAM AS A DESIGNER:
Why Join: https://youtu.be/eCxxbvCWCUg
What Is In The Kit: https://youtu.be/qiVdqk2RDdw
JOIN MY CLUB COUTURE & GET EXCLUSIVE PERKS:
What Is Club: https://www.youtube.com/watch?v=ZCvBz-ApN8s
EXCLUSIVE DISCOUNT: 25% OFF, Happy Mail, Exclusive Lives, Art Giveaways, and other benefits
CHALK COUTURE PRODUCTS
Transfers:
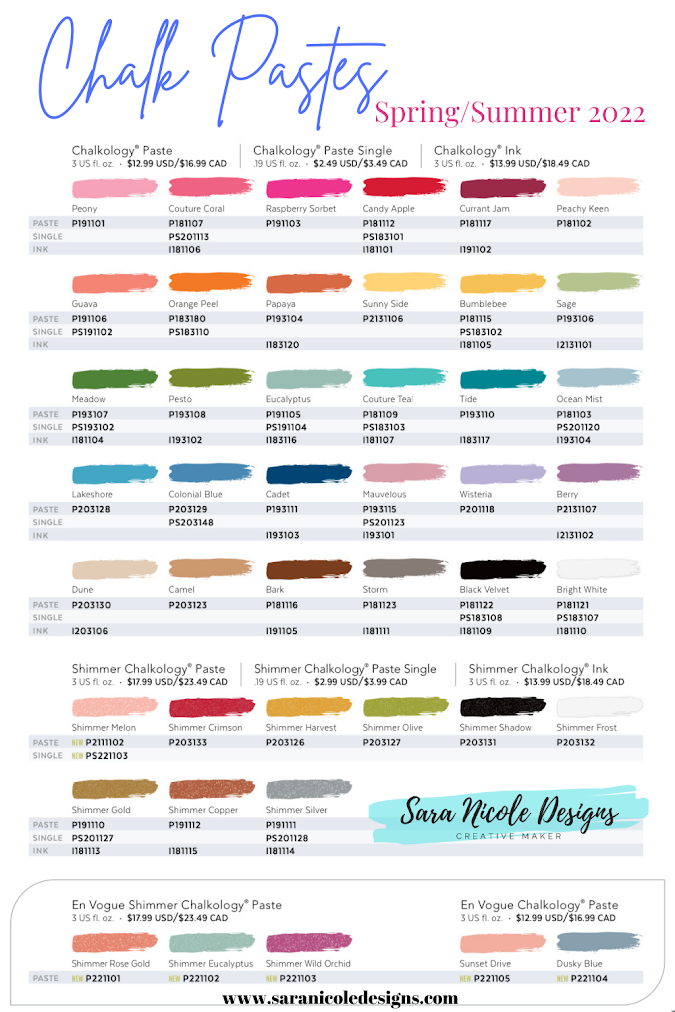
Chalkology Paste:
Chalkology Ink:
Surfaces:
Accessories:
Like these but not sure what Chalk Couture is- Click here to read all about it!
Wanna shop for some Chalk Couture stuff? Click here to check out all the amazing items!
And as always, help a sister out by sharing this post, like it and leave me a comment!
Until then...