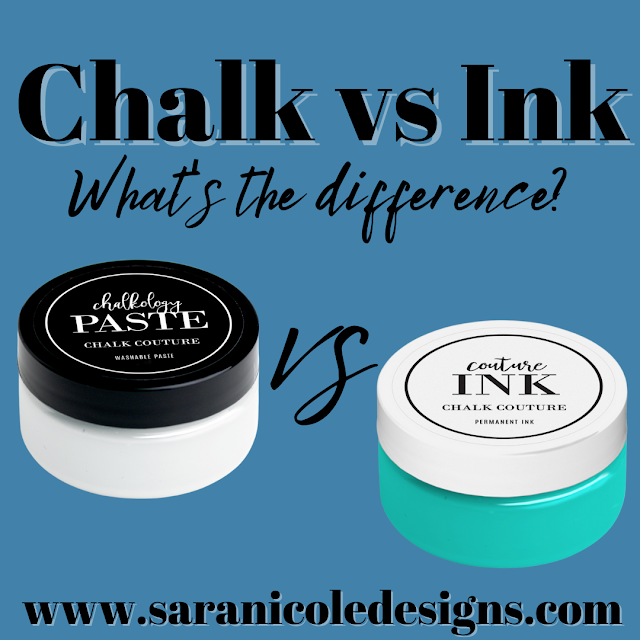
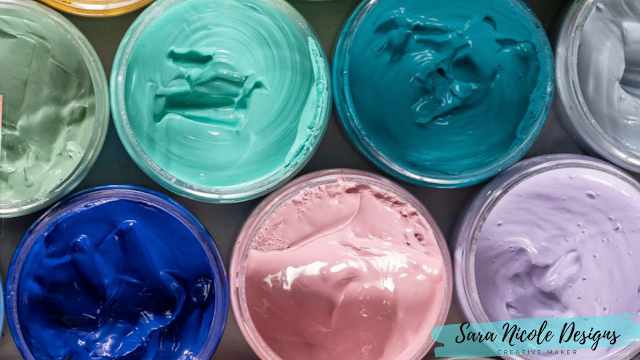
This is your go to guide on everything you need to know about Chalk Couture Pastes and Inks!
Monday, March 7, 2022
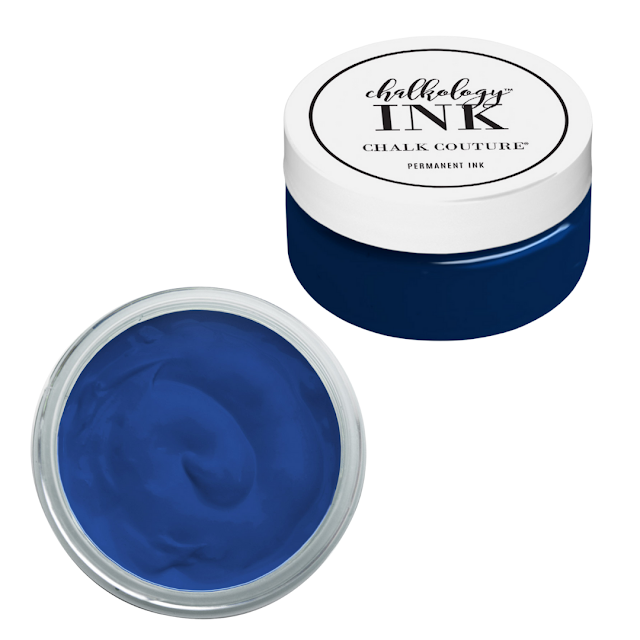
Paste vs Ink - What's the difference? What can I use them on? // Come chalk with me!
Sunday, March 6, 2022
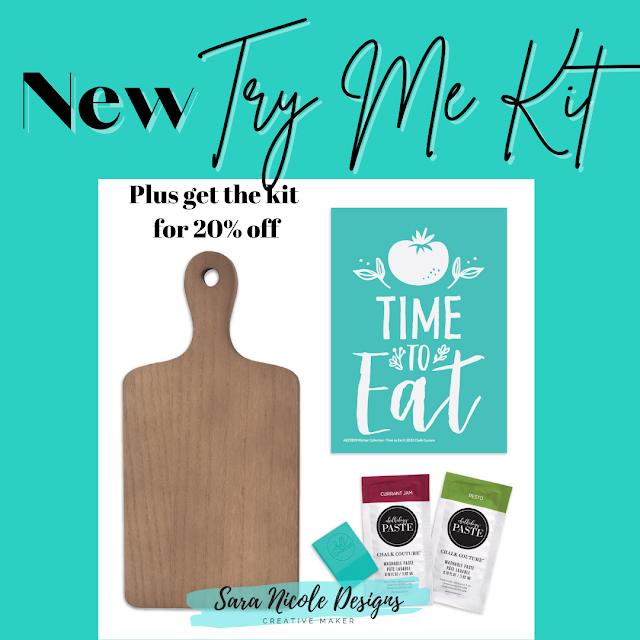
New Try-Me Kit - Time to Eat 🍅 // Come chalk with me!
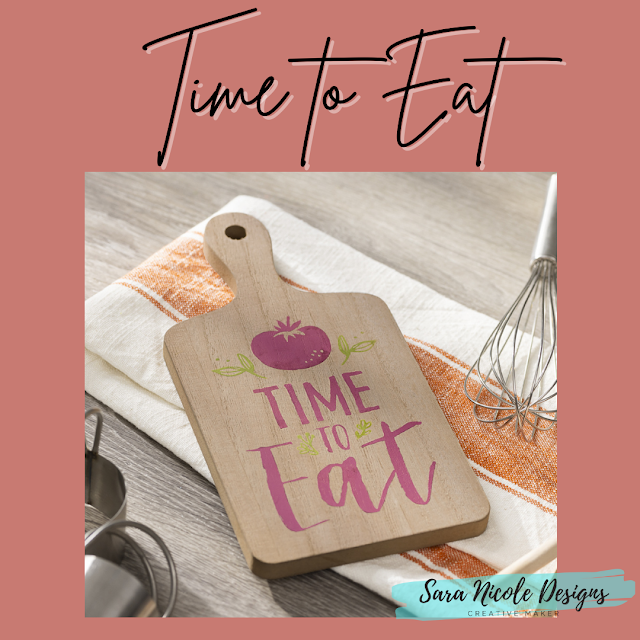
Give chalking a try with the perfect kit that includes everything you need! Gather up your favorite dishes and loved ones, ’cuz it’s time to eat! The Time to Eat Try-Me Kit features a scrumptious tomato and the words we all like to hear: “Time to eat”. Make a gorgeous statement in your kitchen by getting this project at 20% discount off retail price.
This kit includes each of the following:
- Kitchen Collection—Time to Eat Chalk Transfer® design
- Decorative Cutting Board surface (5” x 7”)
- Currant Jam Chalkology® Paste Single
- Pesto Chalkology® Paste Single
- Mini Squeegee
Wednesday, March 2, 2022
Chalk Paste- What is it and why is it the best items for crafting! // Come craft with me!
Monday, February 21, 2022
DIY Tye Dye Valentines Kitchen Tea Towels // Come craft with me!
Fun fact: According to Wikipedia, Valentine's Day, also called Saint Valentine's Day or the Feast of Saint Valentine, is celebrated annually on February 14. It originated as a Christian feast day honoring one or two early Christian martyrs named Saint Valentine and, through later folk traditions, has become a significant cultural, religious, and commercial celebration of romance and love in many regions of the world.
Supplies needed:
Step 1: Get all your supplies together. I already had most of my supplies on hand, so all I had to buy was the tea towels.
Step 2: Put rubber bands around the tea towels. There are so many ways you can do this to create different designs. I did mine a few different ways.
Step 3: Wet you towels until the are soaked through. Ring out any excess water. You want them wet but not soaking.
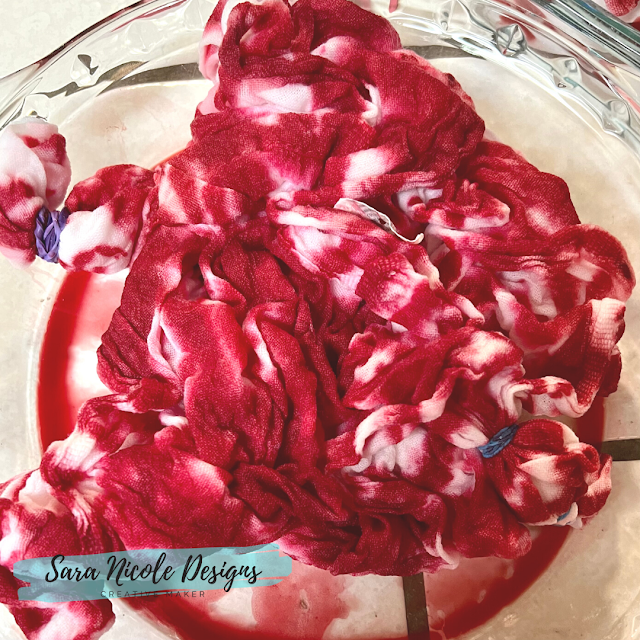
Step 4: Time to Dye! I mixed my dyes into small bottles for easy use. Squirt the dye in all the spots that you want. You could have a pattern or make it random. Do it how ever you want! There is no wrong way to do this.
Step 5: Once you are done adding the dyes, cover and set aside. I normally let them sit for at least 12 hours.
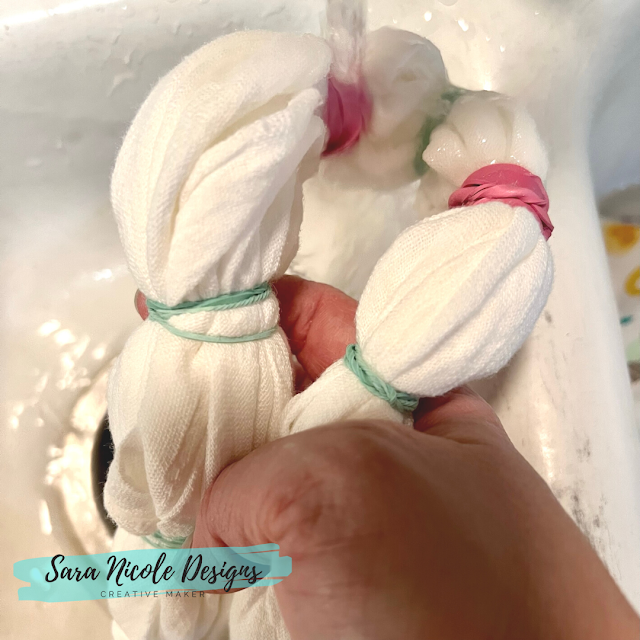
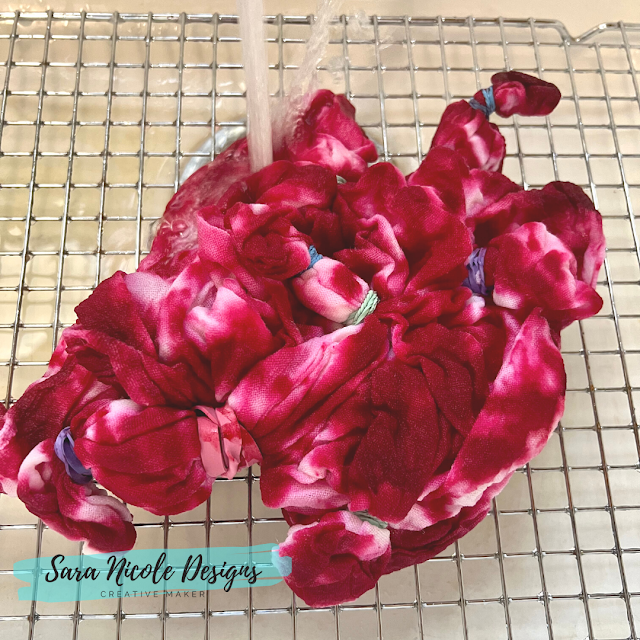
Step 6: Time to rinse. I always rinse in cold water. I place a cookie cooling sheet in my sink so the tea towel doesn't sit directly in the sink. I didn't use gloves to rise, but if you are going to be moving with your hands, you might want to. I rise and turn over and rise more until there is no color rinsing from it any more. Remove the rubber band and set aside.
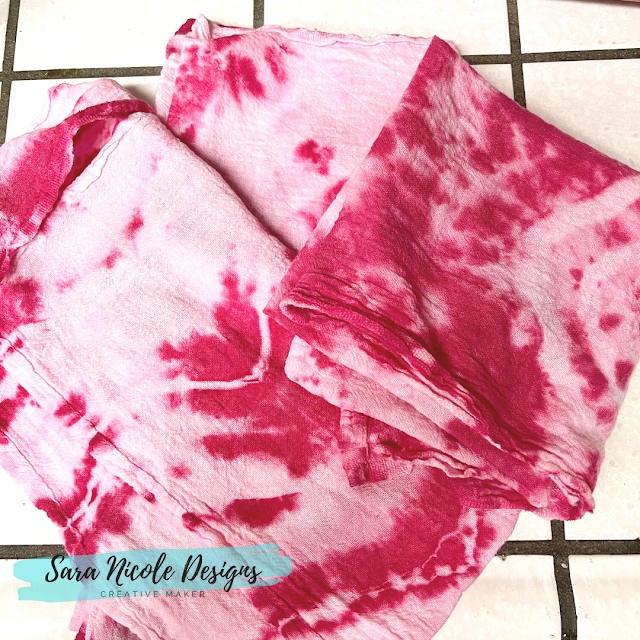
Step 7: Time to wash! When I wash these, I wash with 1 dark towel I find that they wash and dry better with a large heavy towel. I was on cold with a normal amount of detergent. Dry on low too.
Now it's time to enjoy your tea towels! I use mine all year long.

